March 18, 2025, 06:16:33 PM

Author Topic: Sho Amo Gtu Build  (Read 52359 times)

Offline WannaBeFast

  • Supporting Member
  • Top Fuel
  • Posts: 2875
  • Single and Looking
  • View Gallery
    • View Profile
Re: Sho Amo Gtu Build
« Reply #45 on: January 21, 2012, 07:23:22 PM »
Are you doing all this work on the side of the road? I hope you have a decent place!

Offline Sho Amo

Re: Sho Amo Gtu Build
« Reply #46 on: January 22, 2012, 03:18:30 AM »
Me and my buddy do all the work on our cars in his driveway. Since the car is soo light, we just roll it down the driveway after working on it so that we can work on other stuff as well. It sucks that I dont have a garage because I would be working on this every night when I get home from work if I did. Im only 23 with a 2 y/o daughter and an unestablished career. In a few years when I get married and buy a house Ill finally be able to build a car the way I want. Most people build their cars in the winter off season. Most of the time its too cold for me to work on outside and the days  are very short.

So now you know my life story...    Lol.
[Sold] '90 GTU LS1/t56

Offline WannaBeFast

  • Supporting Member
  • Top Fuel
  • Posts: 2875
  • Single and Looking
  • View Gallery
    • View Profile
Re: Sho Amo Gtu Build
« Reply #47 on: January 22, 2012, 05:16:50 AM »
I know how that is. I was doing the same thing at the beginning but it was very hard to get any quality work.

Offline Sho Amo

Re: Sho Amo Gtu Build
« Reply #48 on: January 22, 2012, 07:37:13 PM »
This is my work environment, although today I pretty much stayed in the garage most of the day.


So I took the front suspension apart friday, so I have to fix and clean up the steering rack, K member, and brakes. I got the brakes done first.

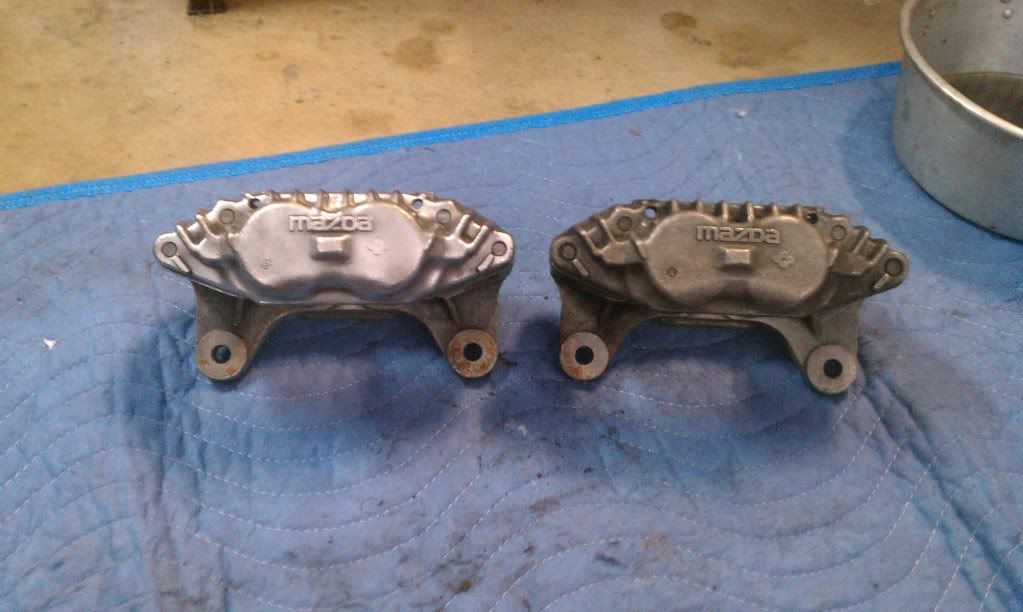
Heres a before and after  cleaning with brake clean an wire wheel.


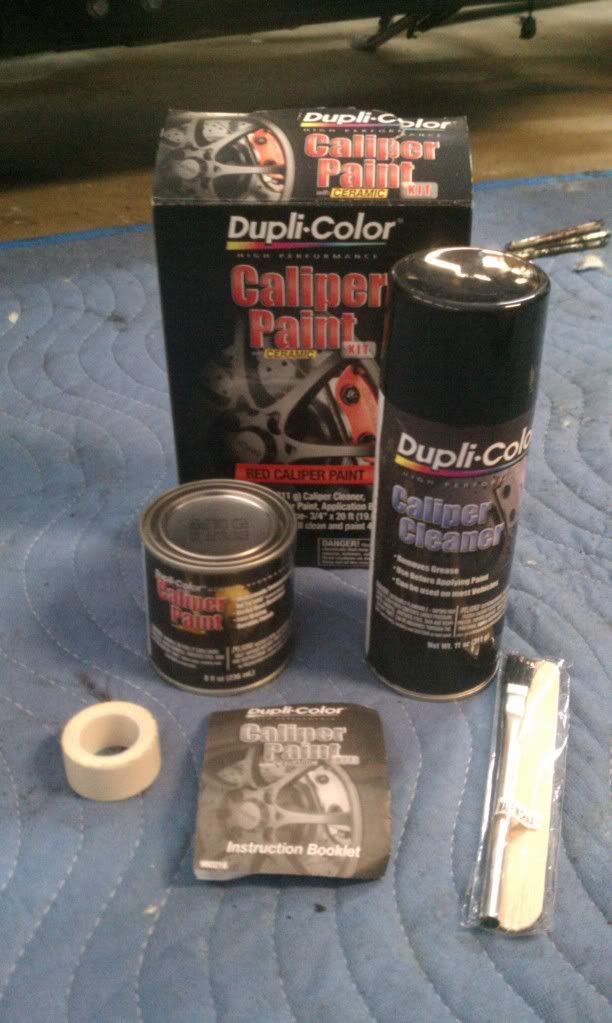
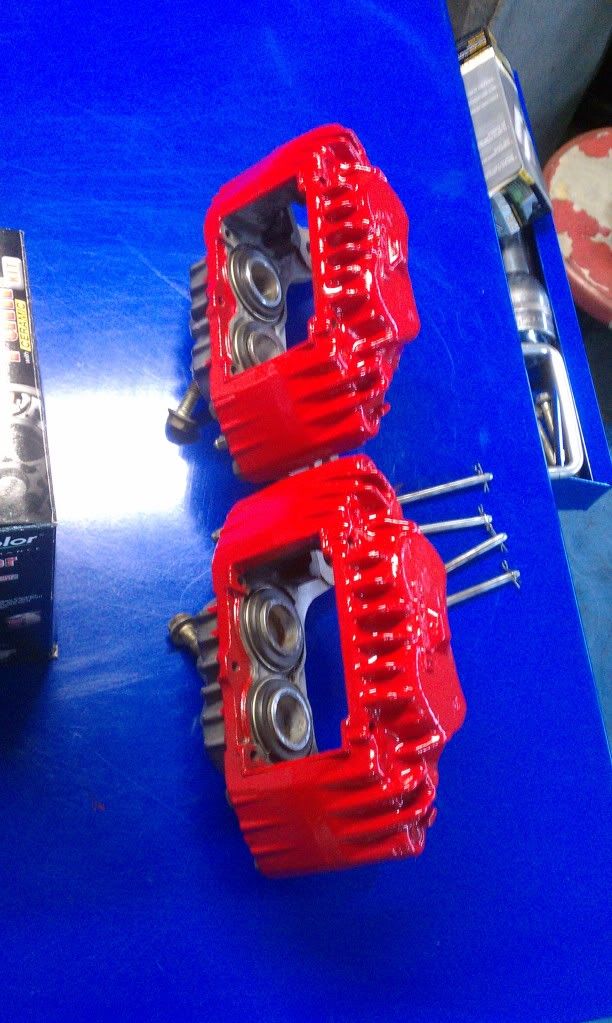
I decided to use the 'brush on' style caliper paint this time around. I have used the rattle can option plenty of times before with success, but I have been wanting to see how this works out. Heres the kit I got from AutoZone.


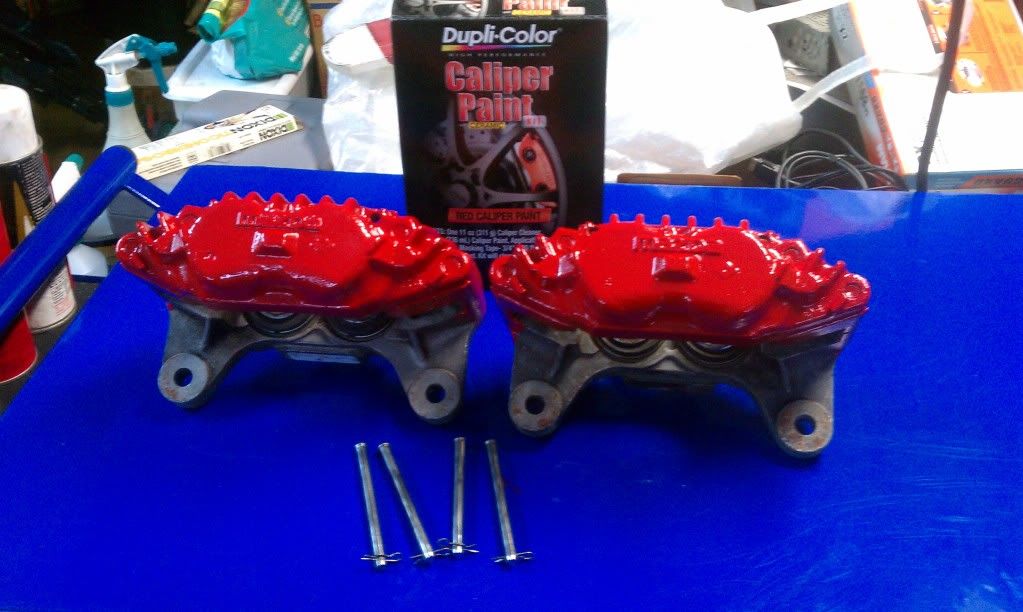
The second caliper I did looks 2x better than the first. The directions say to use light coats, but I found out on the second caliper that the paint evens out better nice and wet. I decided not to do the back where the line and bleeder are. I took the time to clean up the slider pins as well.


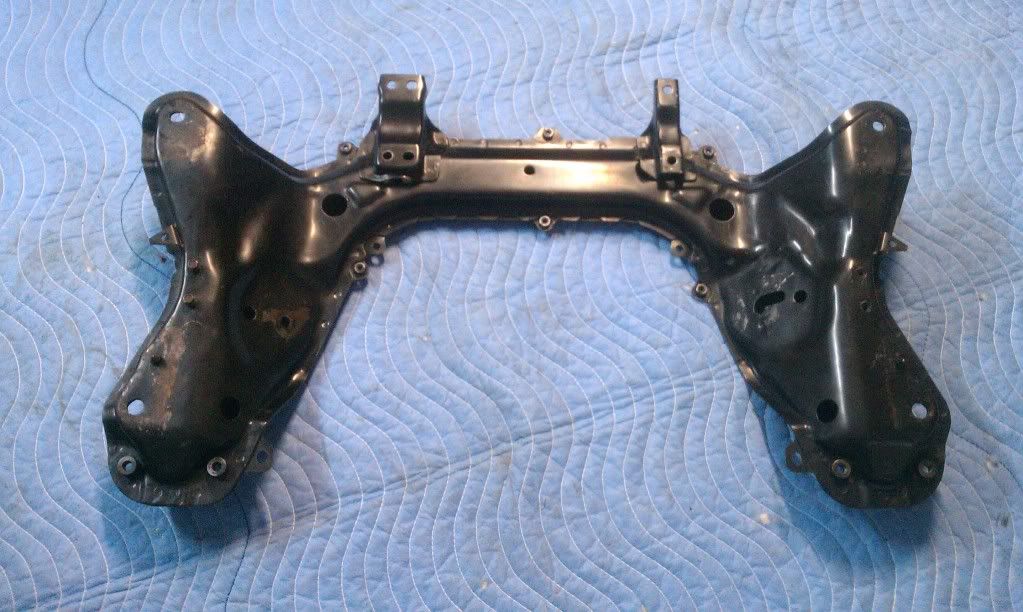
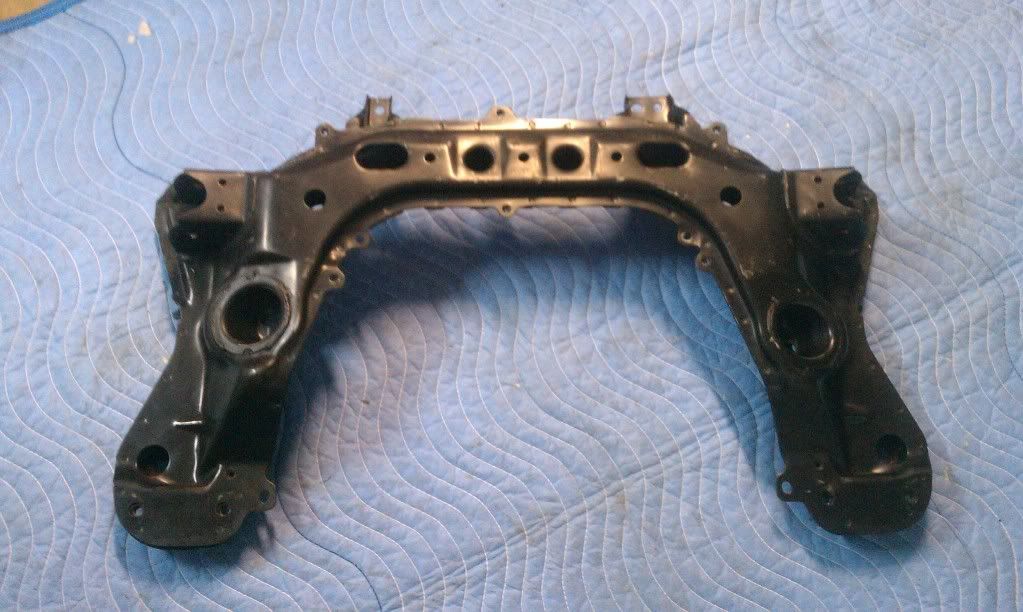
While those were drying I started cleaning up the K memebr. I should have taken a before picture. Used a putty knife, brake clean, lots of rags, and wire wheel. This took up most of my day, what a PITA. It will get duplicolor black caliper paint for durability when I get the chance.


I picked up a can of chrysler red paint to repair what the leaky master cylinder damaged. I just did a quick spray with no primer to see how close the color is.


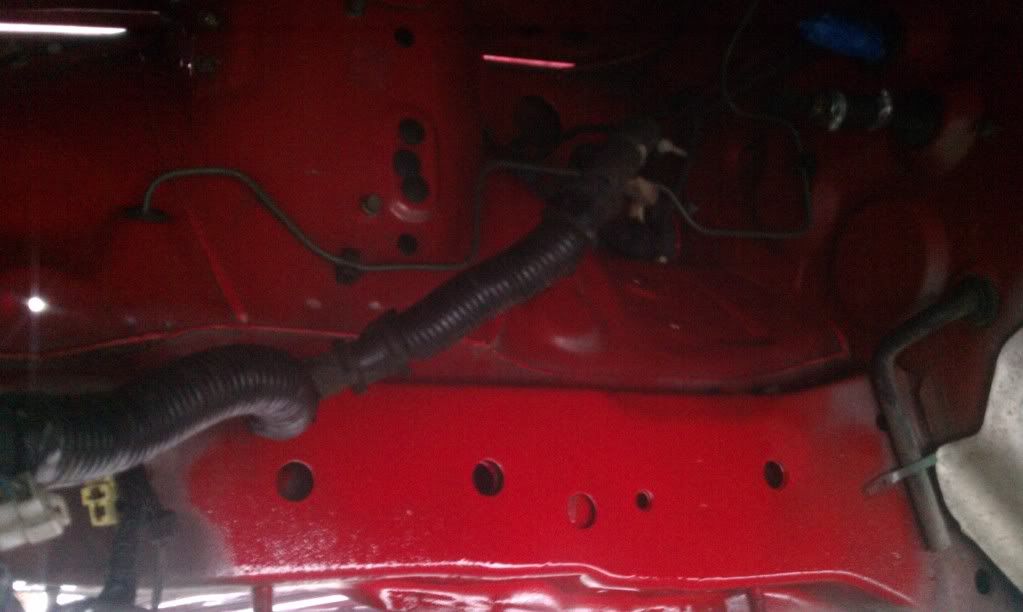
Looks good so now I gotta sand all that down, primer, then get a good 3 coats or so on it.

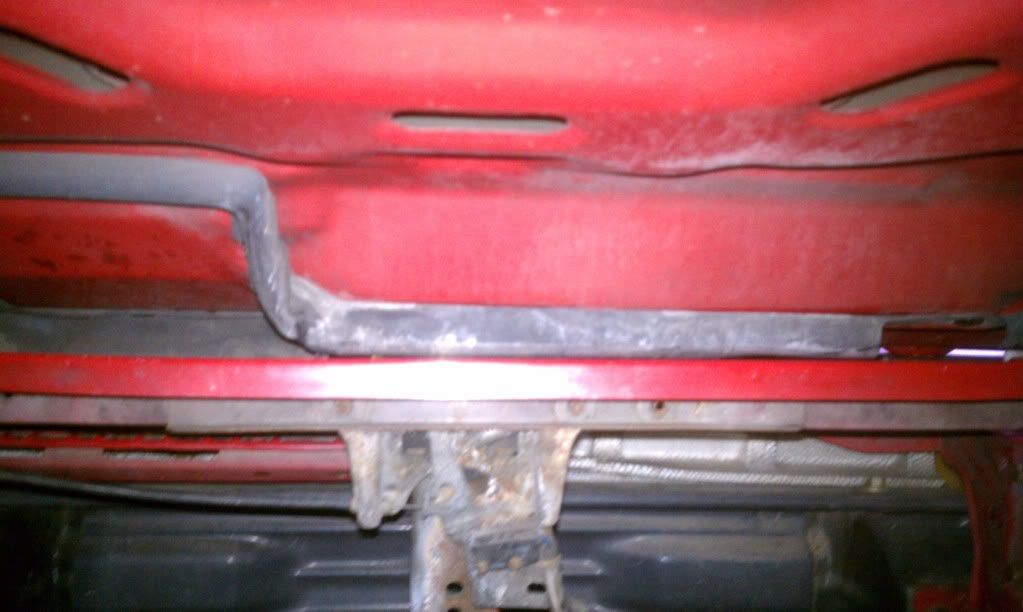
Heres a pic of why radiators seem to fit, when sometimes they look way too high. The hood has a large dent on the inside to clear it. This is a steel NA hood, not sure about the others.


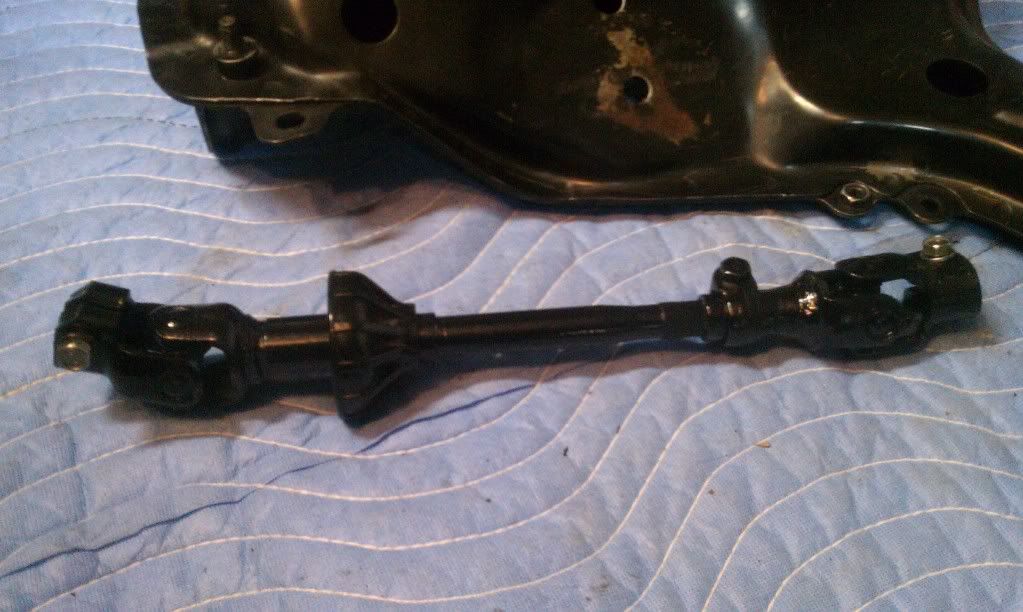
Steering shaft all fixed up. Im leaving the boots off, they were ugly as crap.


And heres some of my suspension parts. K member still needs paint, and I need to find the mounts for my Racingbeat sway bar.


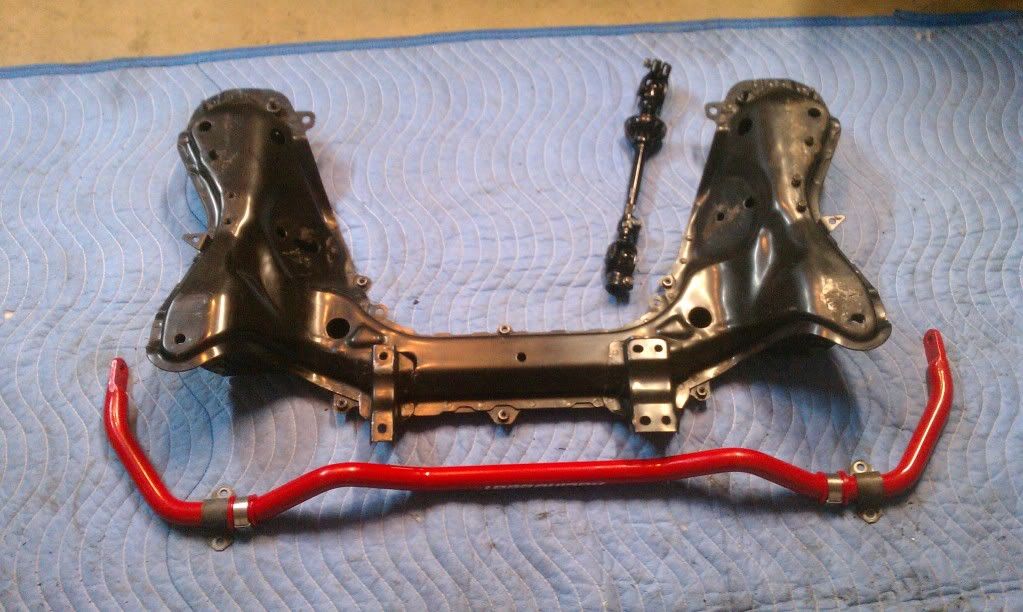
Since I have an s5, the ball joints can not be replaced. So I have to find a set of s4 controls arms to clean up, put in new ball joints, and install my poly bushings. I didnt get a chance to clean up the steering rack yet, but I think Ill be getting to that thursday.


Anyone know where to get new bushings for the steering rack? Mine are toast.
[Sold] '90 GTU LS1/t56

Offline Sho Amo

Re: Sho Amo Gtu Build
« Reply #49 on: January 23, 2012, 09:55:43 PM »
Is 3500 good for an ls1/t56/harness/pcm/accessories w/ 100k?
[Sold] '90 GTU LS1/t56

Offline Sho Amo

Re: Sho Amo Gtu Build
« Reply #50 on: January 28, 2012, 06:47:06 PM »
Got snaked on the Ls1 T56 pullout :( Good news is that since I was soo excited to get my drivetrain, it pushed me to get a lot of work done on friday.

Got the engine bay paint work finished. Note for all you Blaze red FC owners. The color I used was Chrysler Flame Red made by DupliColor.

Passenger frame rail.


Driver frame rail.


The whole thing.


I got my K-memebr painted and steering rack cleaned up with new O rings.


Then I installed my new Racing Beat sway bar.


Took my knuckles apart, repacked with new grease, painted, and removed dust shields.


Took an Idea from one of the FD guys to shave the paint off the mazda letters, and painted the rotor hats. Im actually planing to get some new rotors and Hawk pads so this is temporary.


Finally got my MMR camber adjusters after 3 months


I need a motor!!!!
[Sold] '90 GTU LS1/t56

Offline Sho Amo

Re: Sho Amo Gtu Build
« Reply #51 on: January 29, 2012, 06:18:33 PM »
Didnt get much time to work on the car today. I had to work on a buddies GTP so he can get it inspected before he goes back to school.

This is not new, just refreshed by me :)


I also ordered a new master cylinder friday night.
[Sold] '90 GTU LS1/t56

Offline Sho Amo

Re: Sho Amo Gtu Build
« Reply #52 on: February 02, 2012, 09:41:23 PM »
My new master cylinder is in. I also put a down payment on an ls1/t56 with all the wiring and everything I need. Now I just have to find time to pick it up.

[Sold] '90 GTU LS1/t56

Offline southside427

Re: Sho Amo Gtu Build
« Reply #53 on: February 02, 2012, 09:50:36 PM »
andrew,your S4 control arms are on the way..also,i have that same sway bar and it also makes a great bicep curl bar,s.o.b. weighs about 35lbs :)

Offline Sho Amo

Re: Sho Amo Gtu Build
« Reply #54 on: February 02, 2012, 10:37:42 PM »
Thanks! I love that front bar, it looks awesome. Im actually debating putting in the rear one because Ive read that these things feel better without.

Once I get those control arms in the mail and I pick this drivetrain up, there will be lots of good progress.


-Andrew
[Sold] '90 GTU LS1/t56

Offline AKINA FC

Re: Sho Amo Gtu Build
« Reply #55 on: February 03, 2012, 12:04:58 AM »
Looks pretty good so far, keep it up! :cheers:

Offline largeorangefont

Re: Sho Amo Gtu Build
« Reply #56 on: February 03, 2012, 12:14:36 AM »
Thanks! I love that front bar, it looks awesome. Im actually debating putting in the rear one because Ive read that these things feel better without.

Once I get those control arms in the mail and I pick this drivetrain up, there will be lots of good progress.


-Andrew

Yea don't bother with the rear bar unless you are keeping stock style springs and shocks.

Car is looking great.
Quote from: cool
Sell it to spacevomit.  He'll finish it.

Offline texfc

Re: Sho Amo Gtu Build
« Reply #57 on: February 03, 2012, 09:15:23 AM »
Nice work!  Don't forget to put the check valve back in the vacuum line to the brake booster.  It's easy to forget about.   :)
1989 GTU - 355 SBC - WC T5 - TII rear - build thread http://www.norotors.com/index.php?topic=354.msg3811#msg3811
2005 Tacoma 4x4 - daily driver
1966 Mooney M20E upgraded to 201

Offline Sho Amo

Re: Sho Amo Gtu Build
« Reply #58 on: February 03, 2012, 08:53:38 PM »
Thanks for the kind words gentlemen. I had no idea I needed a check valve, I guess ill be looking into it.

Got some little stuff done today. Most of it was cleaning the crap off the belly pan. I also test fitted the radiator and brainstormed a bit.

Painted hood prop, coolant bottle brackets, and a little cleaning.
[Sold] '90 GTU LS1/t56

Offline texfc

Re: Sho Amo Gtu Build
« Reply #59 on: February 04, 2012, 09:57:54 AM »
The Mazda check valve is a pill shaped thing inside the hose on the brake booster.  It is easy to throw it away with the old hose.  Just dig it out and insert it in the new hose.  It keeps the vacuum in the booster when you accelerate.
1989 GTU - 355 SBC - WC T5 - TII rear - build thread http://www.norotors.com/index.php?topic=354.msg3811#msg3811
2005 Tacoma 4x4 - daily driver
1966 Mooney M20E upgraded to 201