March 17, 2025, 06:40:47 PM

Author Topic: Laminar's RX-8 EcoBoost swap thread  (Read 43066 times)

Offline digitalsolo

Re: Laminar's RX-8 EcoBoost swap thread
« Reply #210 on: September 23, 2024, 09:23:48 AM »
Man, talk about chasing milimeters!
Blake MF'ing McBride
1988 Mazda RX7 - Turbo LS1/T56/ProEFI/8.8/Not Slow...   sold.
1965 Mustang Coupe - TT Coyote, TR6060, modern brakes/suspension...
2007 Aston Martin V8 Vantage - Gen V LT4/TR6060, upper/lower pullies, headers, tune.
2021 Tesla Model 3 Performance - Stock...ish.

Offline Laminar

Re: Laminar's RX-8 EcoBoost swap thread
« Reply #211 on: September 23, 2024, 09:33:13 AM »
Yeah, kudos to the engineers that package this stuff in the first place. Although everything would be a lot easier if all of my mounts and flanges were already cast into the turbos.  :)

Offline Laminar

Re: Laminar's RX-8 EcoBoost swap thread
« Reply #212 on: September 30, 2024, 10:29:03 AM »
Got a few pieces ordered - found a good deal on the ARP 100-7708 wheel studs at $21/set so I got four of those. Also ordered a steering rack extension to accommodate for the 1/2" offset in my rack position so that my tie rods end up the same length. Spent some time troubleshooting why I couldn't weld aluminum for the life of me. I may have had a gas delivery problem, as tightening up all of the gas connections took me from putting down absolute contaminated garbage to much nicer looking welds.


I also designed and printed out a wheel/tire fitment test gauge. I would really love to run an 18x11 but I really don't want to have to go with overfenders or do any fender cutting. From the gauge, it looks like an 18x11 +45 with a 295/30R18 tire would tuck inside the fender with a good roll. I printed out an estimated tire profile to go on the wheel but didn't get any pics of that.

I would definitely have to knock down the pinch weld and it would require limiters so I don't rub the wheel on the lower control arm, but it's doable. I haven't tried the rear yet, but I assume it would require an inverted shock setup to have the necessary inner clearance.


Offline Laminar

Re: Laminar's RX-8 EcoBoost swap thread
« Reply #213 on: October 07, 2024, 02:18:01 PM »
Here's an estimate of a 295/30R18 on an 18x11 wheel:


Full compression:


Pinch weld is trouble for sure:


The rear is tight as well - the shock tower reinforcement is very intrusive. John V. noted with a 315/30 tire on an 18x11 that leaving 5mm clearance on the inner shock tower results in 15mm of stickout past the fender. A 315/30 A7 has a section width 0.6" (15mm) wider than a 295/30 RE71RS which saves 7.5mm on each side. Maaaaaybe a good fender roll would tuck it. I also wonder if swapping to aftermarket shocks with 2.25" springs would allow some of the shock tower to be narrowed for a touch more clearance.

Spent some more time practicing aluminum. Realized my wire brush kit came with 1 carbon-steel brush and 1 stainless steel brush and I'd been using the carbon steel brush on the aluminum. Found my #8 cup ceramic broken, not sure when that happened. Maybe I'll pick up a replacement cup and then a tee and second regulator so I can properly backpurge stainless with a single bottle.


I ordered some cast aluminum elbows, I'm not happy with silicone elbows on the turbo inlets, there's basically no way to position them without the elbows rubbing on the subframe. I'll cut the existing inlets and weld on shorter profile inlets for better fitment.

Offline Cobranut

Re: Laminar's RX-8 EcoBoost swap thread
« Reply #214 on: October 08, 2024, 11:20:59 PM »
1995 FD, 7.0 Liter stroked LS3, T56, 8.8, Samberg kit.

Offline Laminar

Re: Laminar's RX-8 EcoBoost swap thread
« Reply #215 on: October 09, 2024, 06:38:54 AM »
Ooo that's going right on the wishlist, thank you!

Offline Laminar

Re: Laminar's RX-8 EcoBoost swap thread
« Reply #216 on: October 09, 2024, 08:05:03 AM »
Surprise day of progress! I had to take the new truck in to get a couple things fixed plus the sprinkler people were coming to winterize, so I took a random day off and spent some time working on the car in between shenanigans. Since I decided to weld elbows onto the turbo compressors, I put a pause on wastegate mounting until the elbows are in place and I've finalized orientation. So let's actually depower the Miata rack.

Berg87 kindly sent me a tool he made to open the rack up along with a video showing which spots to modify. I couldn't find any other good info or writeups on an NC rack out there so his help was invaluable.

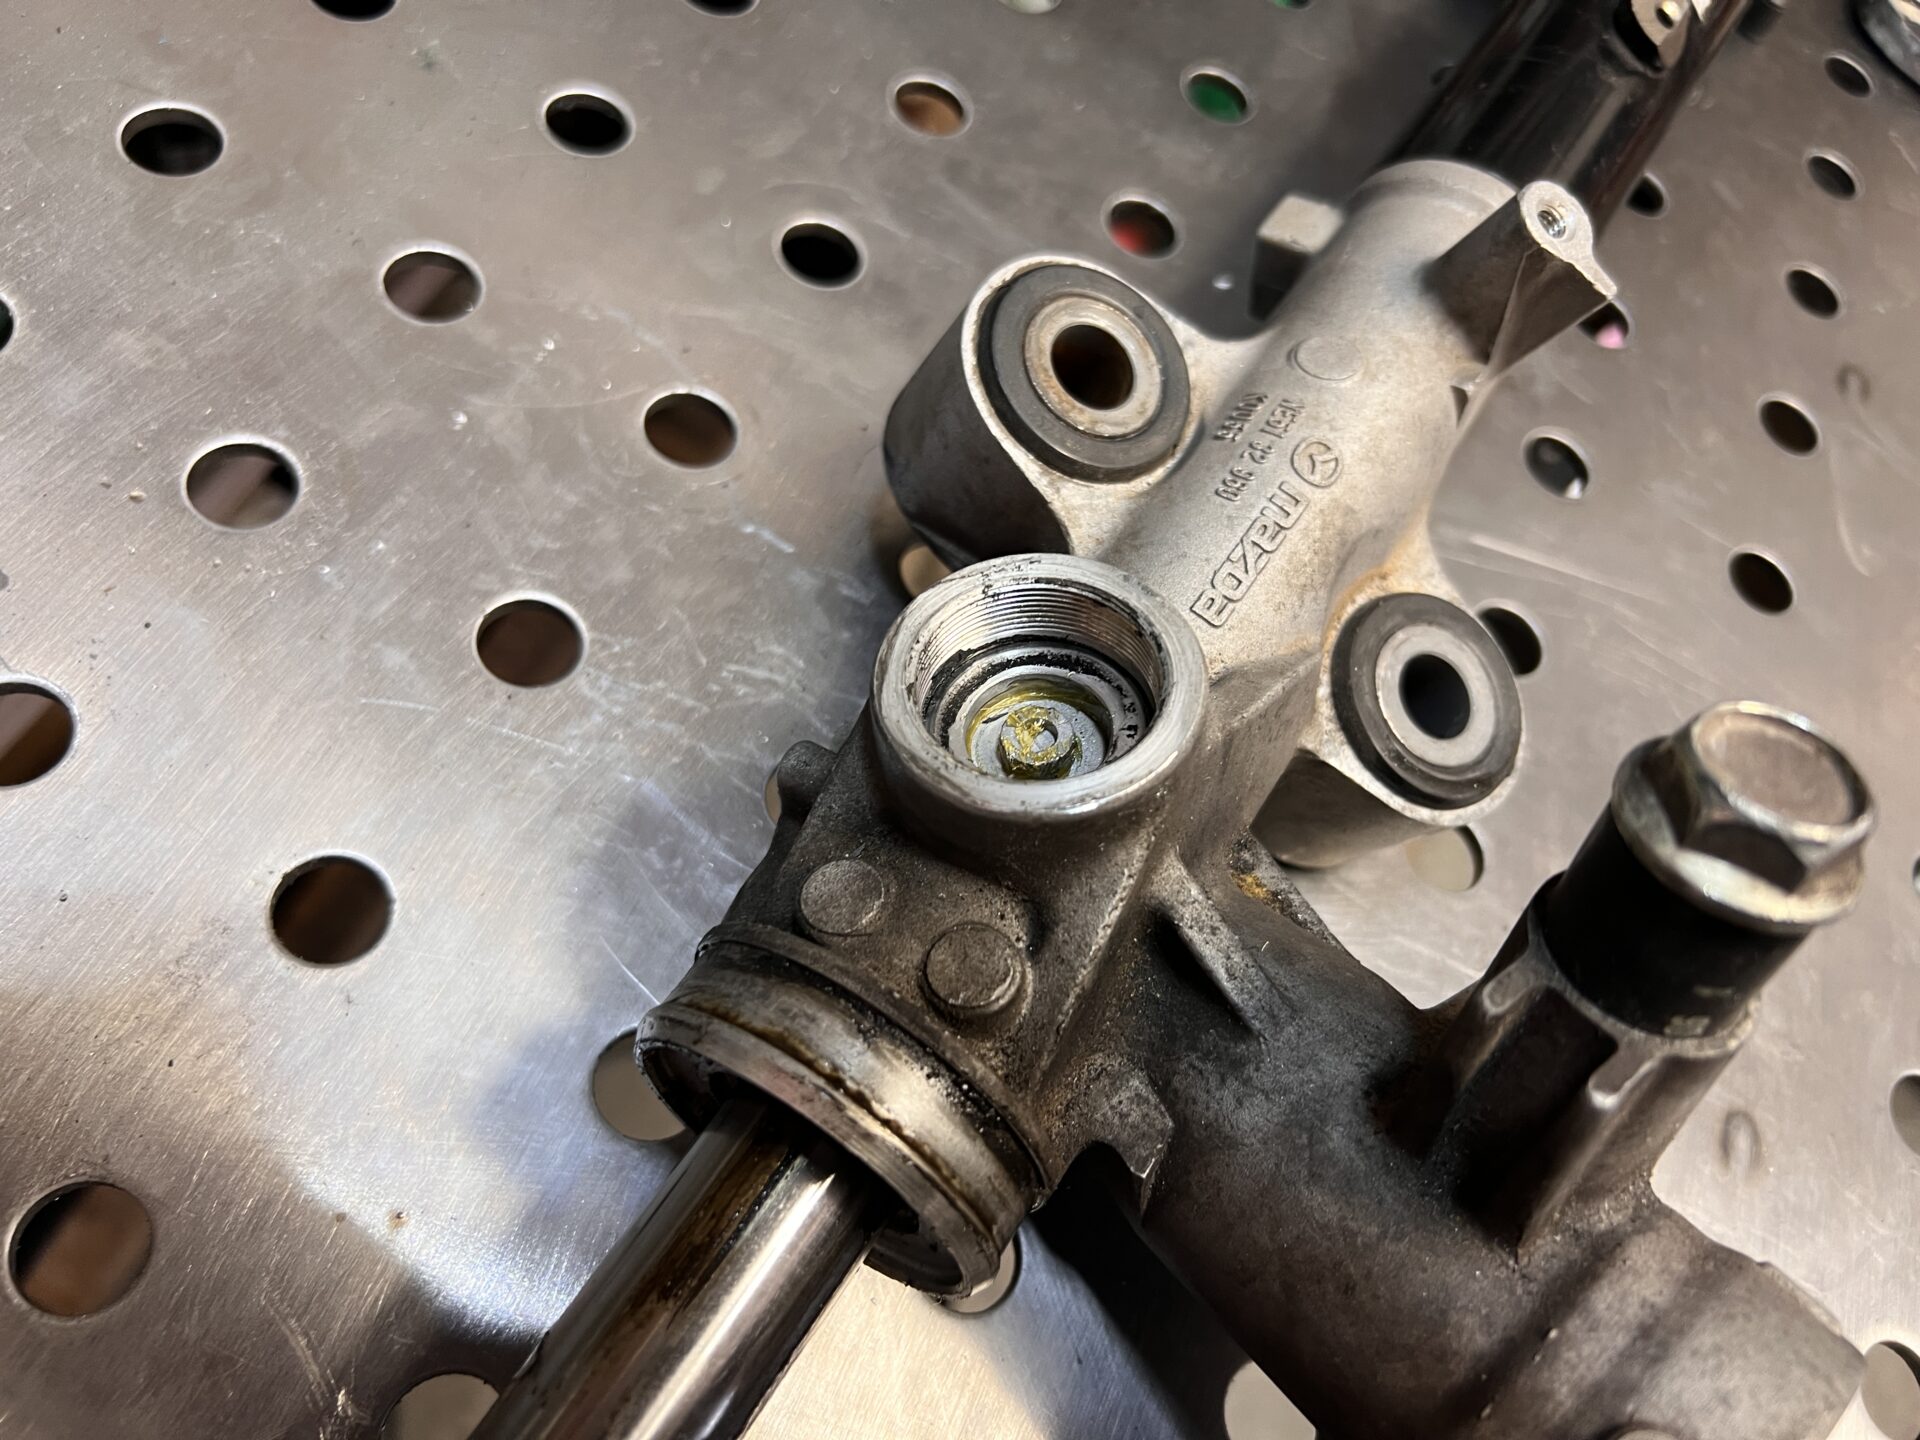
The lower pinion cover is a 36mm nut, I happened to have a 1-7/16" socket on hand that worked. There's a lock ring, a cap that can be removed with a 1/2" square ratchet drive, a spring, and a thrust washer.


Berg made a tool out of a nut to get at the internal hex of the upper pinion seal.


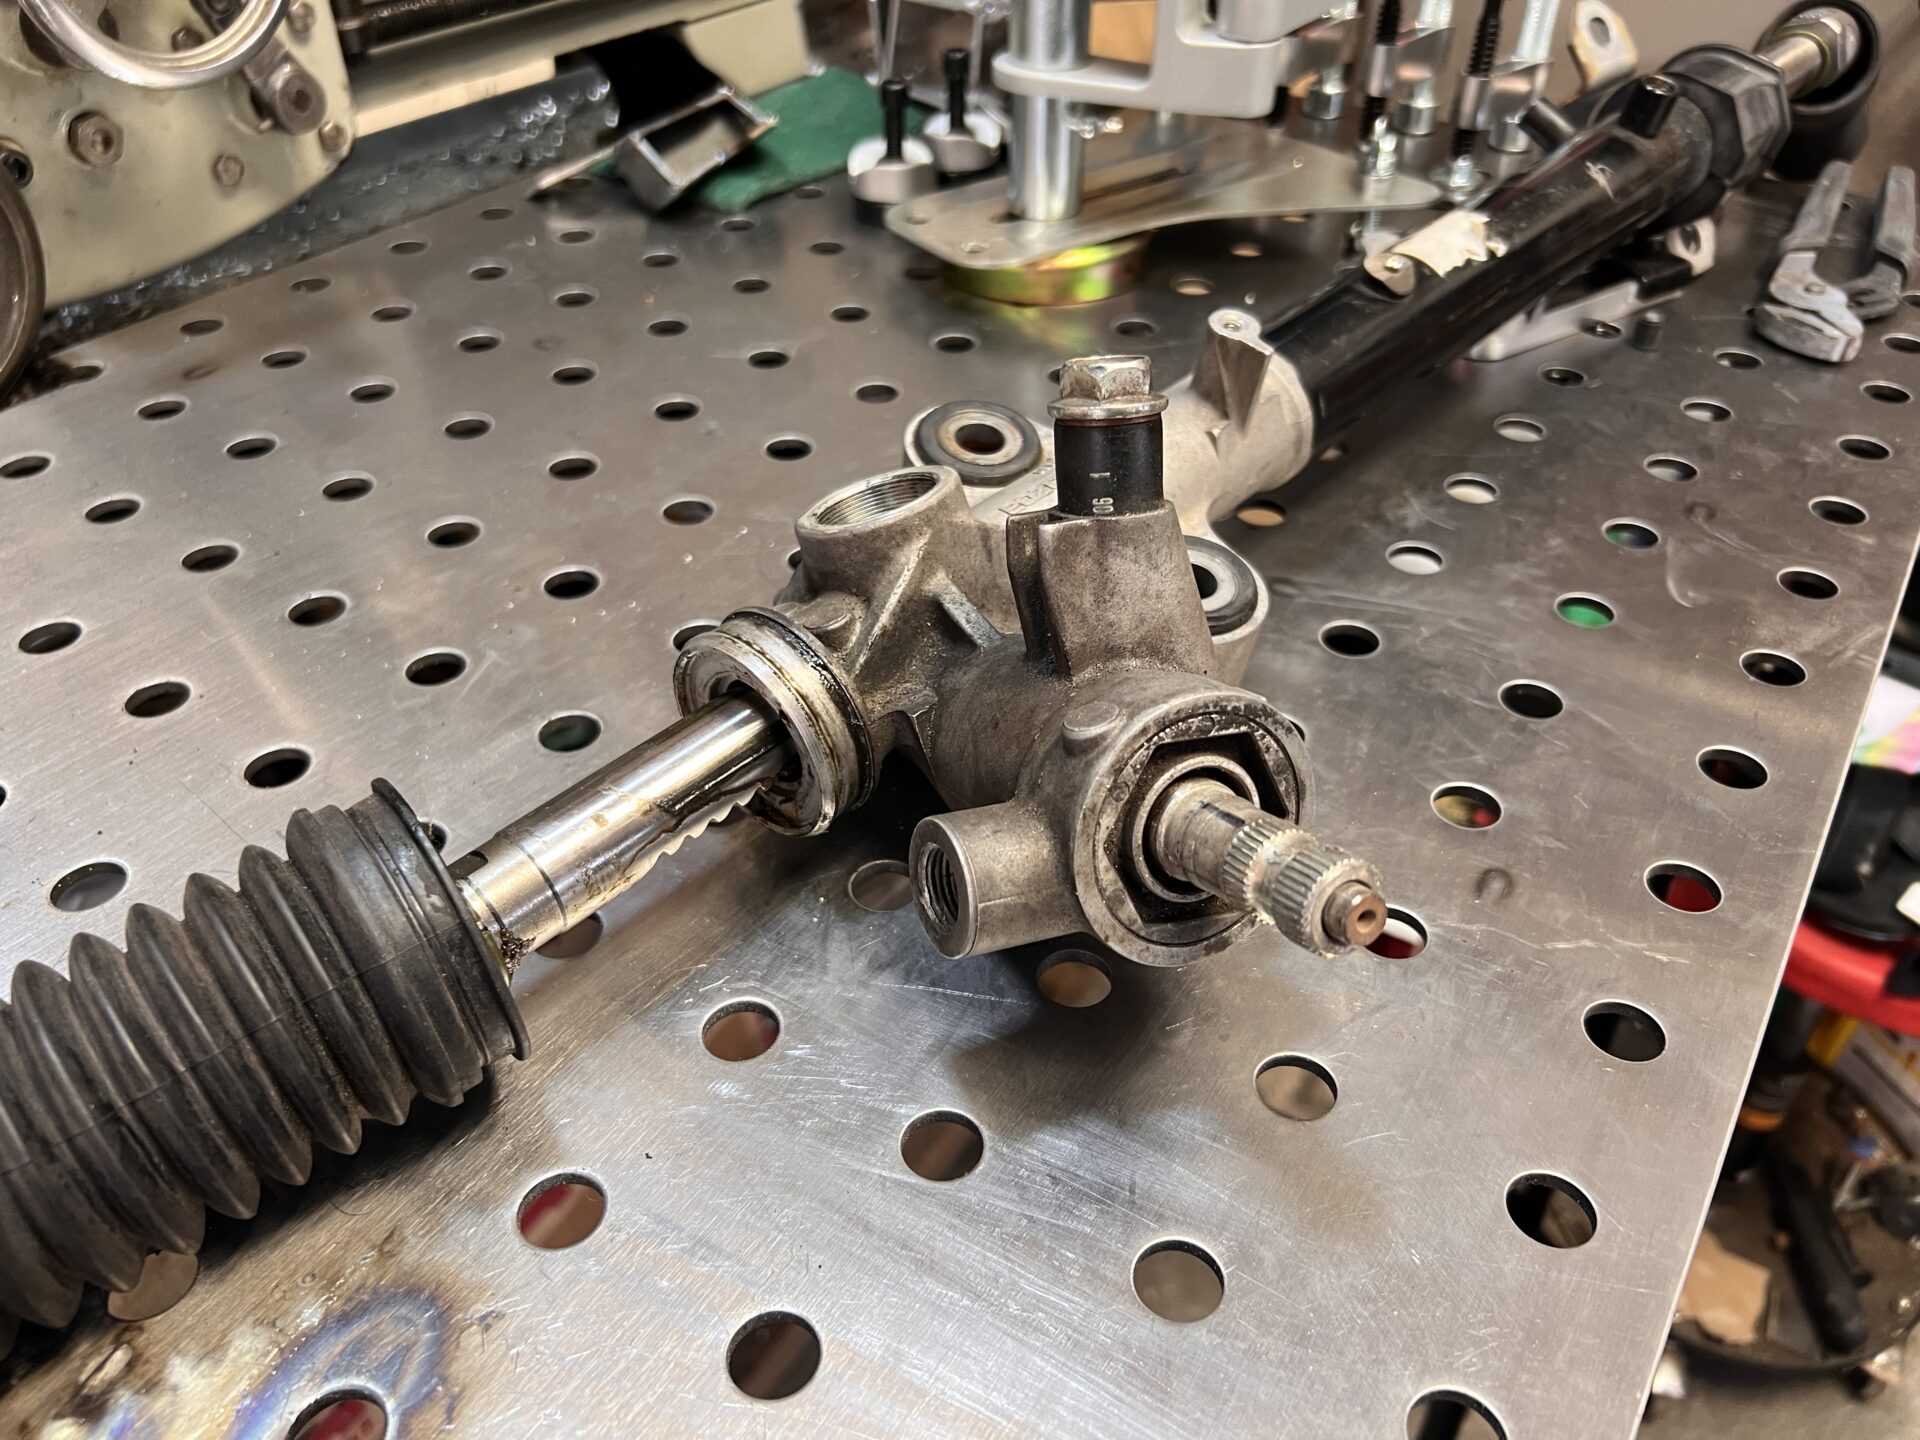
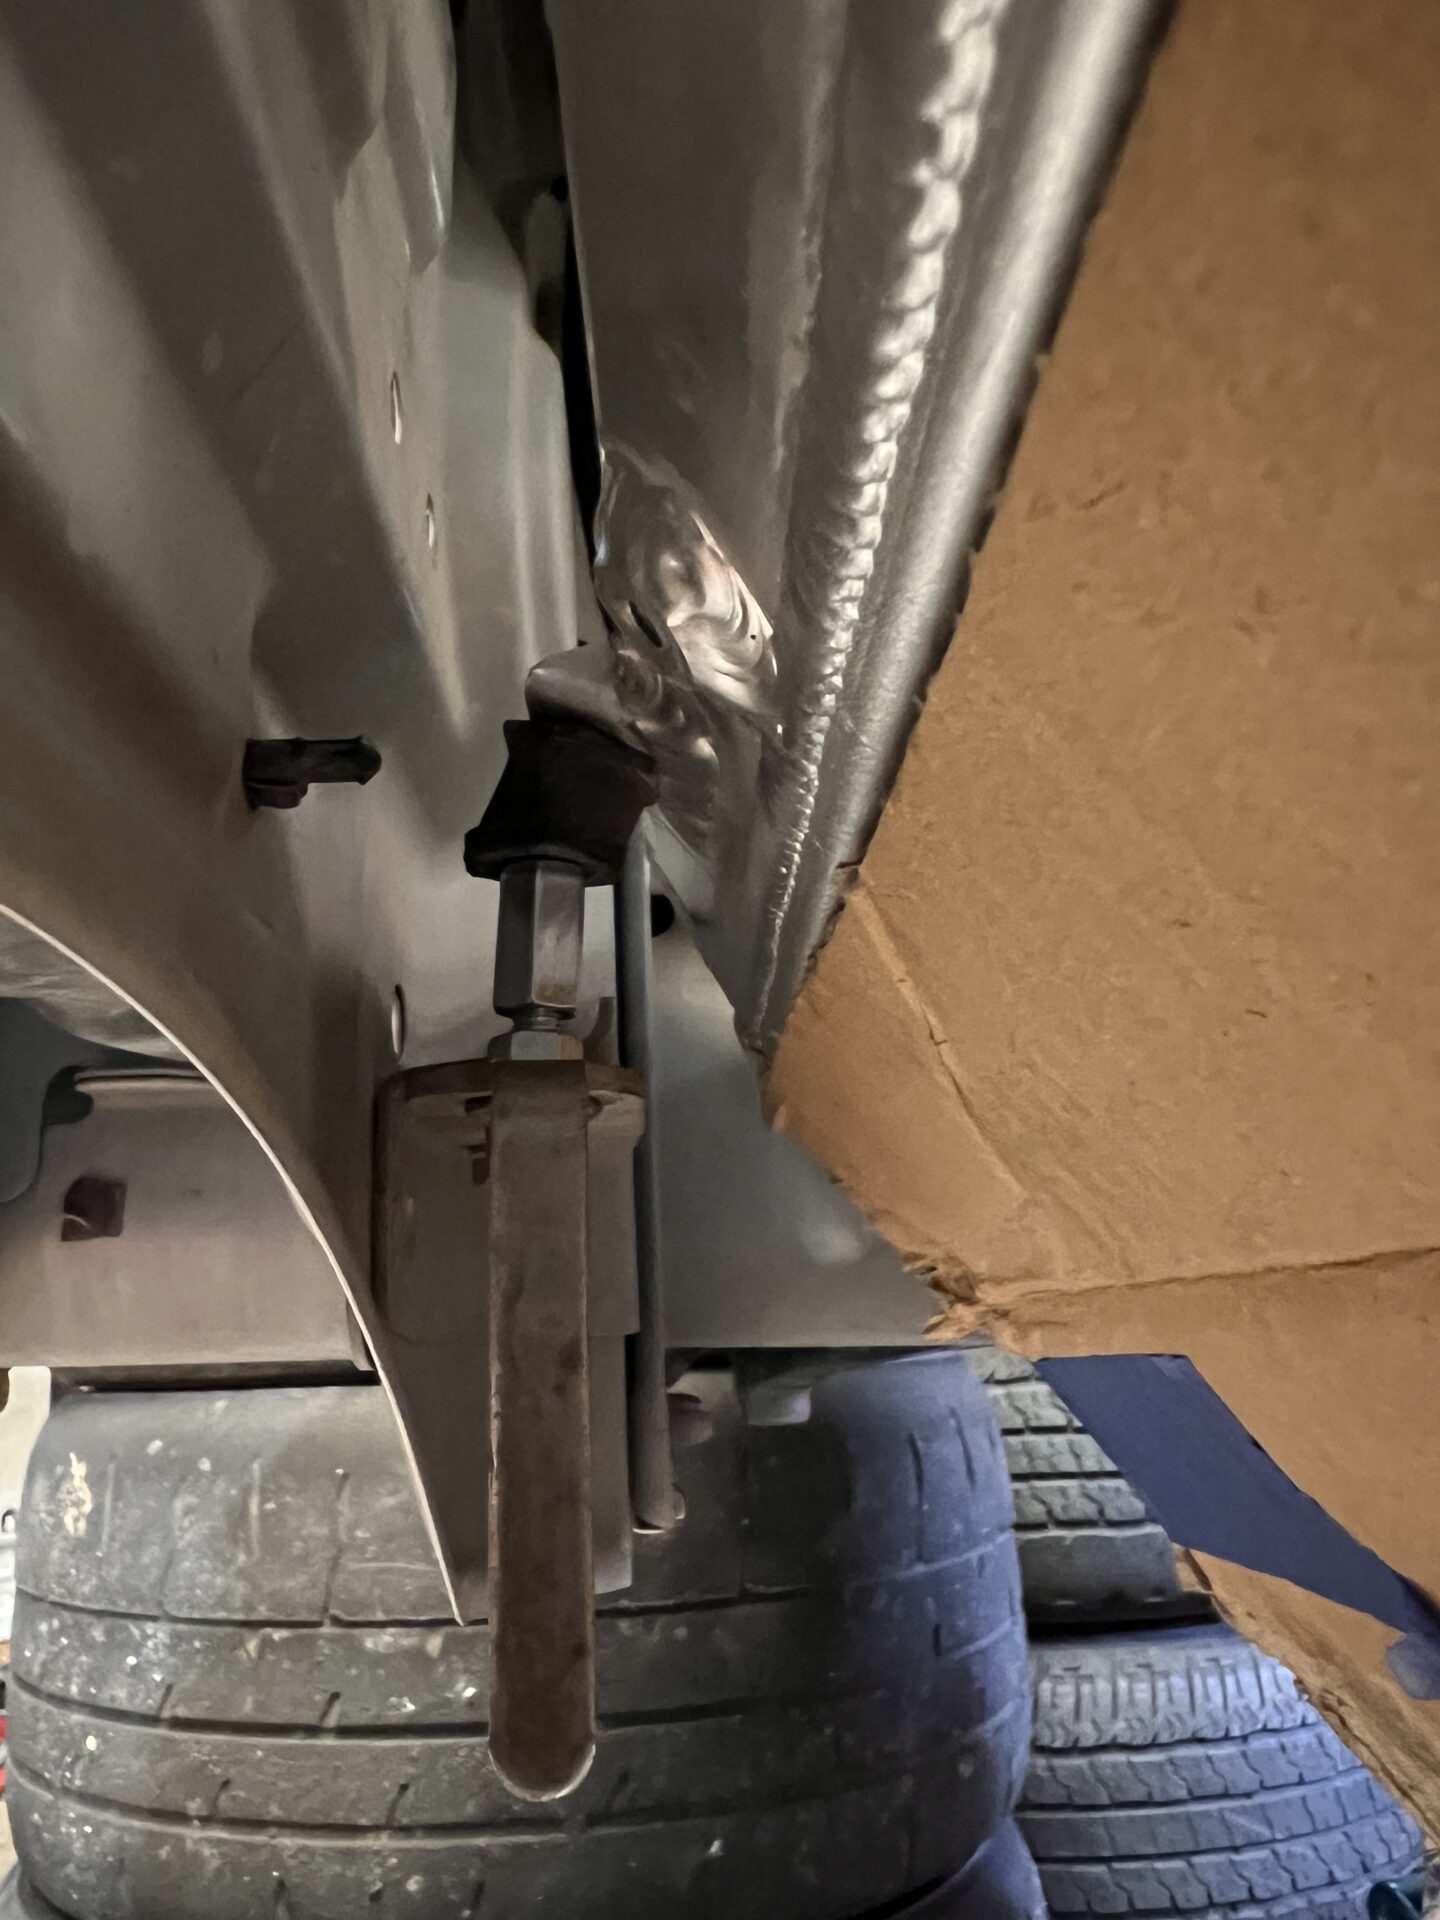
Then the pinion can be extracted and prepped for welding. There is a roller bearing with a threaded retention collar that gets removed. The pictured connection has a tiny bit of flex - this is what exposes the hydraulic ports when you turn the wheel to provide a path for pressurized fluid and provide assist. Some people don't weld this up for fear of warping the pinion, noting that the flex is minimal. The threads right at the point of welding make things interesting -  the NA and NB racks don't have that. I'd have to be careful...


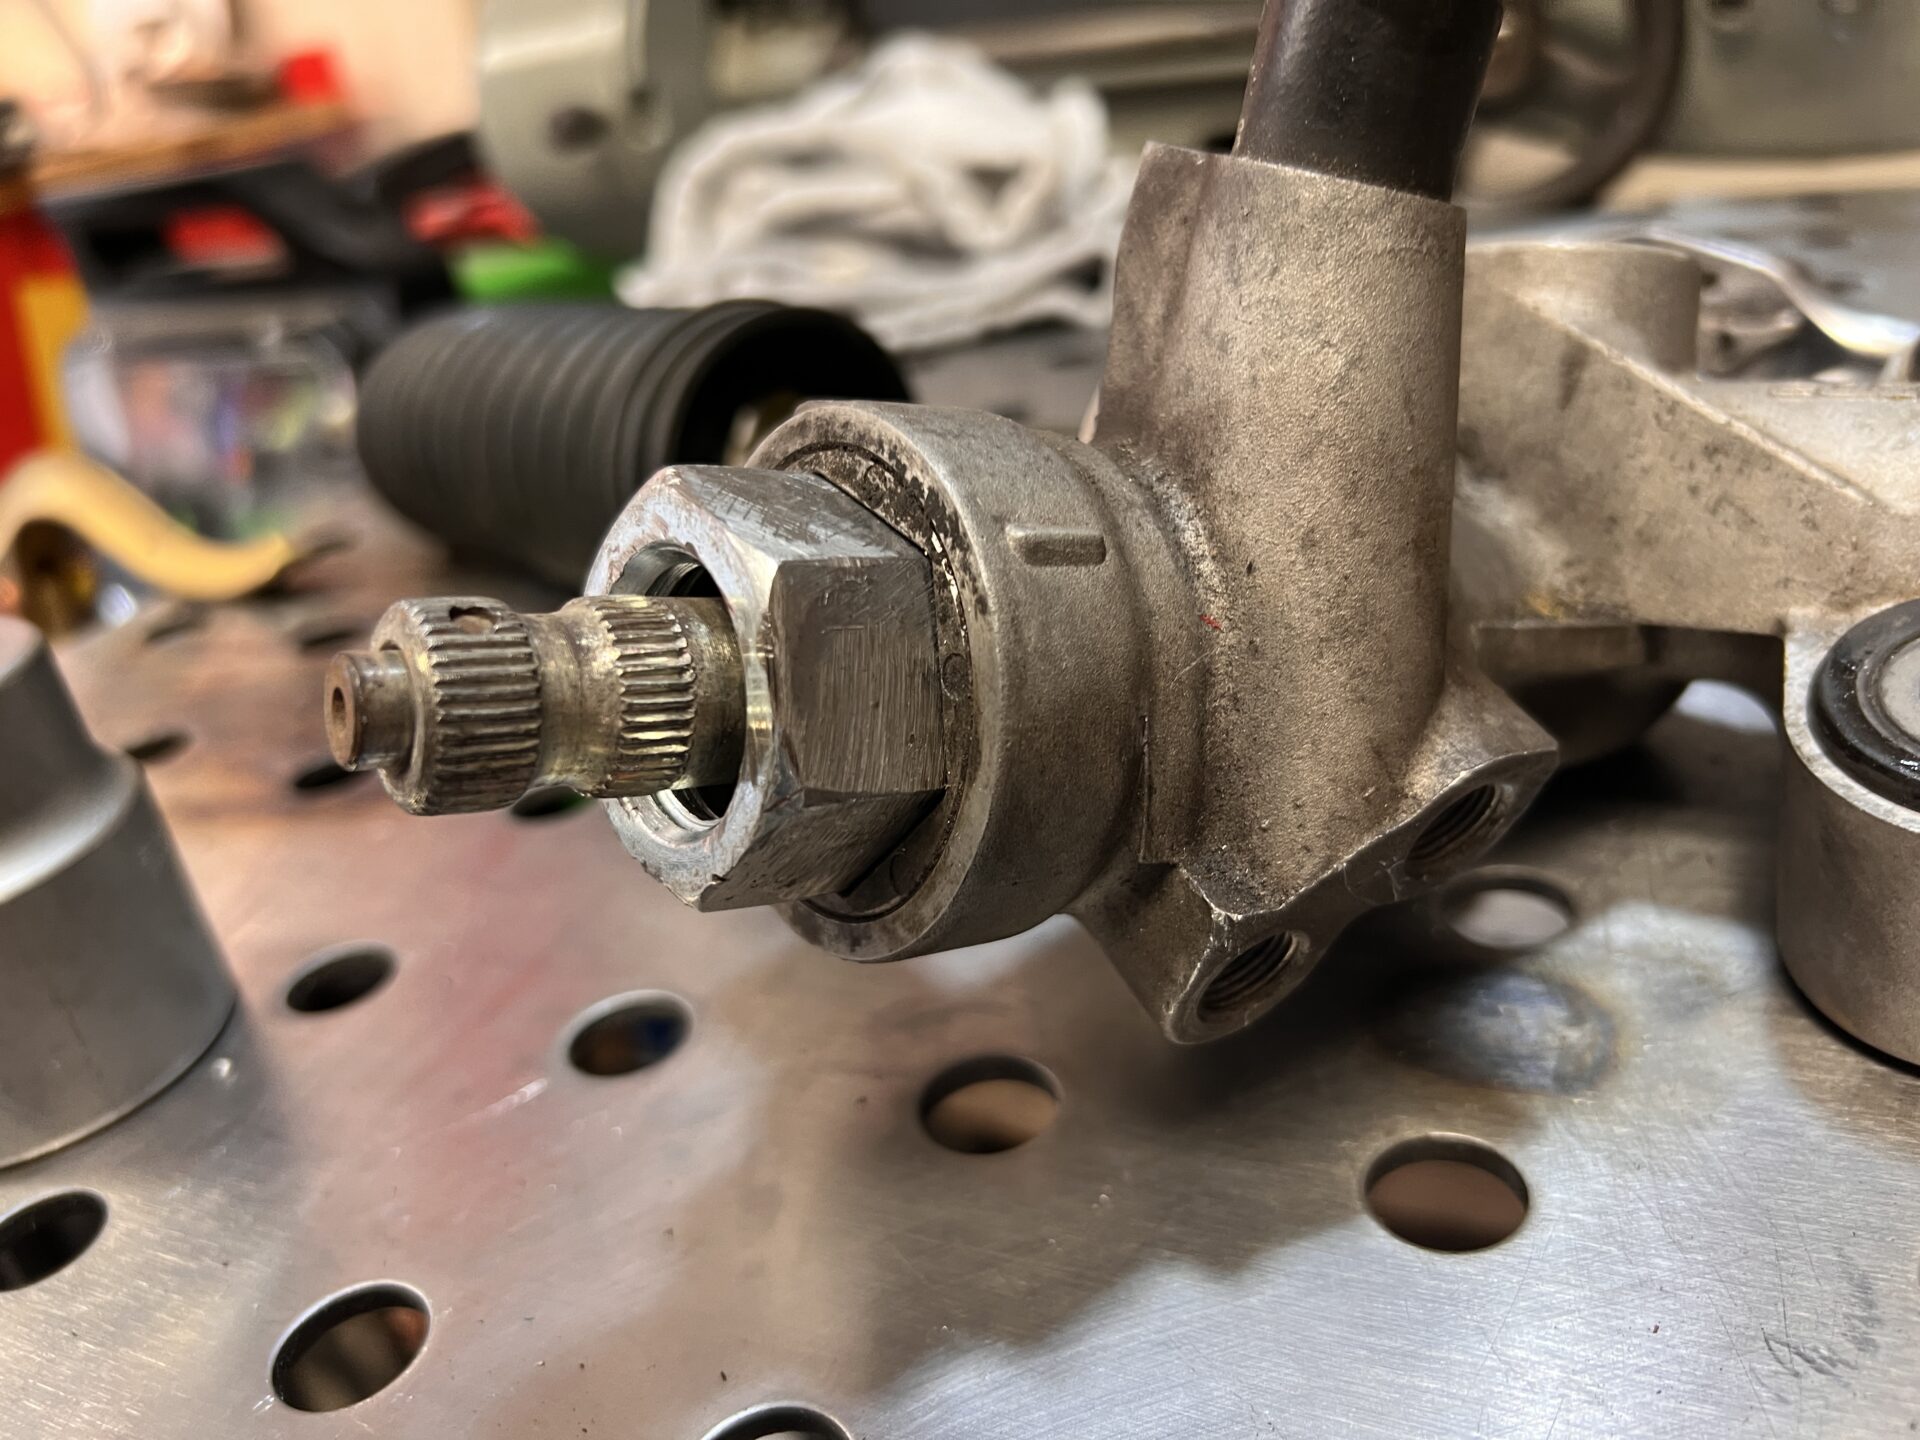
I ended up with a couple of high spots that I had to shave down so that I could thread the collar back on, but I got it. After:


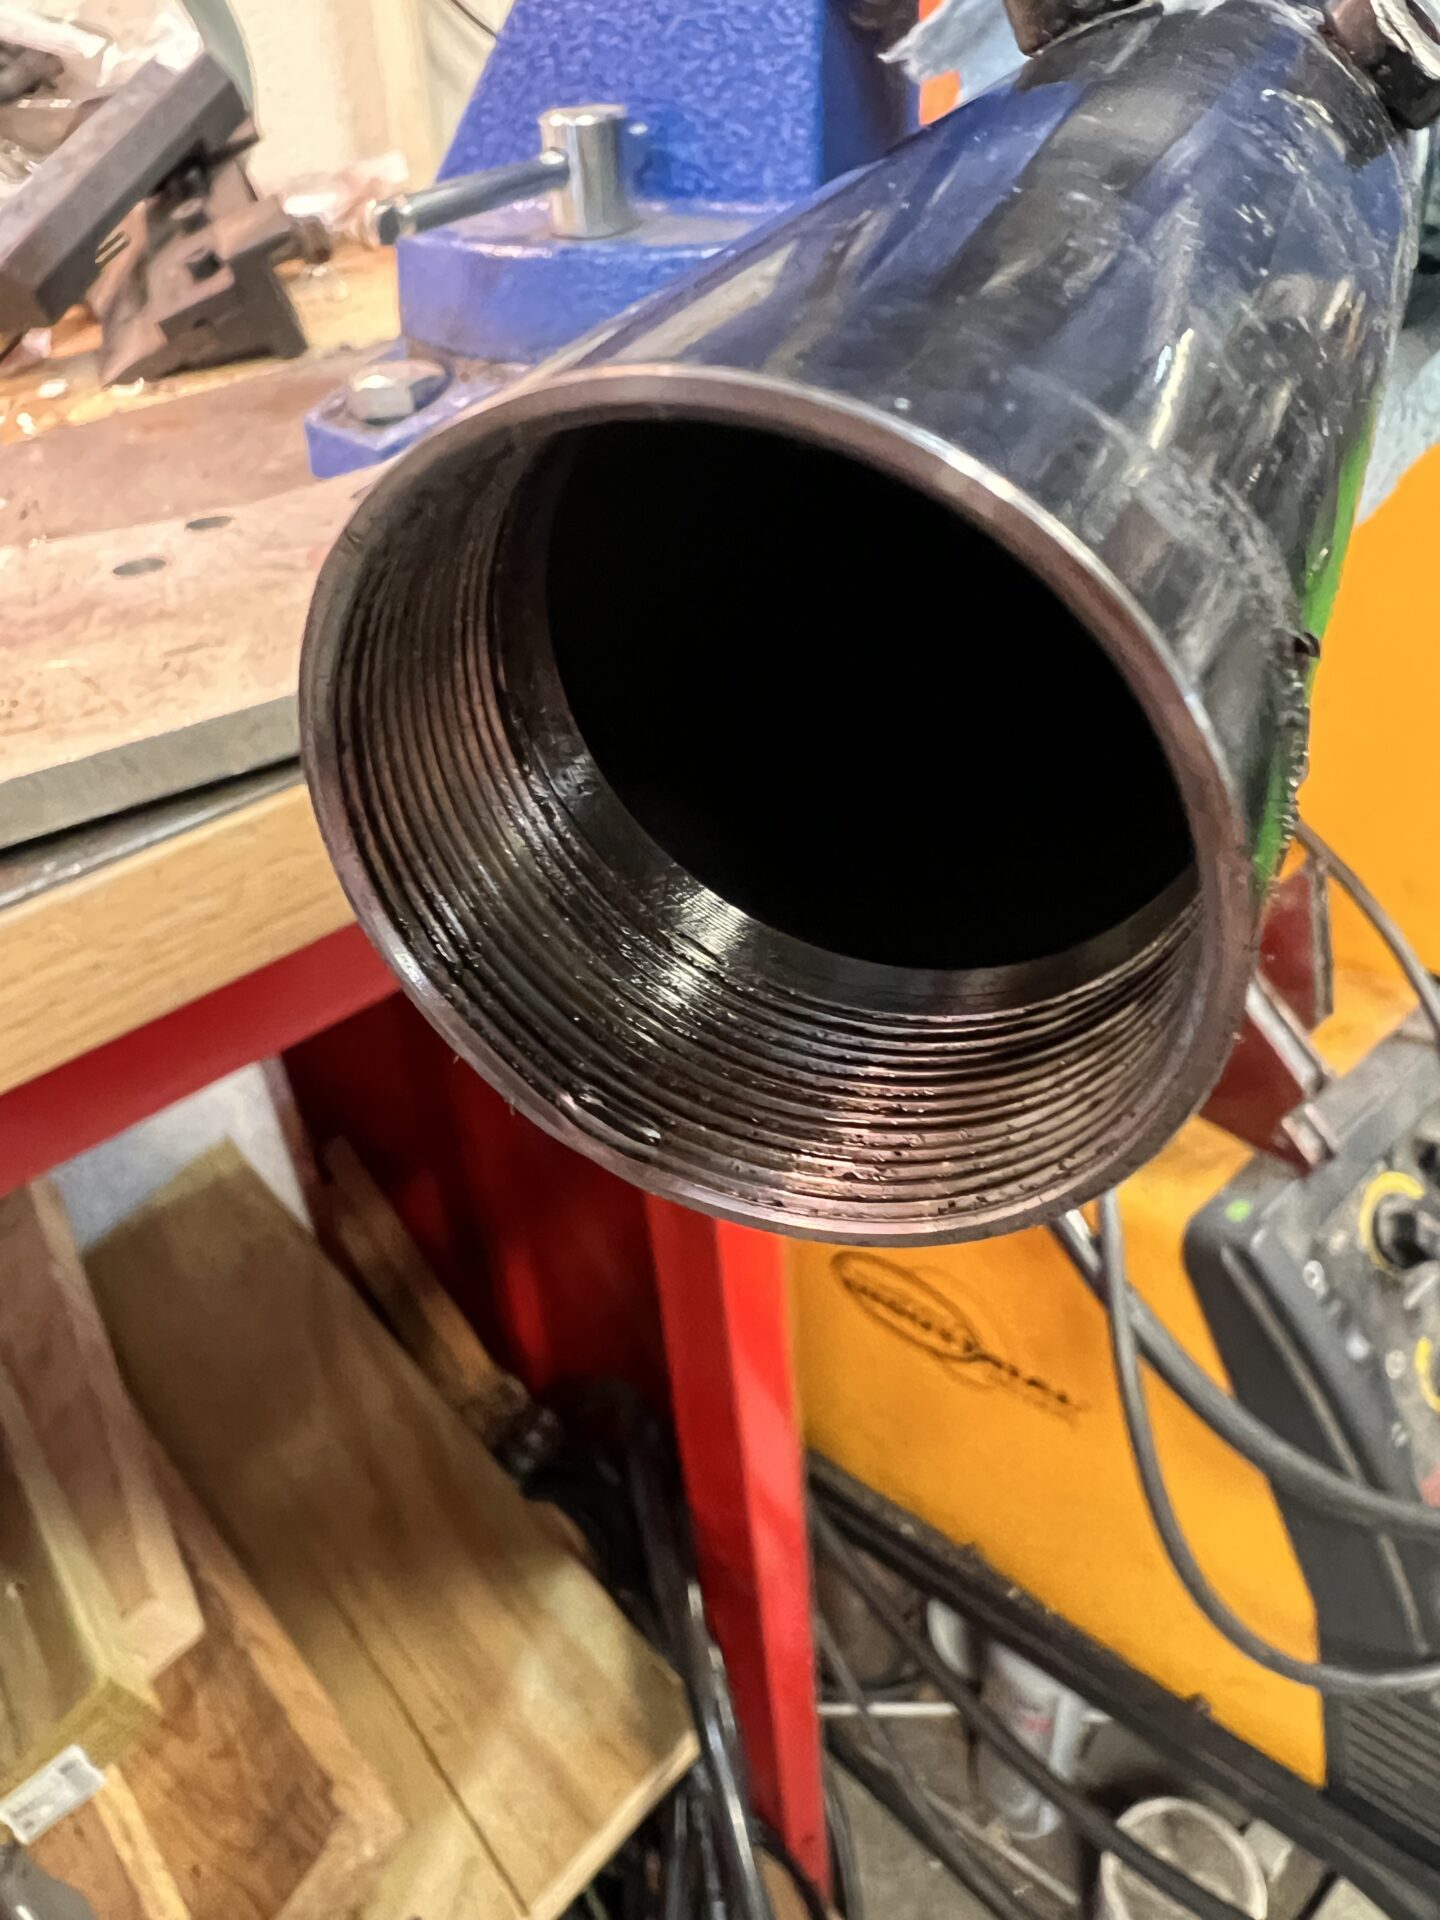
Next up was removing the rack bar to remove the center seal. There's an aluminum hex cap opposite the pinion end that has to be removed to get the bar out. Unfortunately the steel tube of the rack is staked on the threads presumably so it doesn't back out. I don't have a good way to un-stake it, so I just backed the nut out, which took some effort and probably flattened the aluminum threads a little bit. A replacement cap is only $25, if I have any trouble getting this one back in I'll probably just grab a new one.


I don't know if there's a better way to drill or grind out the staked portion without messing up the threads or the rack's seal, maybe there is. You can see it at about 7 o'clock.


Once that cap is out, there's a seal buried a couple inches in the rack, but there was no retention of the seal and no obvious way to pull it without damaging it, so I started trying to push the bar out against the seal. Unfortunately, the air trapped between the rack seal and that seal made a really nice spring so any attempt to hit it with a deadblow was just little hammering a spring - it would bounce back but wouldn't move out at all. I tried using a ratchet strap to put tension on it, but that wasn't even enough.


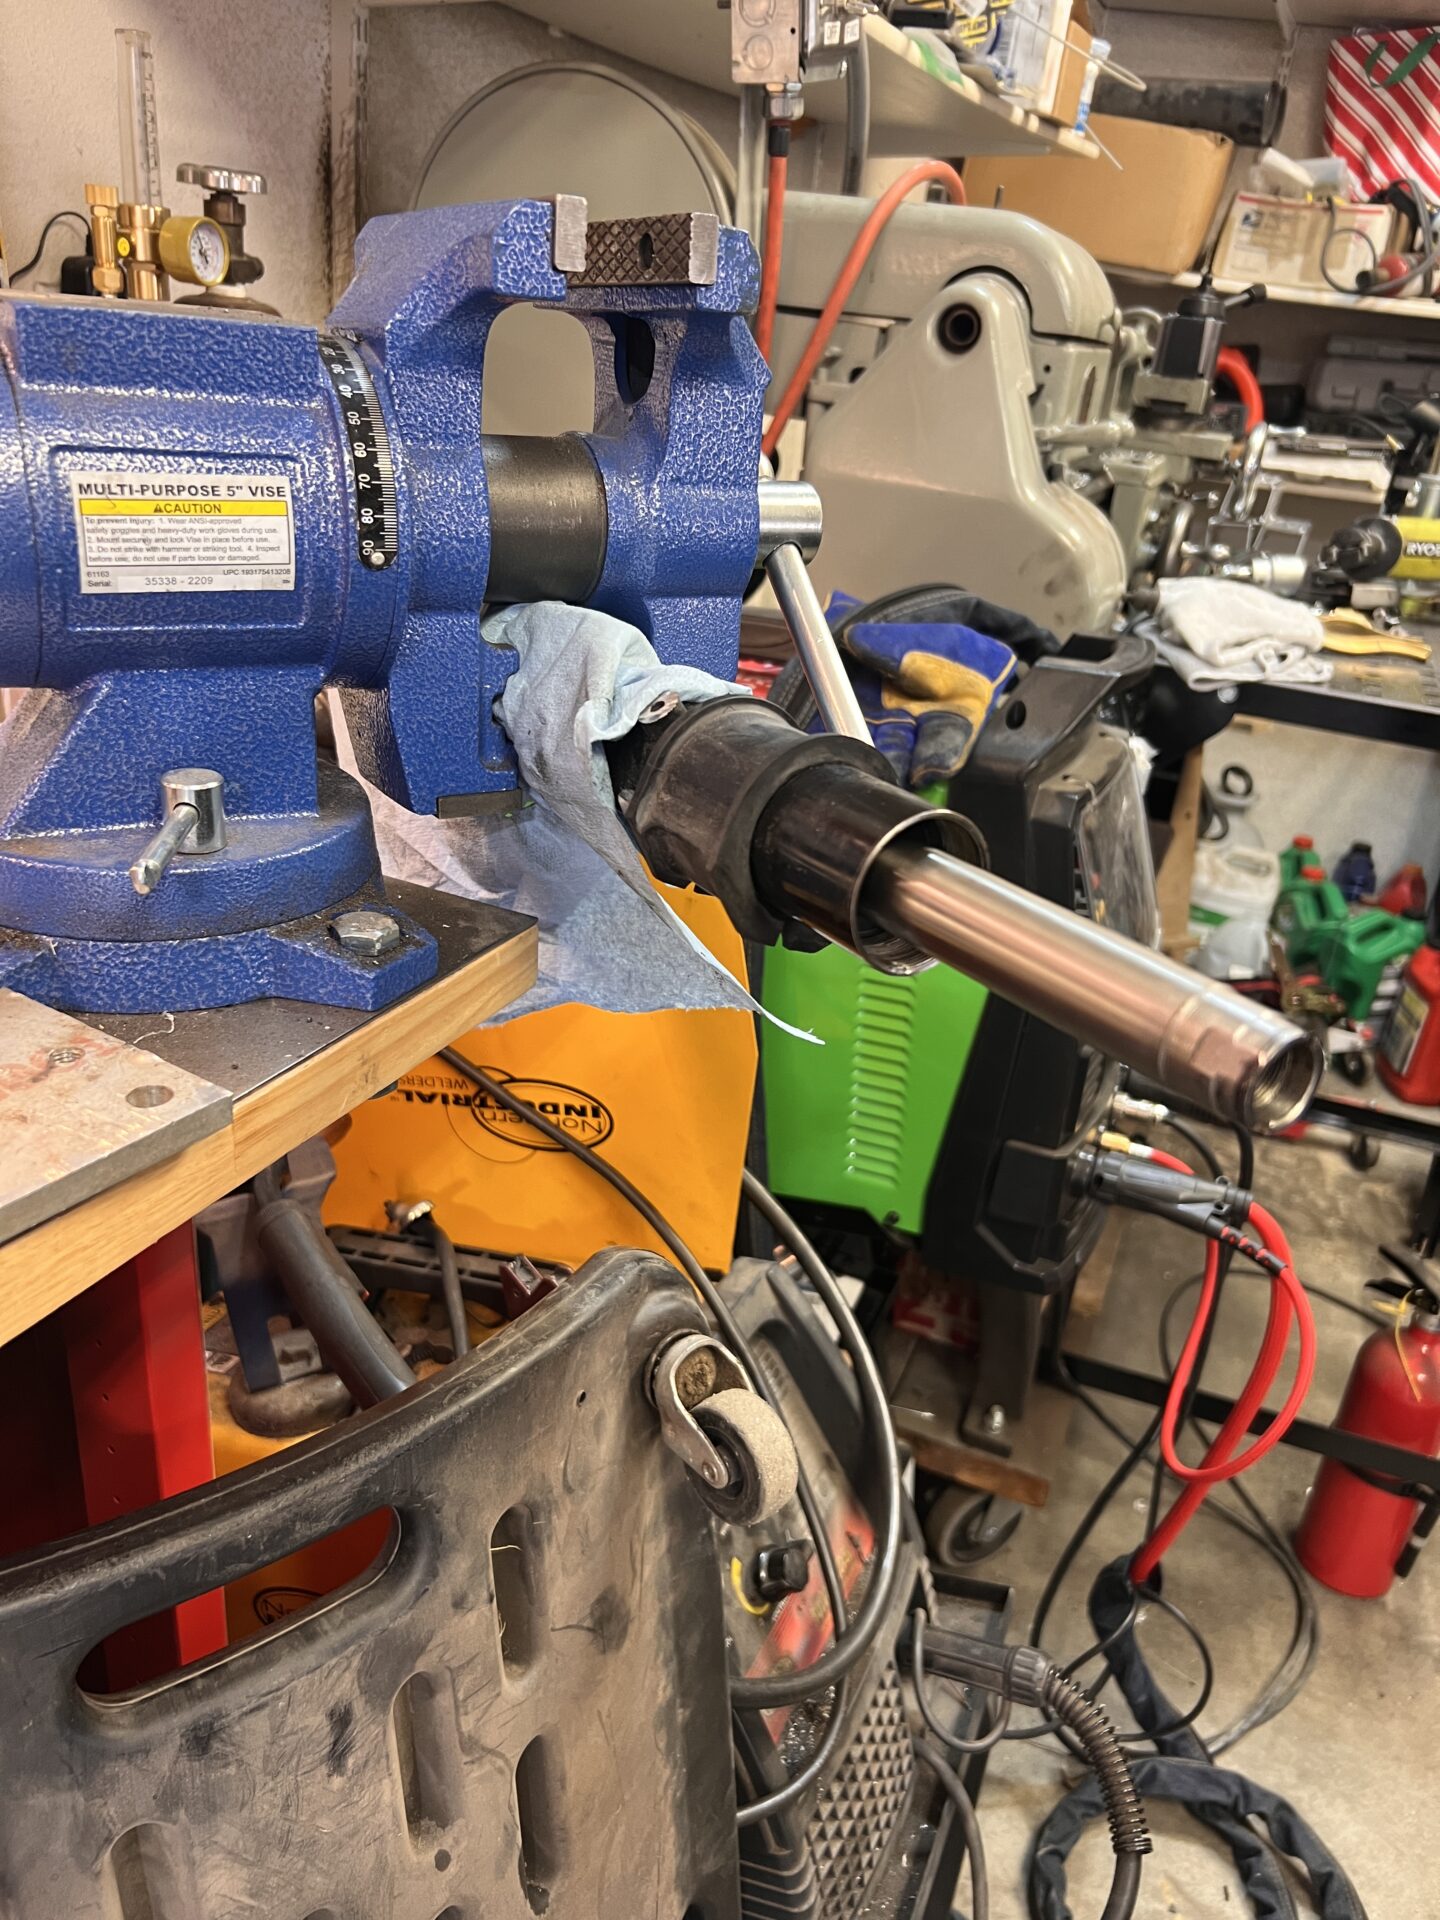
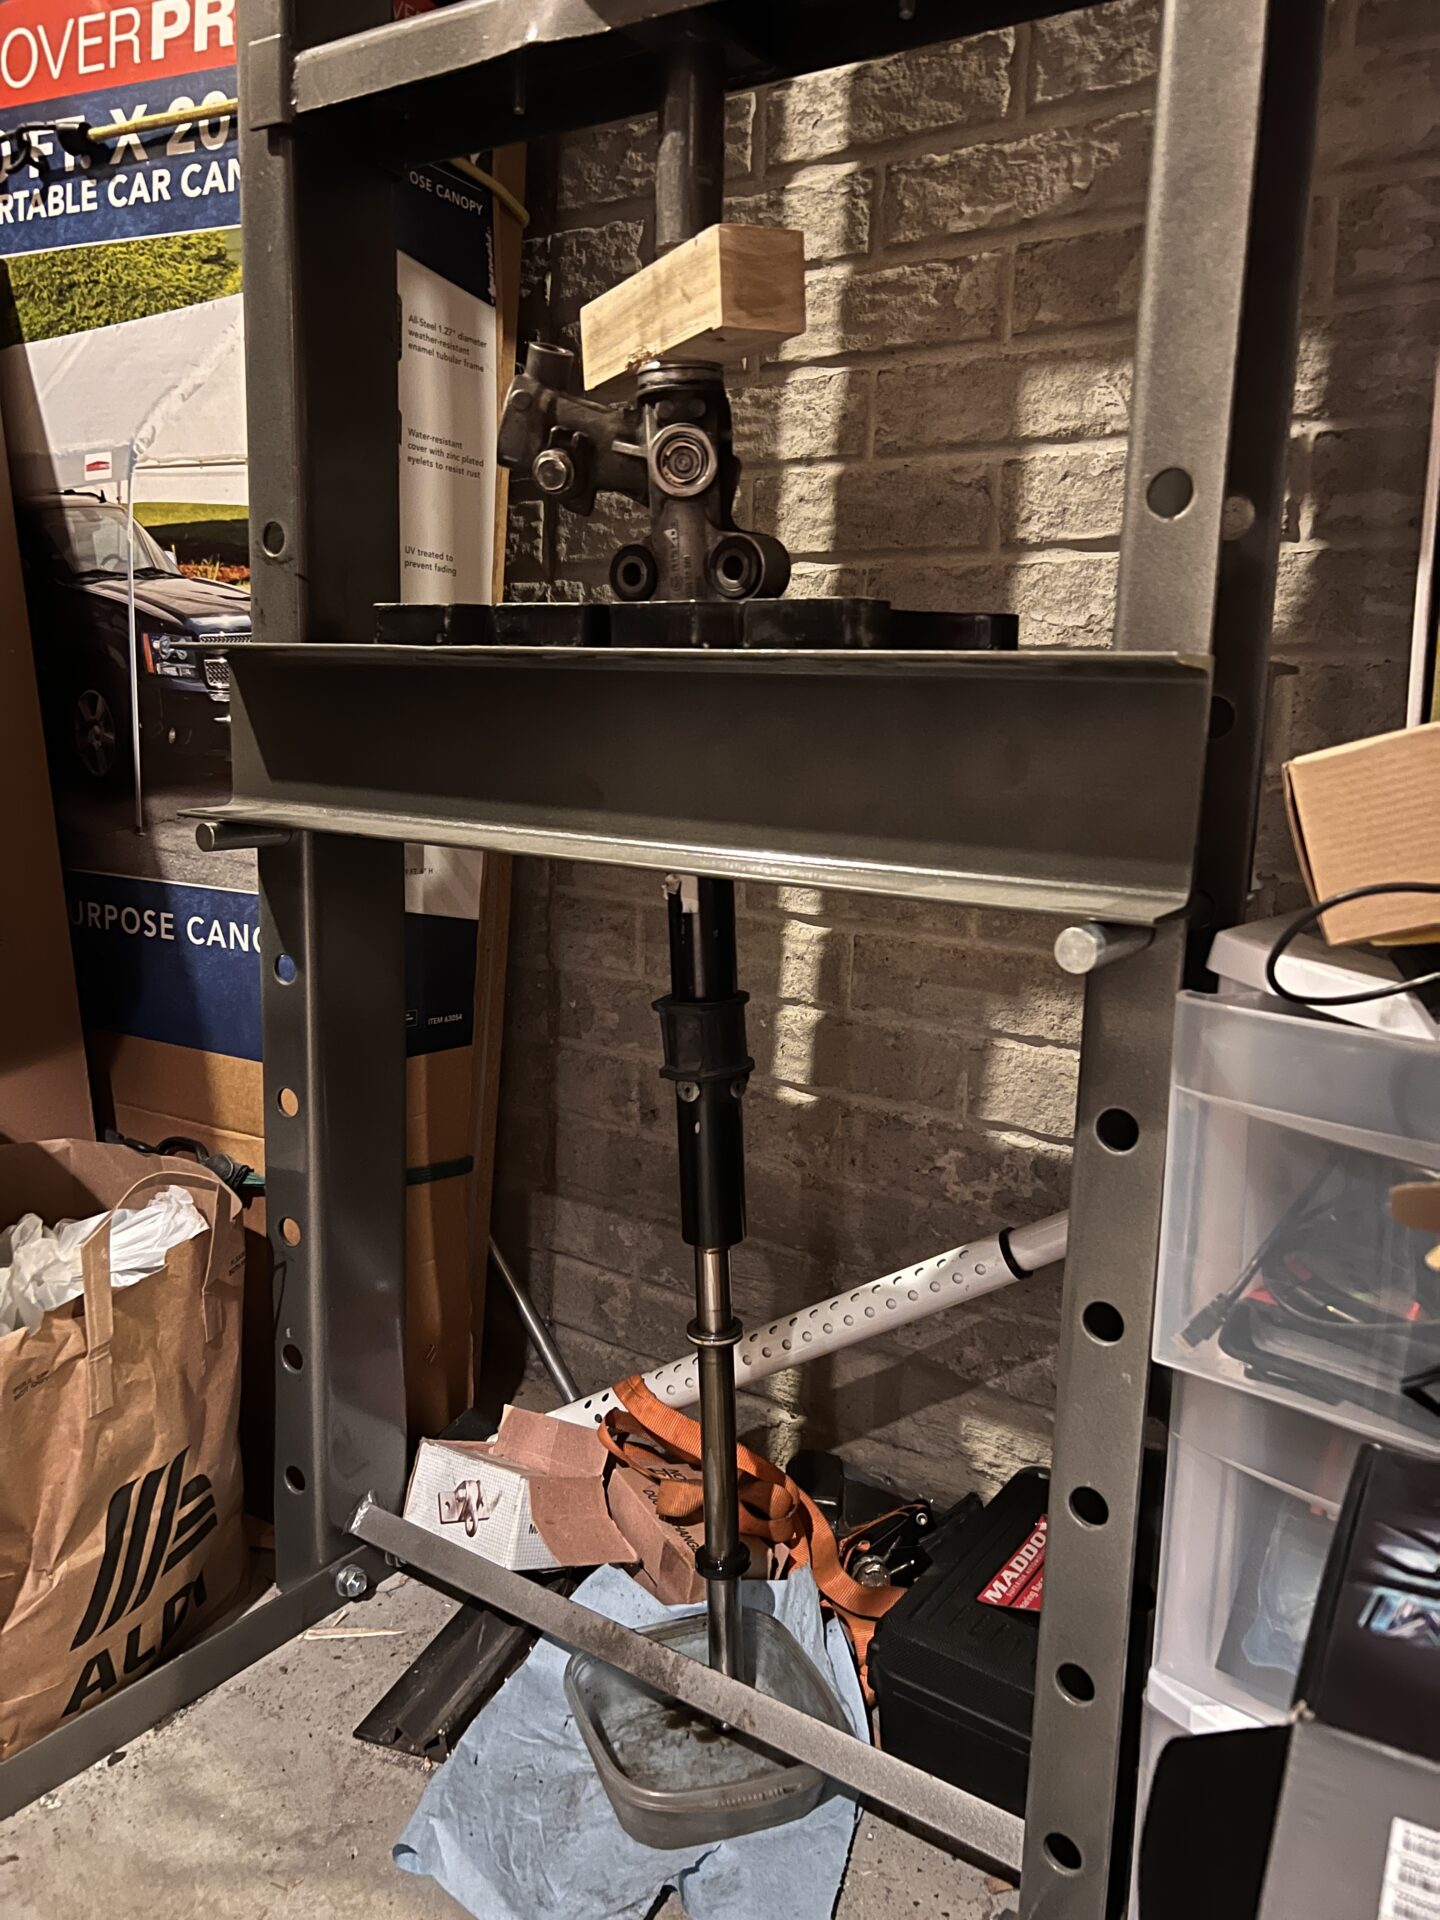
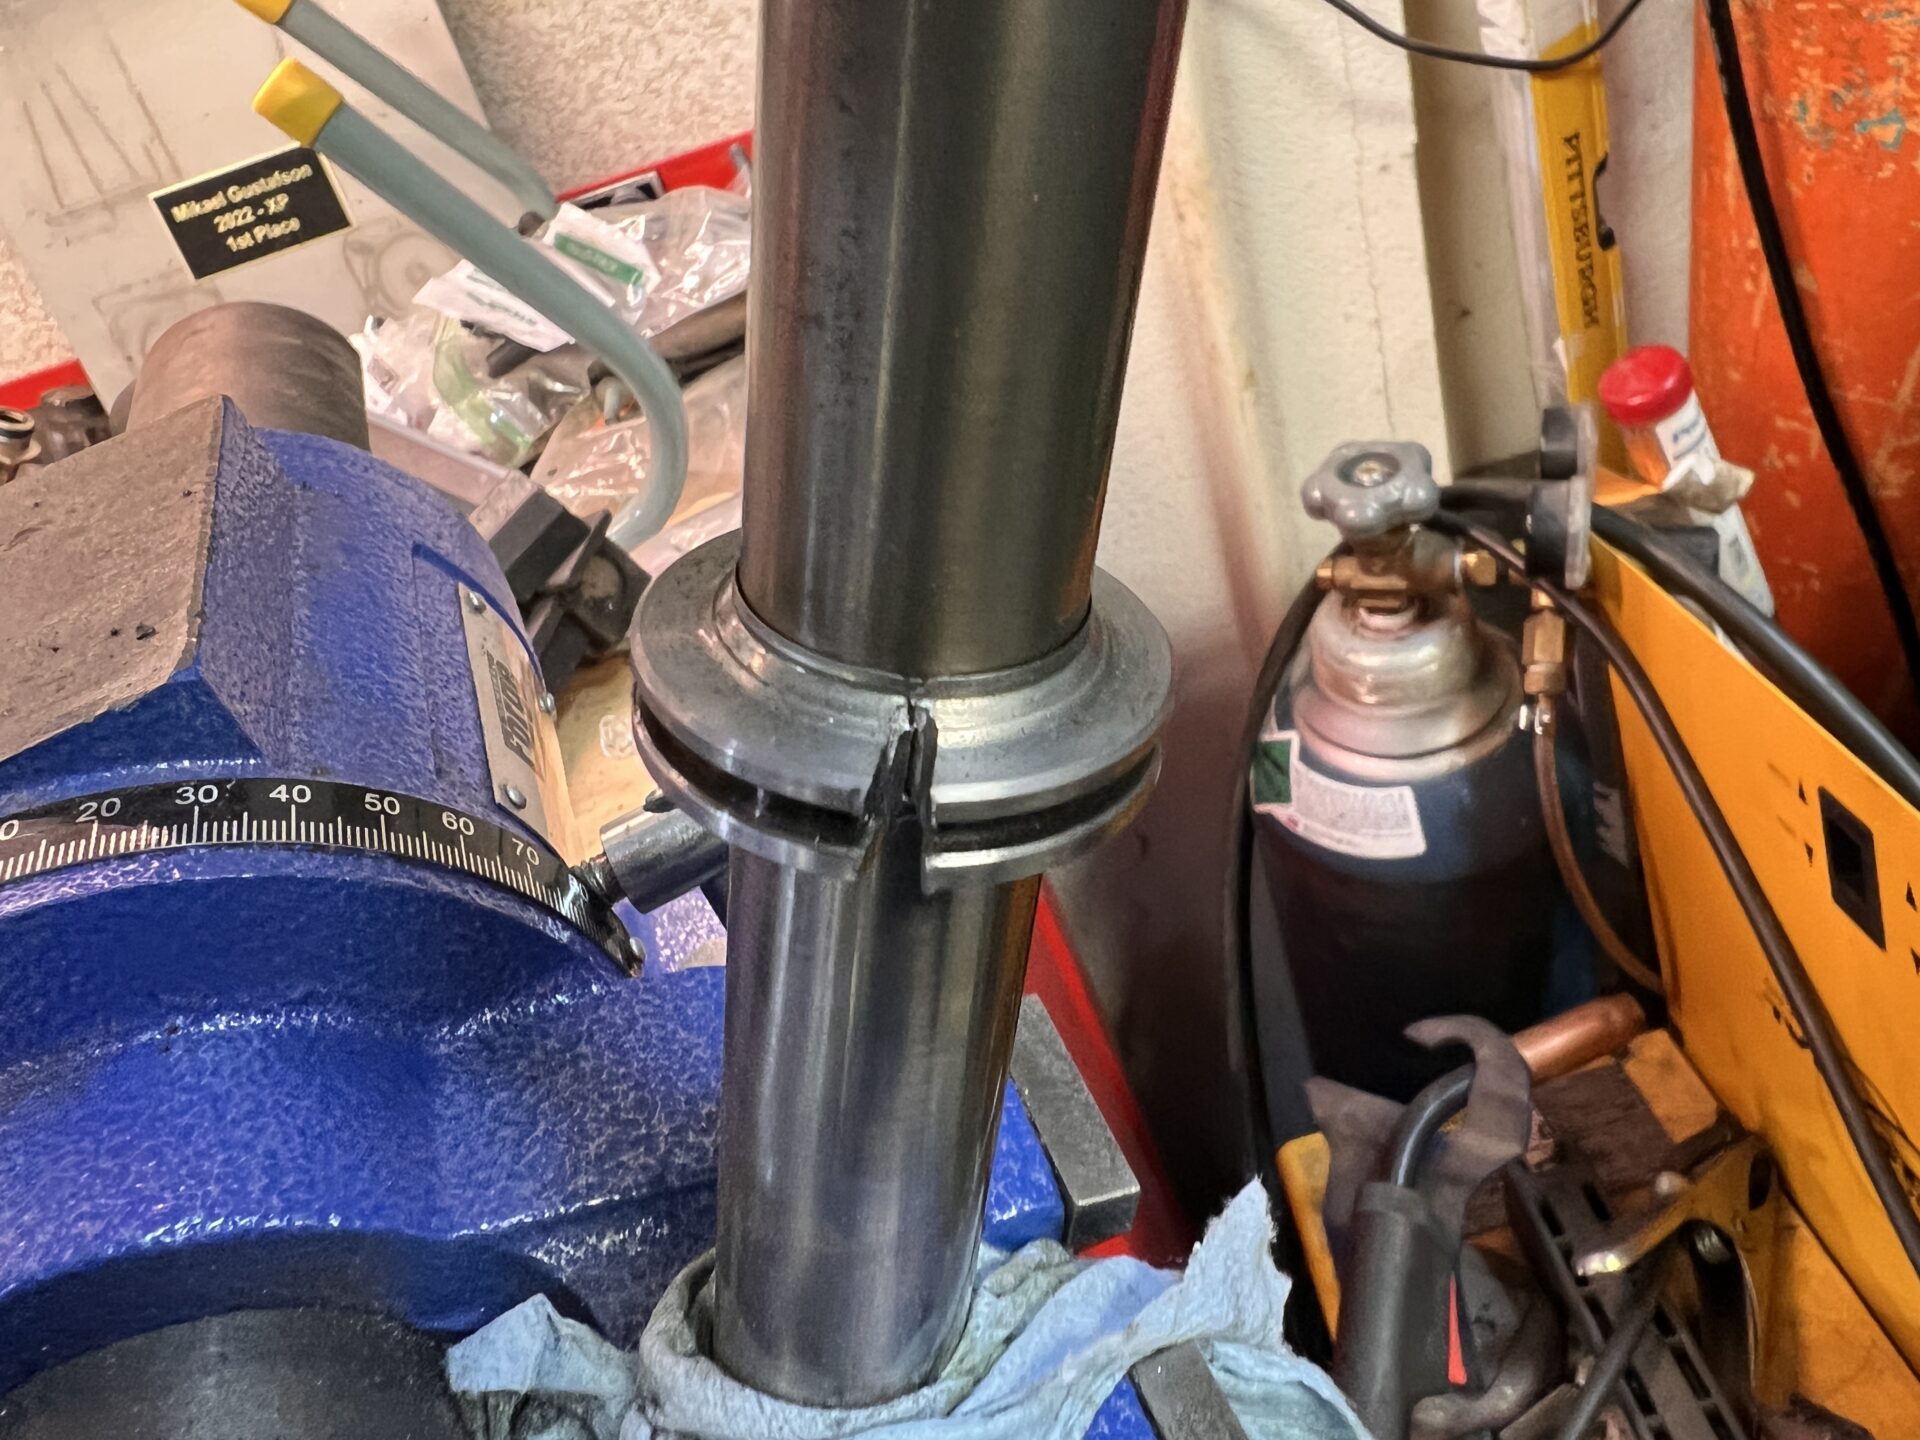
I keep the hydraulic press in the basement utility room so that a rarely-used bulky tool doesn't waste space in the garage. Coincidentally, the sprinkler shutoff is also in that utility room so I had to wait until the sprinkler guy was done. In the meantime I used a coupling nut and M6 bolt to raise the radiator up about an inch to give me better clearance over the rack:


I'm gaining confidence in aluminum welding, so I may end up just moving the lower radiator connection out of the way of the rack and maybe in a better place for this engine. Once the sprinkler guy took off I went and pressed the shaft out.


And here's the offending seal that needs removed to actually accomplish the "depower."


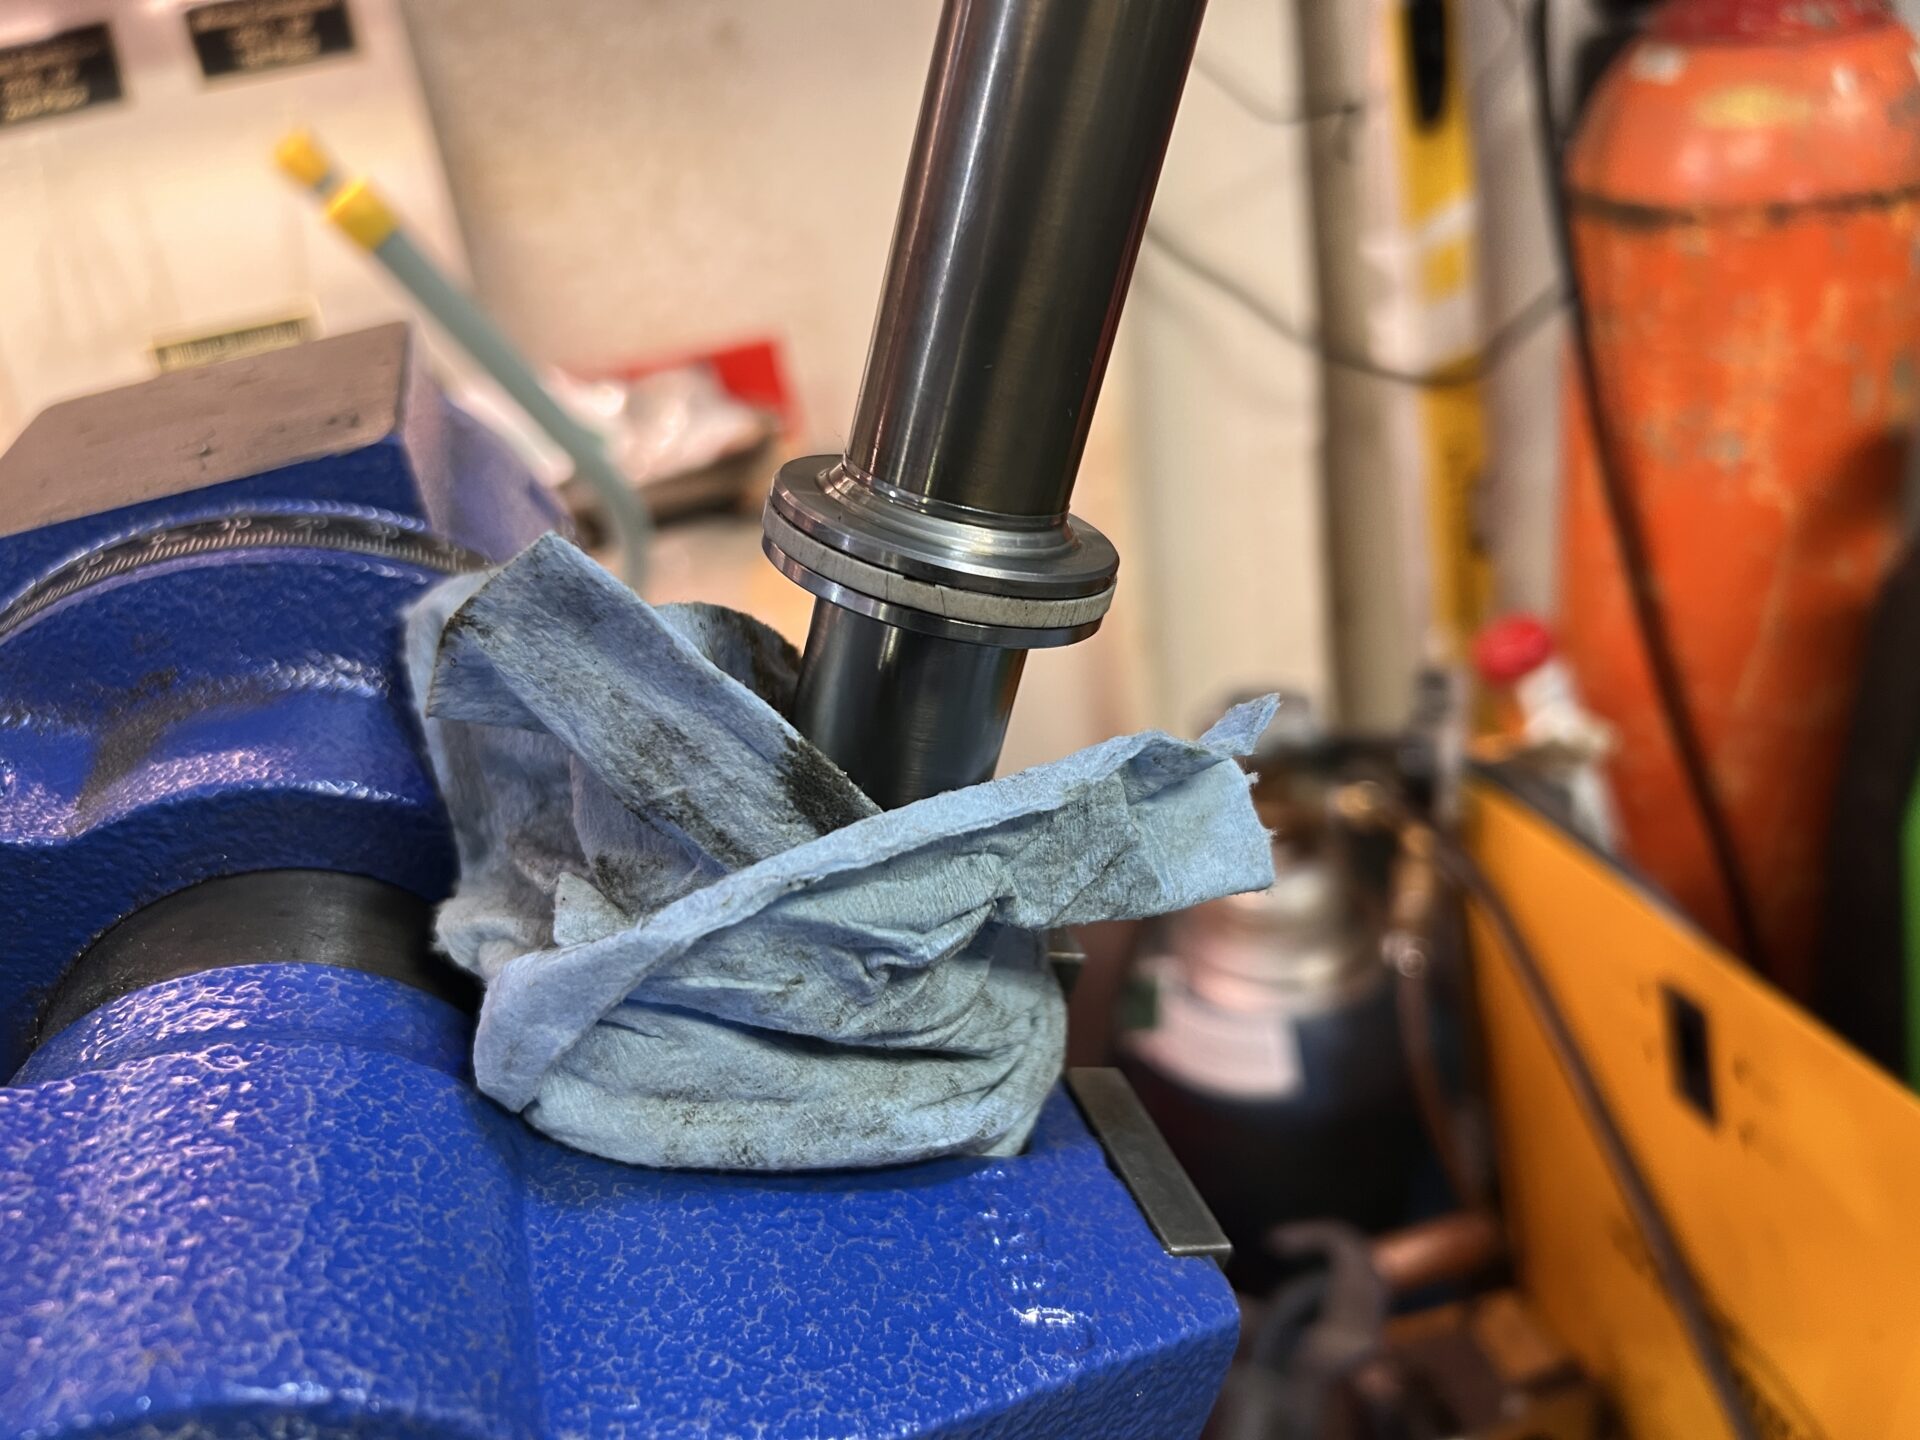
I used the angle grinder to cut alllmost all of the way through, then used a chisel (aka large screwdriver...) to break the rest of the way through without nicking the shaft.


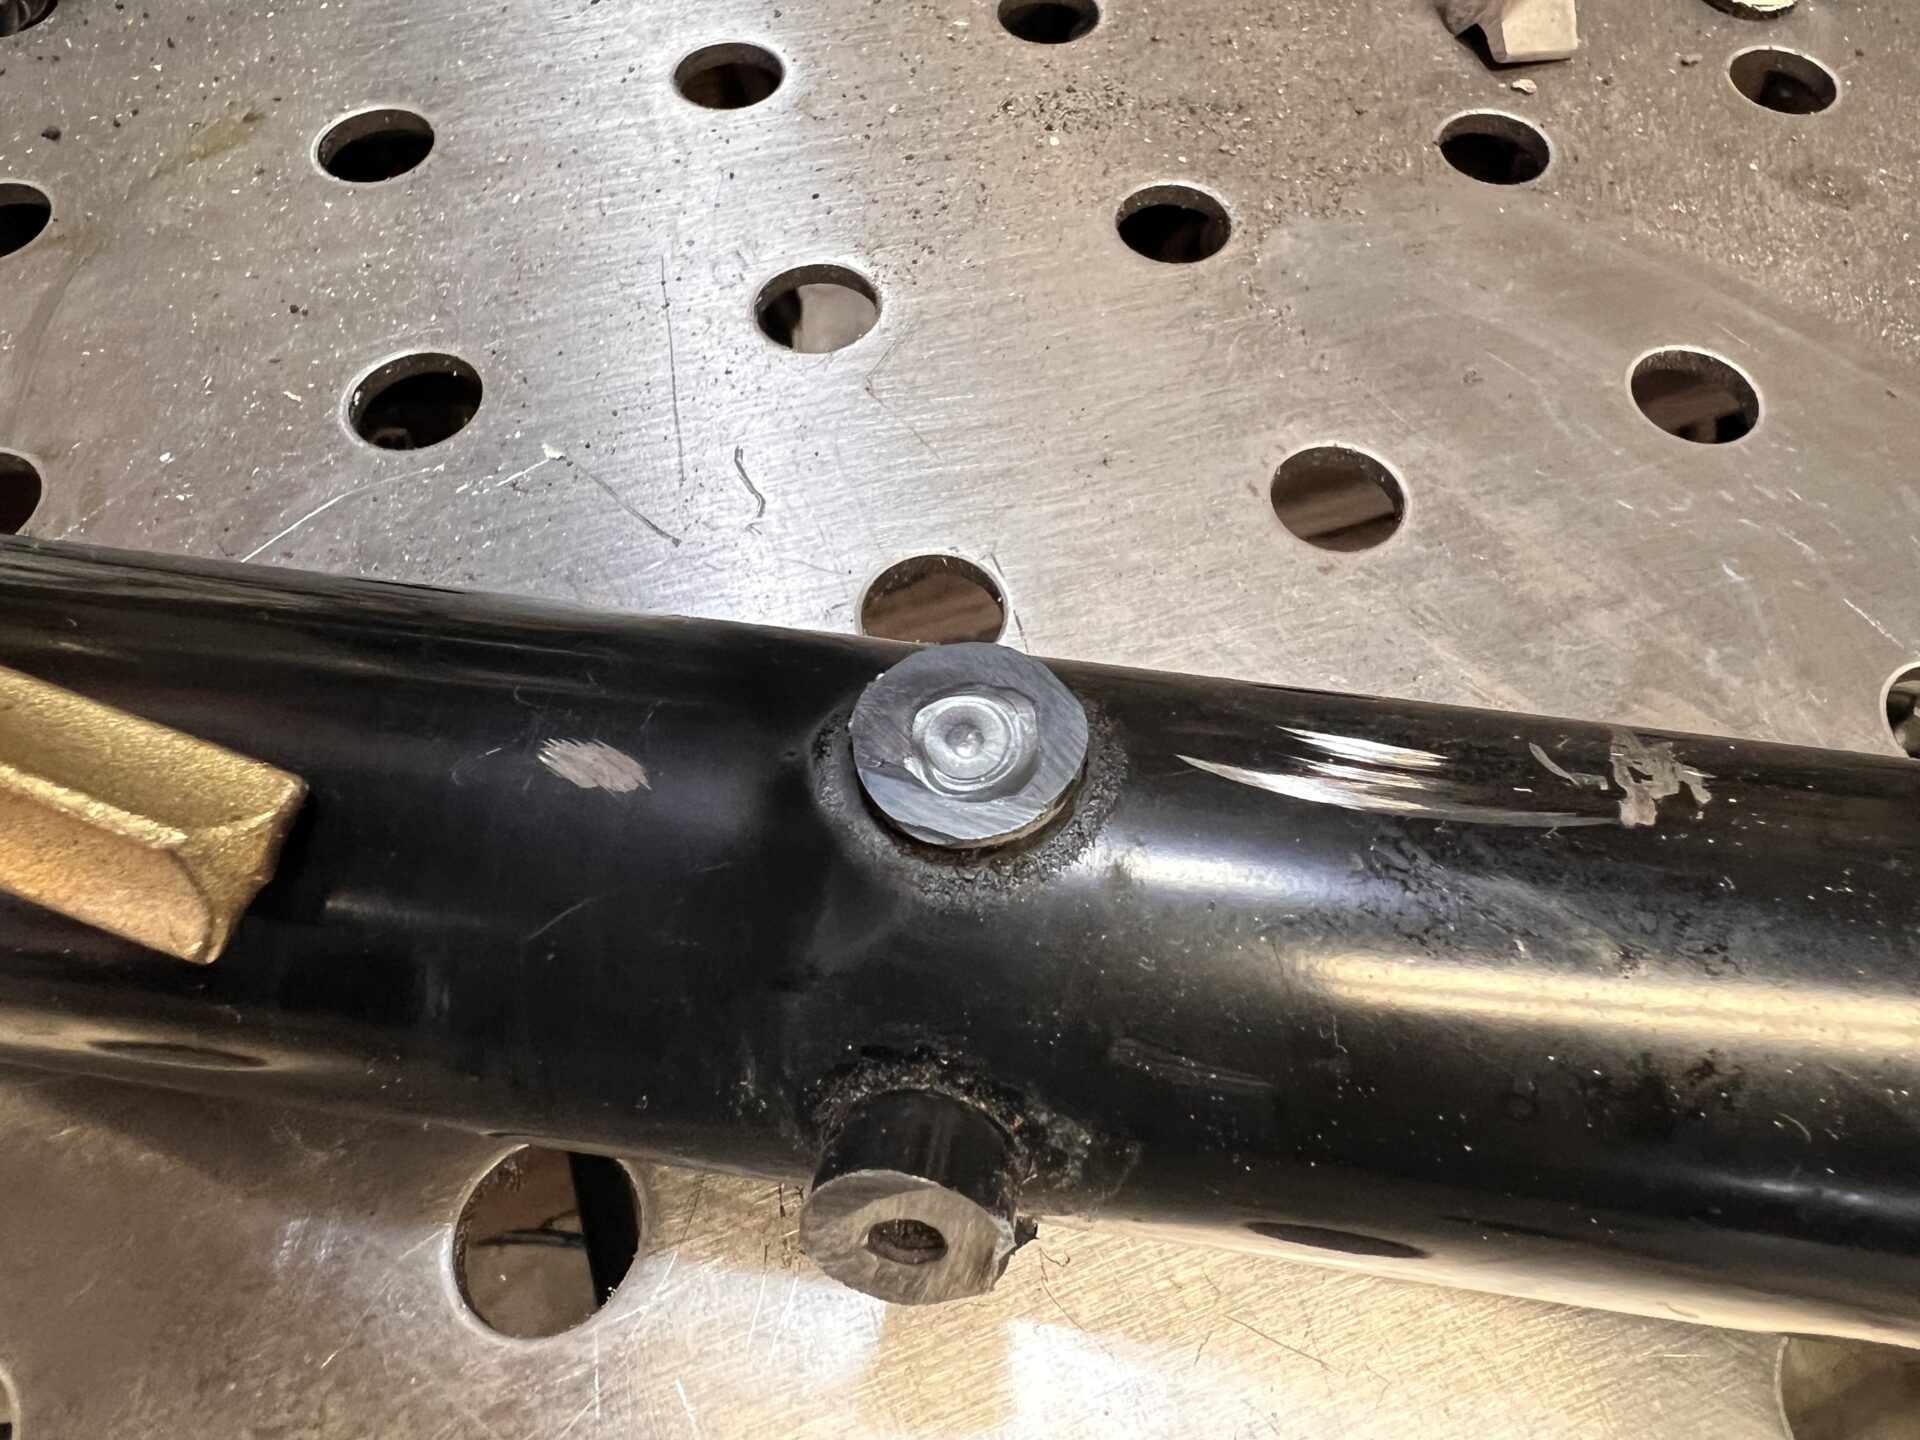
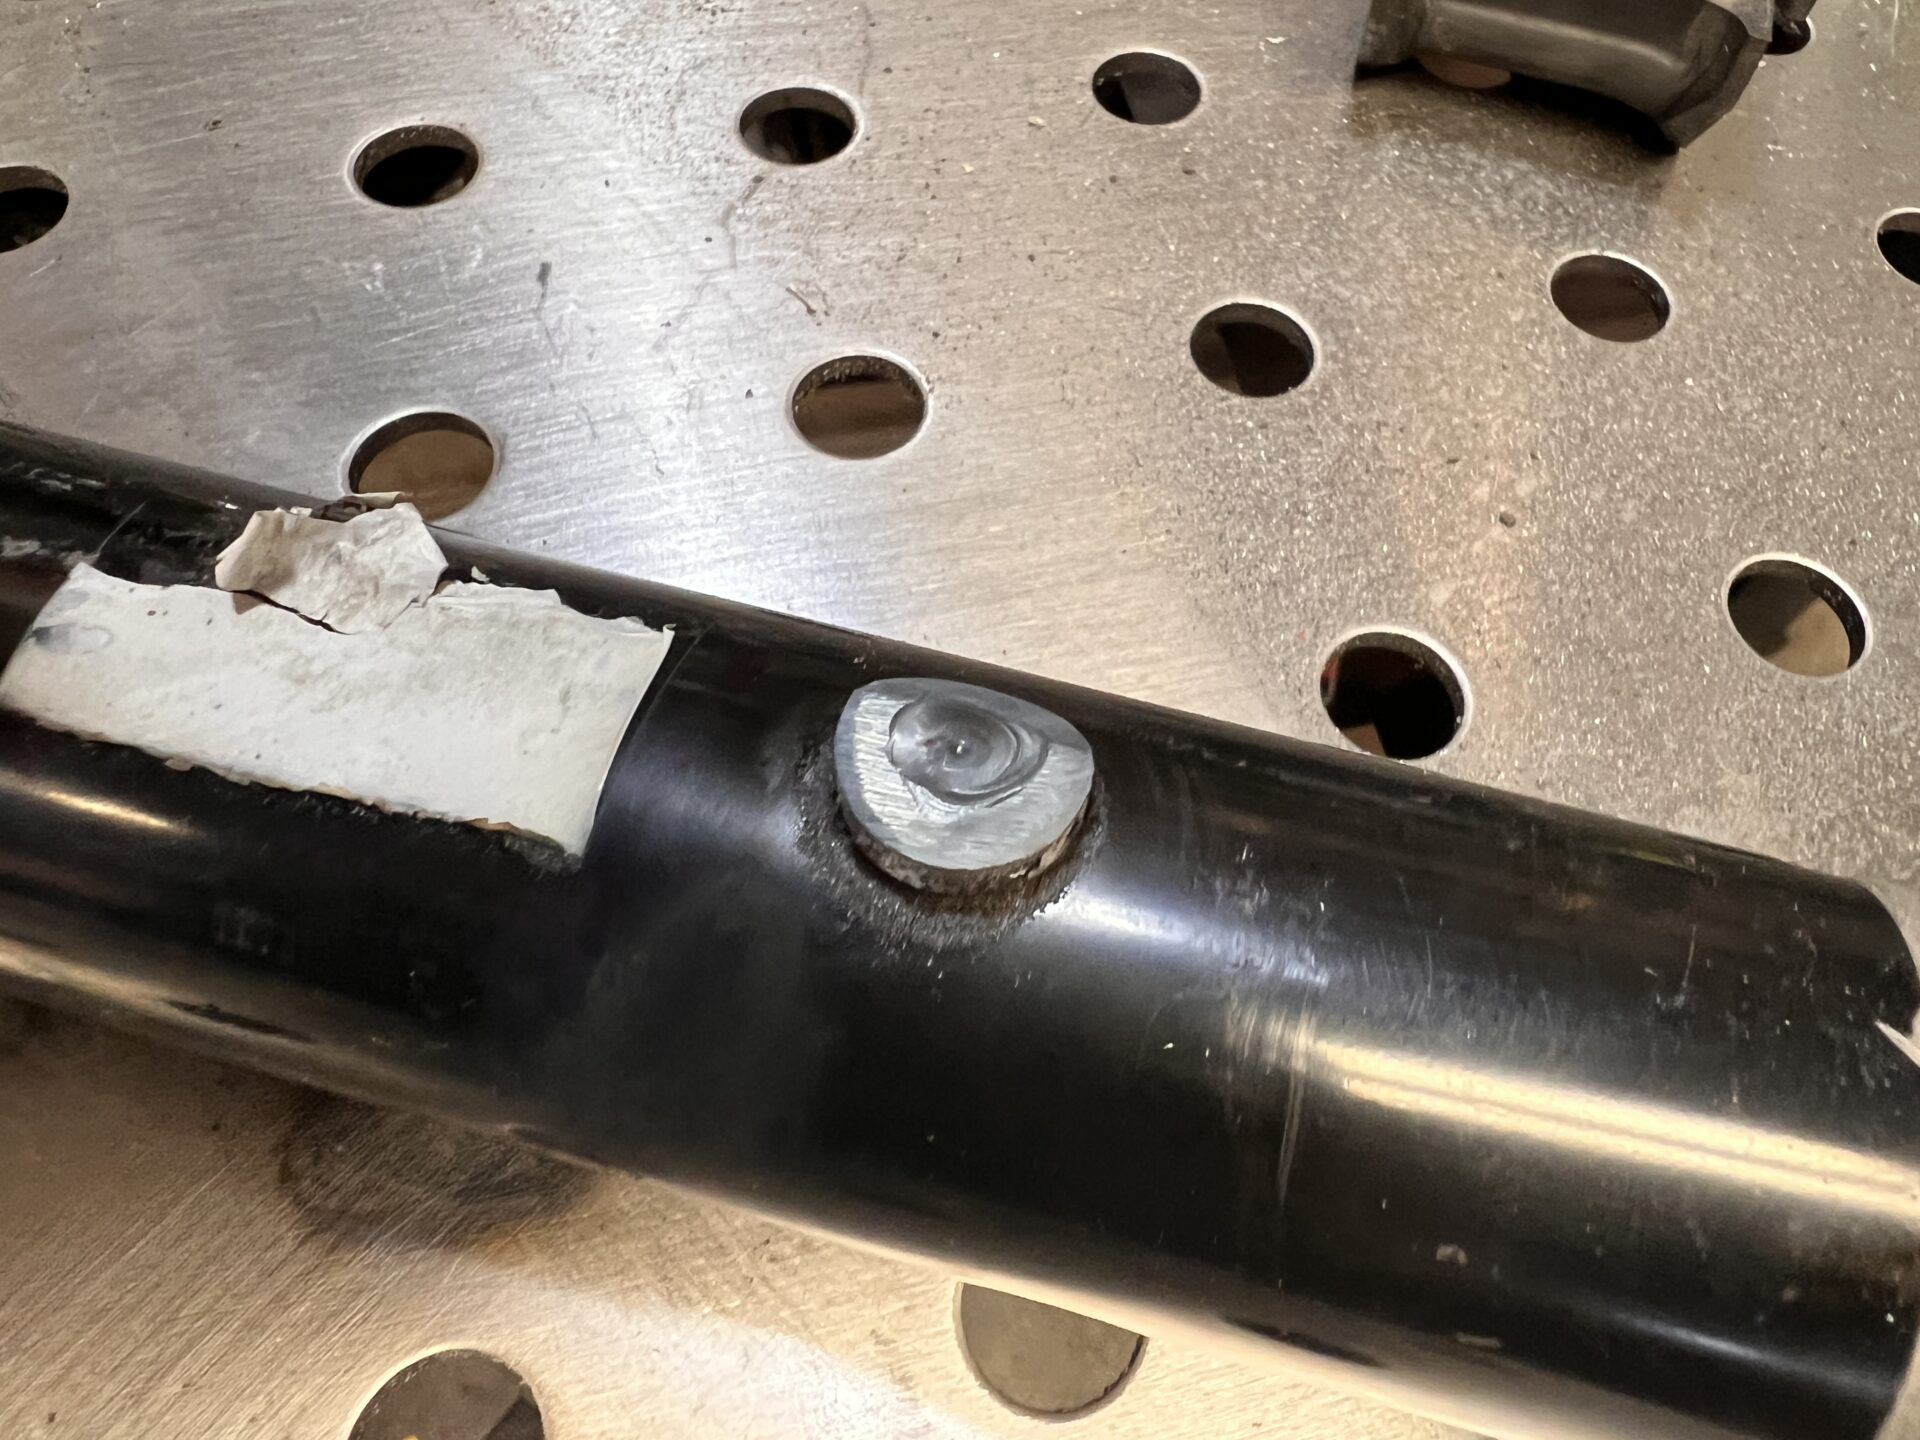
Then I got all of the residual grease and fluid and gunk cleaned out of the tube and off of the shaft. I cut all of the extra bosses off of the rack and welded up the two hydraulic ports on the main tube.


At this point everything was ready for reassembly, but I ran out of nitrile gloves and reassembly means slobbing globs of grease all over the whole thing. Don't want to get these soft hands all greasy  :-[. Plus the kids were just about home from school and I had to return the service loaner to pick up my truck.

The service loaner:


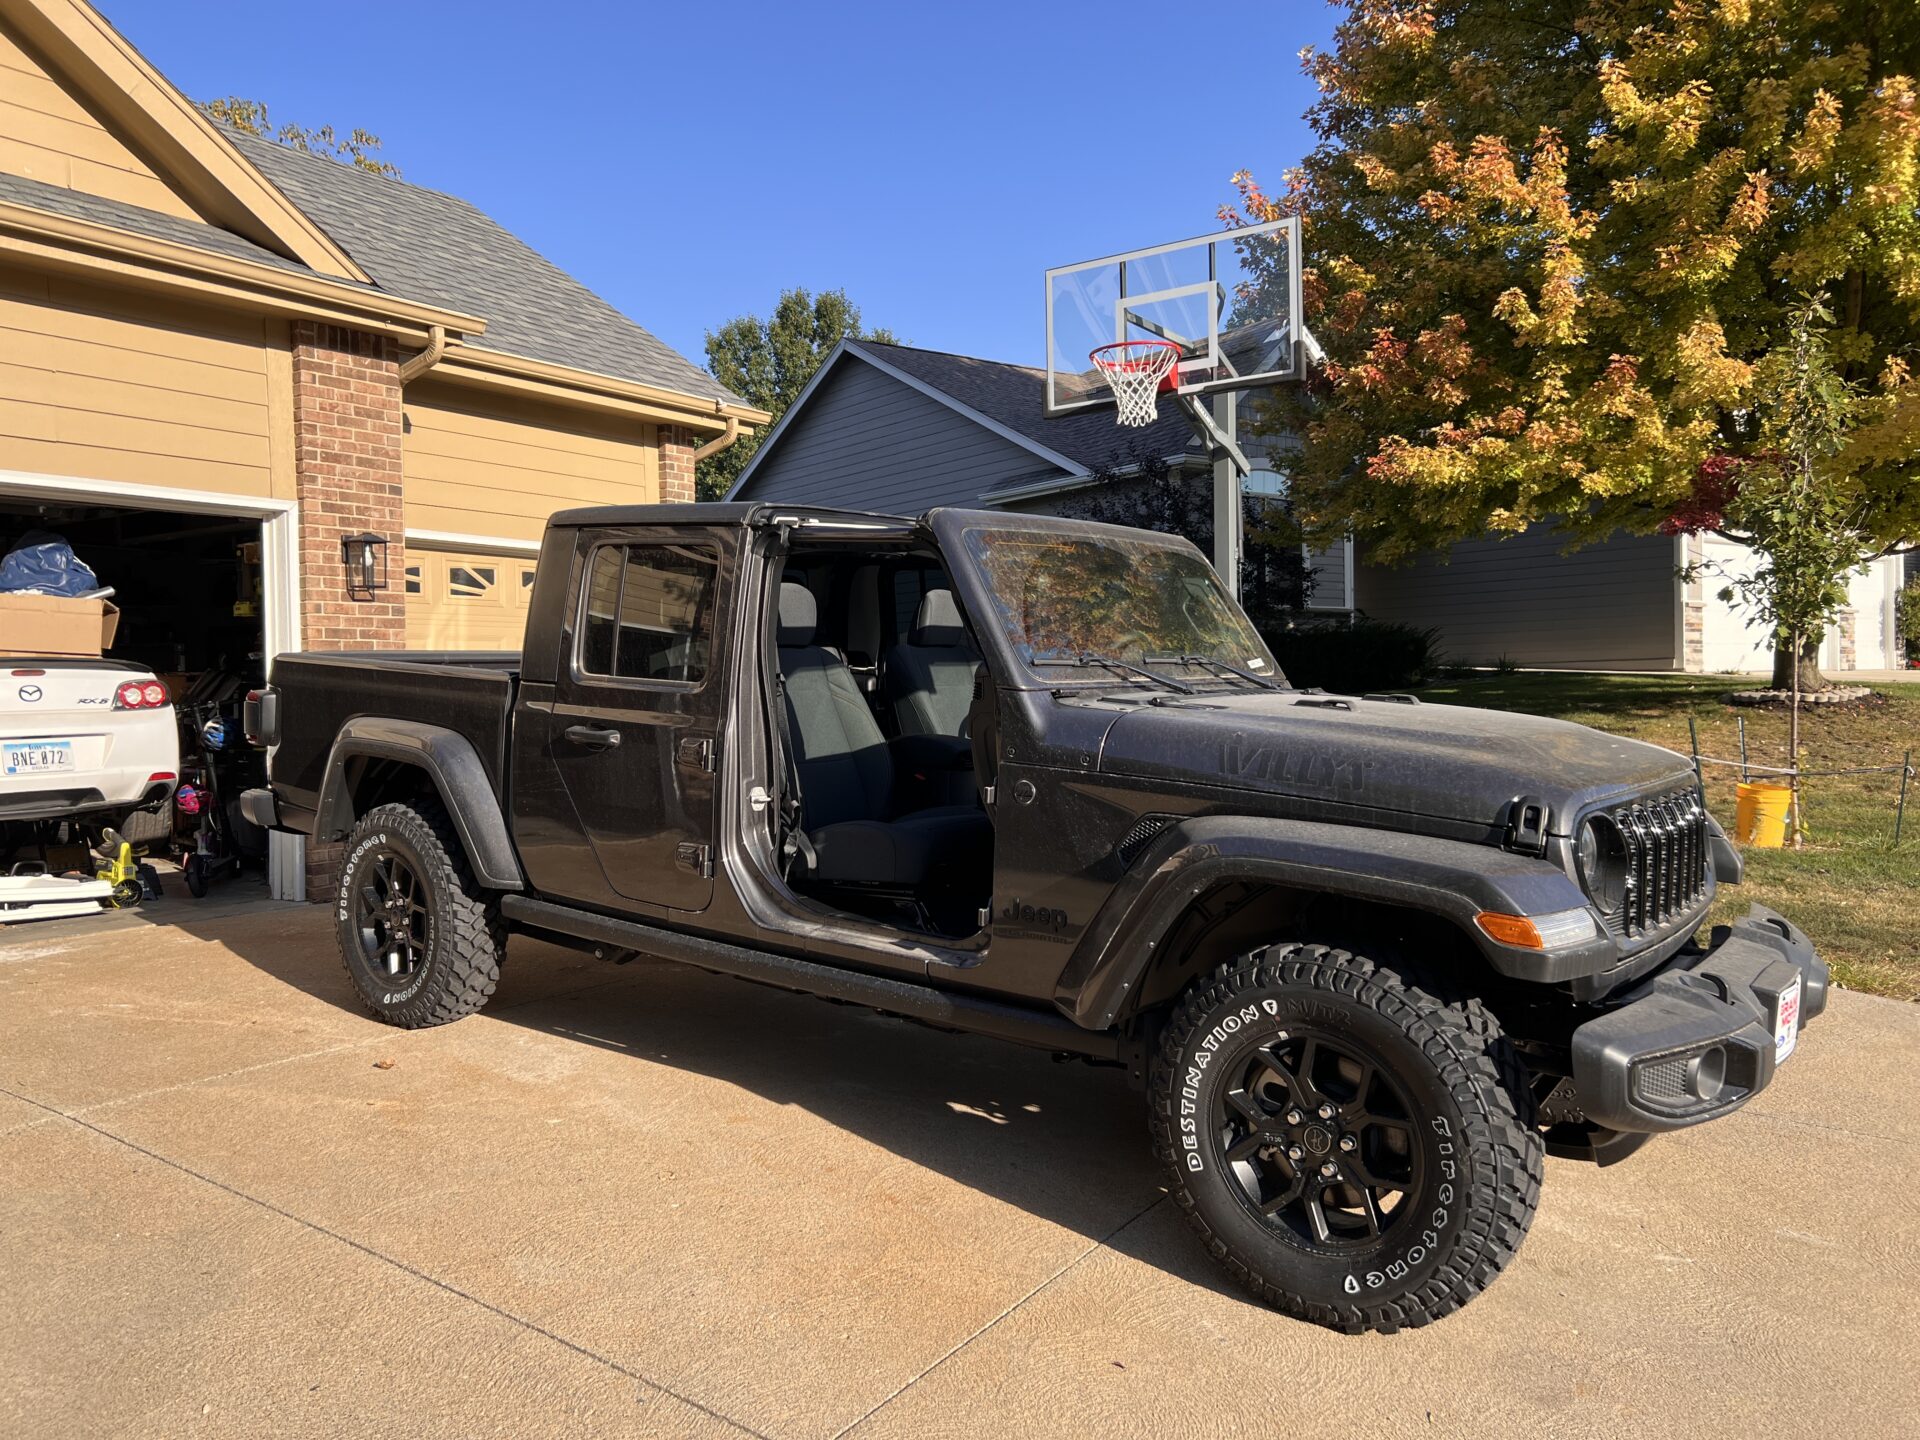
Not sure if you're supposed to take the roof and doors off of a loaner but I wasn't not going to do it  :yay:


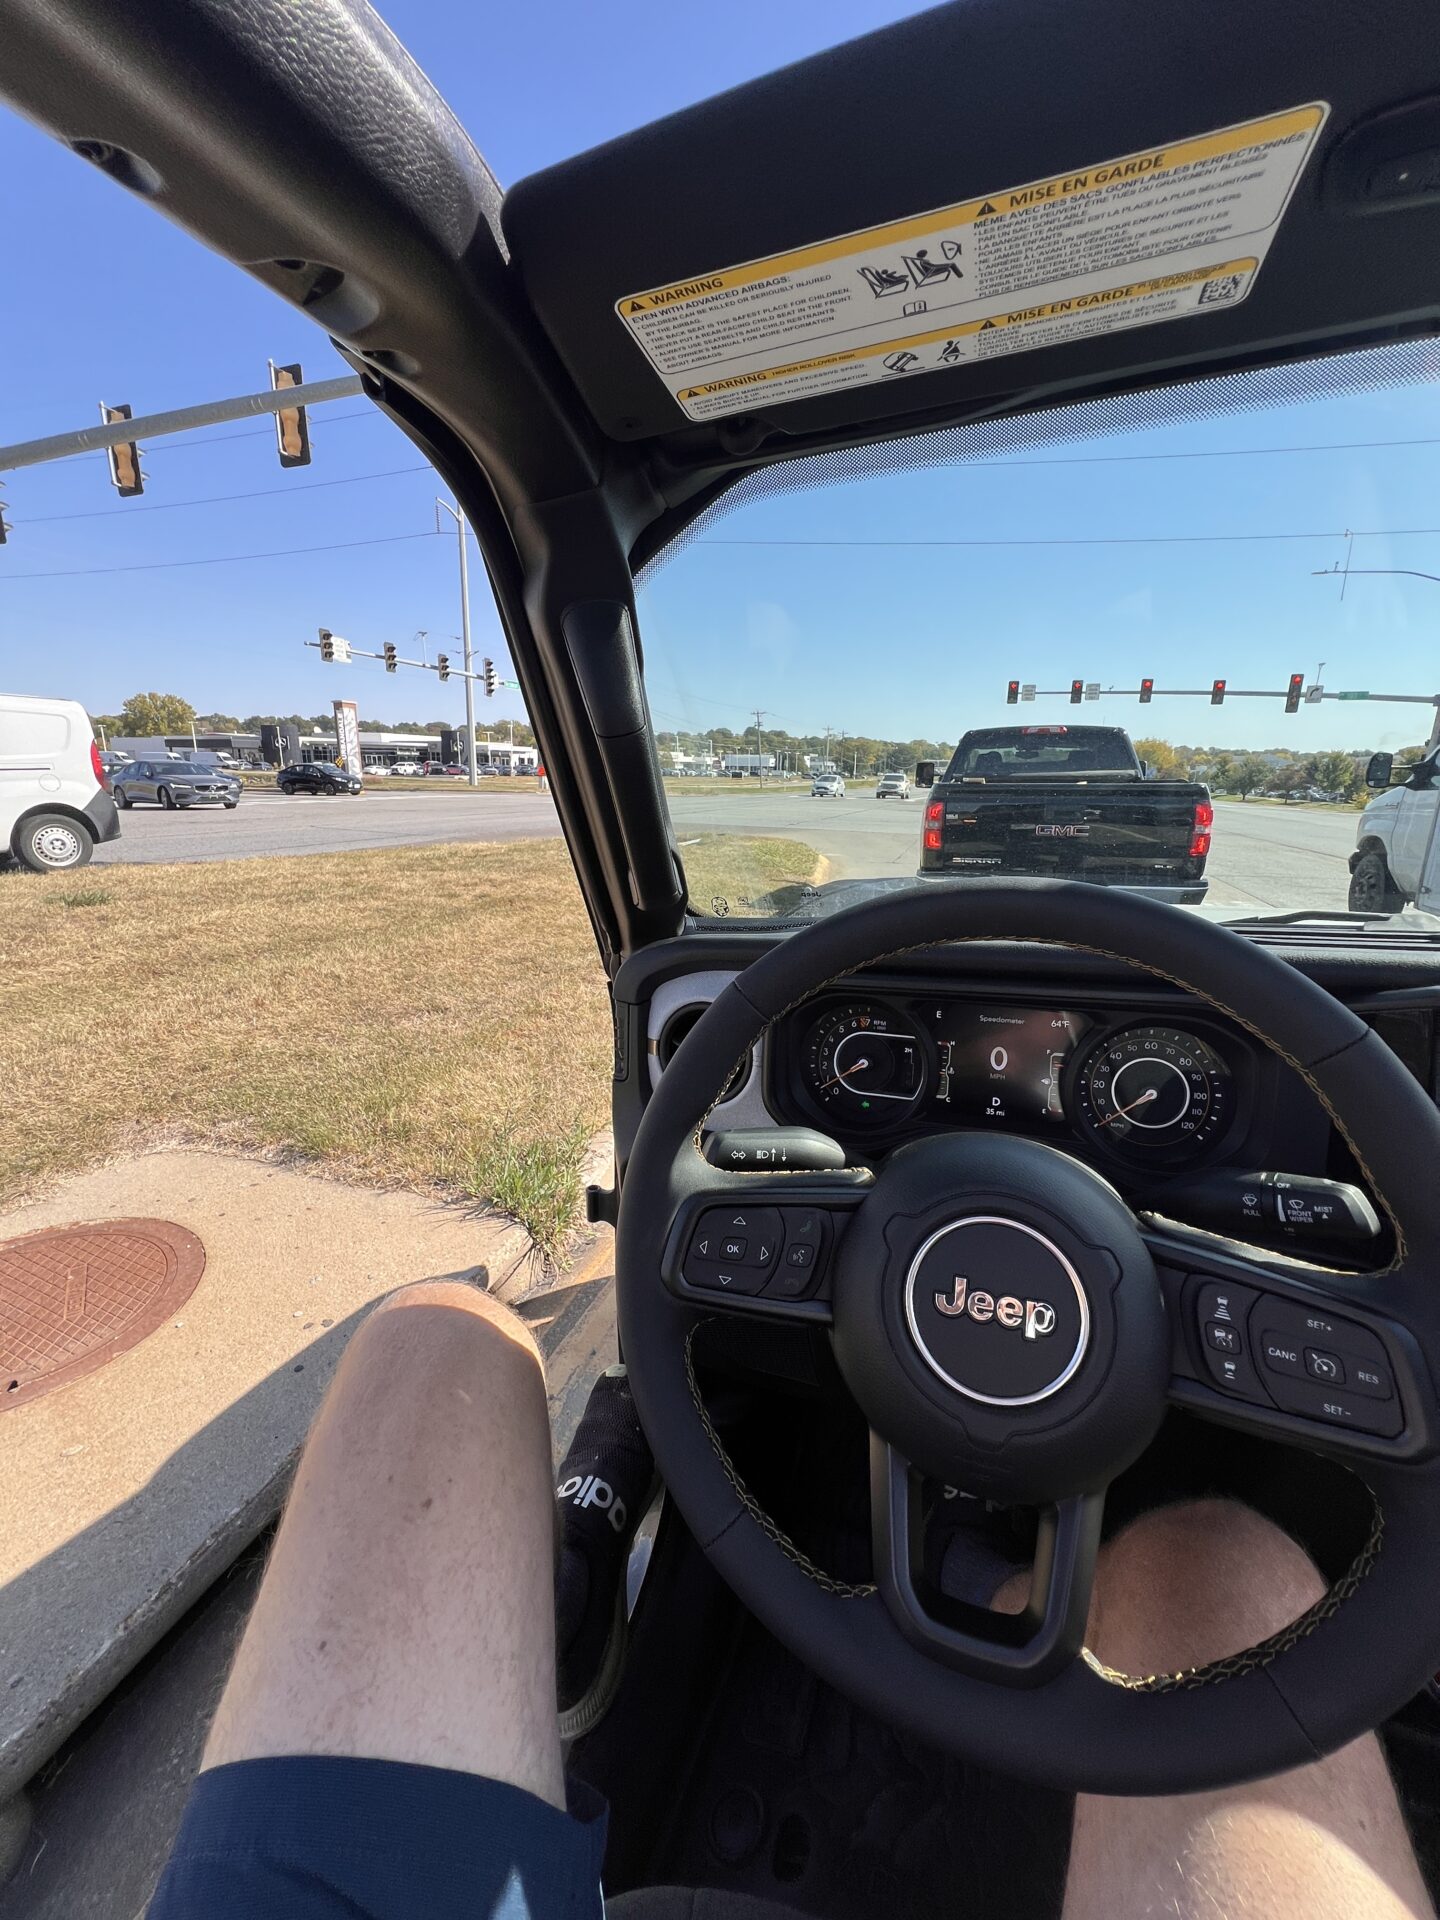
Not sure if you're supposed to go offroad in a loaner but I wasn't not going to do it  :yay:


The 6yo was delighted when I picked her up from school with no roof or doors. We ran home, slammed the doors back on, and drove over to the dealer with no roof (20 minutes on 55mph highways). While I filled up at the gas station I popped the roof panels back on and swapped back to my truck.

The Gladiator might be one of the worst vehicles I've ever driven. The seat was so bad - it felt tilted forward even at the least-tilted setting, I had lower back pain after only 20 minutes in there. The tires were loud, the engine was loud, everything was loud. Well, except for the stereo. At max volume, I still couldn't hear it on the highway with the roof off. The steering wouldn't correct on-center, it liked to wander and drift. The interior was cramped, my head bumped the roll bar and the door strap rubbed on my leg. When my daughter went to climb in she mentioned how tiny it was in the back, too. At low speeds I could feel every lug of the M/T tires individually touching the pavement.

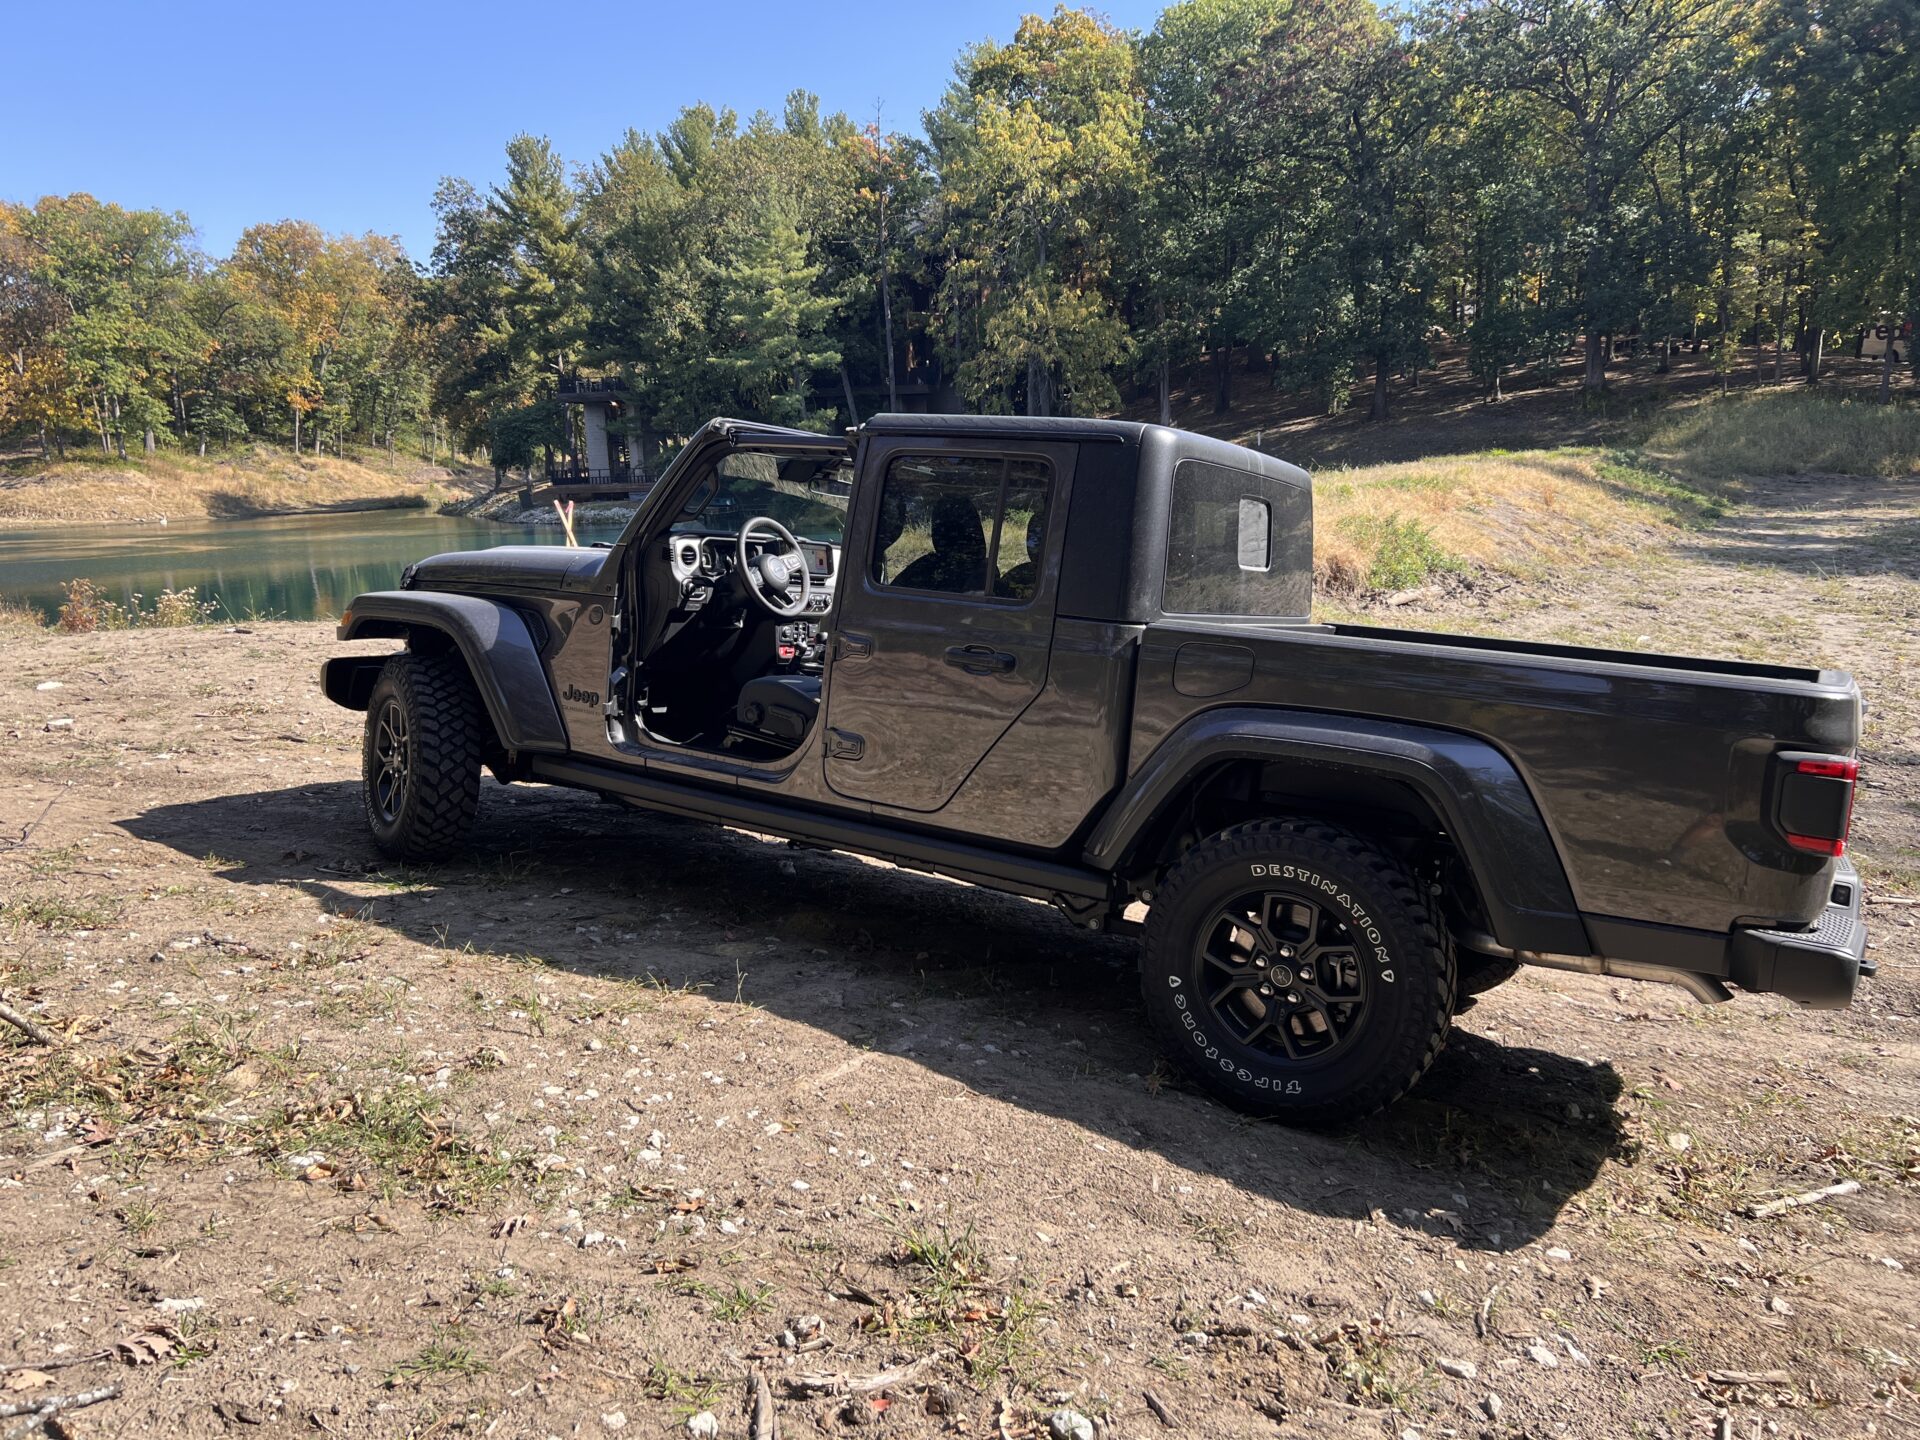
It was shocking getting back into my F-150 - roomier, quieter, smoother, better stereo, way faster, way better mpg...and it's invisible. If you want people to notice you and look and smile and wave then a gray F-150 is not the ticket.

All of that being said, on a day where it's 77 degrees and sunny, there might not be a more fun vehicle to bomb around town in, waving at all of the other Jeep peeps. Kids stared and waved, some guy in a diesel truck made barking noises at me as he passed me, it was great. I can't imagine having to live with this thing every day, but if I'm ever in a place where I can throw away money on a stupid joke that's only usable a fraction of time (he says that and he currently has two racecars...) then maybe...like...a manual 2-door Bronco would be the ticket.
« Last Edit: October 09, 2024, 09:12:03 AM by Laminar »

Offline jwvand02

Re: Laminar's RX-8 EcoBoost swap thread
« Reply #217 on: October 09, 2024, 10:34:36 AM »
One thing it took me a long time to figure out about welding aluminum is that it's crazy crazy sensitive to *any* tungsten contamination. If you dip your tungsten - at all - you really have to break off like every last bit of discolored tungsten and re-sharpen. Once I started pre-cutting and sharpening lots of tungsten and just swapping them out when I dipped, my aluminum welding got way better overnight.

Offline digitalsolo

Re: Laminar's RX-8 EcoBoost swap thread
« Reply #218 on: October 09, 2024, 11:35:22 AM »
Picked up one of these for a purge line.

https://www.amazon.com/gp/product/B07XNYNT2Z/ref=ppx_yo_dt_b_search_asin_title?ie=UTF8&th=1

Do you like it? I have a leak in my regulator and need to replace it and would like to get a dual.
Blake MF'ing McBride
1988 Mazda RX7 - Turbo LS1/T56/ProEFI/8.8/Not Slow...   sold.
1965 Mustang Coupe - TT Coyote, TR6060, modern brakes/suspension...
2007 Aston Martin V8 Vantage - Gen V LT4/TR6060, upper/lower pullies, headers, tune.
2021 Tesla Model 3 Performance - Stock...ish.

Offline shainiac

Re: Laminar's RX-8 EcoBoost swap thread
« Reply #219 on: October 09, 2024, 03:34:28 PM »
You'll be happy with the depowered rack. I did the same with my TII rack and am using an Epowersteering.com EPAS column. The car self-steers much better now and has less "spring" in the steering for the first 10* or so. I wish i had a lathe with a drill chuck axis or something similar to do the welding. I'm sure mine bent a little from welding. There was definitely a little more friction when reinstalling the pinion into the rack housing/bearings. But it's not really noticeable in the car.
'88 TII -  Rods/Pistons LS3, Twin G30-770s, MaxxECU Pro/PDM
BMW DCT Swap, Ronin 8.8" IRS

Offline Cobranut

Re: Laminar's RX-8 EcoBoost swap thread
« Reply #220 on: October 09, 2024, 10:47:23 PM »
Picked up one of these for a purge line.

https://www.amazon.com/gp/product/B07XNYNT2Z/ref=ppx_yo_dt_b_search_asin_title?ie=UTF8&th=1

Do you like it? I have a leak in my regulator and need to replace it and would like to get a dual.

I haven't yet used the dual function.
Setting the flow is a little touchy, it feels like the o-ring in the flow valve gives it a rubbery feel, but once set it stays there and is consistent.  I'd definitely recommend it, especially considering the price.
1995 FD, 7.0 Liter stroked LS3, T56, 8.8, Samberg kit.

Offline Laminar

Re: Laminar's RX-8 EcoBoost swap thread
« Reply #221 on: October 10, 2024, 07:31:15 AM »
Got a fresh box of gloves and got the rack all gooped up and reassembled last night. The aluminum cap threads were definitely trashed. I ground down the stake in the steel tube but it didn't help. I got the cap squared up on the end and started, then took a 2' breaker bar to get it on all of the way, the tube was WARM when I was done. It's not coming off. Pinion movement is nice and smooth, I don't think it warped much at all during welding.

Got the rack back in the car.


Even with the radiator raised an inch, I still have interference.


I can't raise it much more before it interferes with the intake tube going through into the bumper area. I may have to leave it tilted a little more vertical than stock as long as it doesn't cause any ground clearance issues.

Offline Laminar

Re: Laminar's RX-8 EcoBoost swap thread
« Reply #222 on: October 10, 2024, 10:00:55 AM »
The more I think about it, I want to move the lower radiator connection just to the driver's side of the crank pulley. The engine connection for that radiator port is the aluminum neck here, pointing to the driver's side. (the black pipe is an optical illusion, and is already deleted)


If I start getting really crazy with the aluminum welding maybe I'll cut that off and point it 90 degrees down, then it's a really simple hose connection almost straight down.

Offline Laminar

Re: Laminar's RX-8 EcoBoost swap thread
« Reply #223 on: October 14, 2024, 08:15:46 AM »
When motivation strikes, I'm learning to roll with it and get done as much as I can. I finished off the power steering upgrade by sealing the hydraulic ports with Ultra Black RTV. I cleaned up the surface after taking the photos, so I didn't leave them quite this messy  :-[ . With the rack depowered, these ports don't have to hold pressure, just keep dust and grime out.


My cast aluminum U showed up from CXRacing, so I got to cutting.


I'm enjoying the new welding table setup.


I had a little trouble welding this first one - the OD of the elbow was larger than the OD of the turbo, and I cut it with a little bit of a lip so the arc sometimes wanted to jump over to the turbo housing. In the end it sealed up nicely.


Next up, driver's side:


Because the ID of the turbo was smaller than the ID of the elbow, I bell-mouthed the turbo before welding for a slightly nicer transition.


In both cases if I stuck with silicone couplers on the turbo exits I was going to have to deal with rubbing on the subframe, which was not ideal long term. This should make intercooler piping much simpler.
« Last Edit: October 14, 2024, 12:45:49 PM by Laminar »

Offline digitalsolo

Re: Laminar's RX-8 EcoBoost swap thread
« Reply #224 on: October 15, 2024, 09:32:23 AM »
Good progress.  I like the custom turbo outlets, should be a way better solution.
Blake MF'ing McBride
1988 Mazda RX7 - Turbo LS1/T56/ProEFI/8.8/Not Slow...   sold.
1965 Mustang Coupe - TT Coyote, TR6060, modern brakes/suspension...
2007 Aston Martin V8 Vantage - Gen V LT4/TR6060, upper/lower pullies, headers, tune.
2021 Tesla Model 3 Performance - Stock...ish.