March 18, 2025, 12:24:54 PM

Author Topic: Hades's JDM FD LS1  (Read 4317 times)

Offline Hades

Hades's JDM FD LS1
« on: November 03, 2015, 09:10:56 PM »
Long time listener, first time caller. :lurk:

After asking many questions and sucking resources from others, I thought it was about time that I gave back and let you have a look at what I am up to.

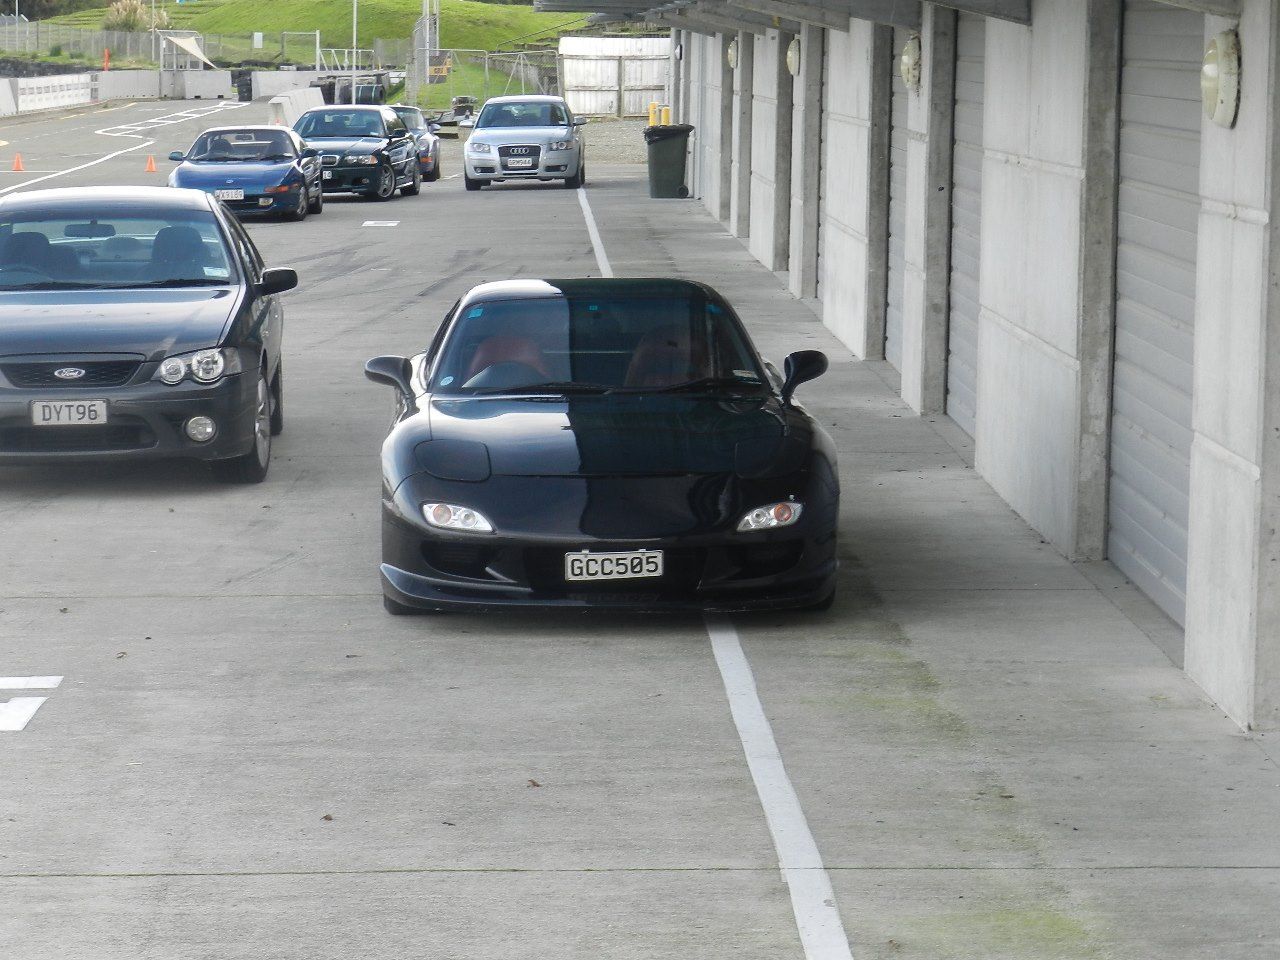
In 2011 I imported this 1997 FD from Japan.  Importing meant that I could save between 5-7 thousand over buying local.  The downside however, my dealer- who visibly inspected the car- had no idea what he was supposed to be looking for.  The continual low coolant buzzer should have been enough, but common sense is apparently not that. ::)


A quick champagne test was all that was needed.  Water seals- gone.  Young being dumb, I upped the boost and dropped the rear rotor within a week of owning it.  I bought the car to do the conversion any who so wasn't too worried. ;)

After puling the motor and selling, the big save began.  Six months without the car on the road and I had decided it was going to take too long to complete and dropped an imported 13b back into the chassis.  Running the turbos non-sequential with new plugs, filters etc. the car ran well for 3 months.  A track day was the unpinning of it.


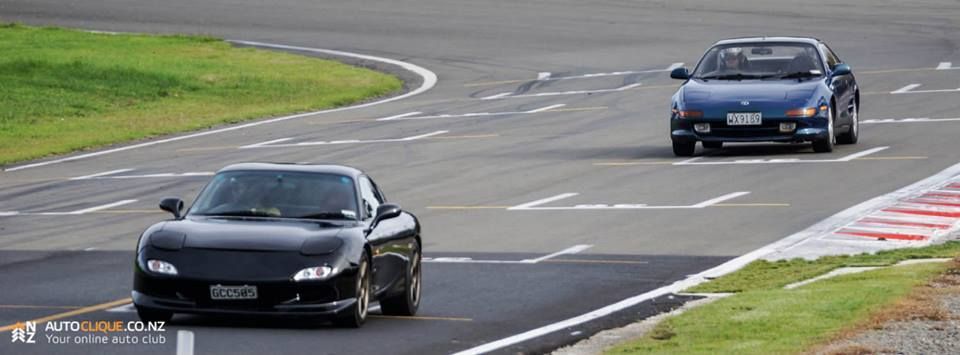
Trying to flat shift into 4th resulted in losing compression in the rear housing.  A wasted exercise.  Pulling the motor and selling was logical and the save begun (again).  This time, the funds from the sale of this and other rotard-ry gear went straight into a 2003 LS6.   Later in the year, a relatively cheap T56 came up from an 04 GTO (equivalent).


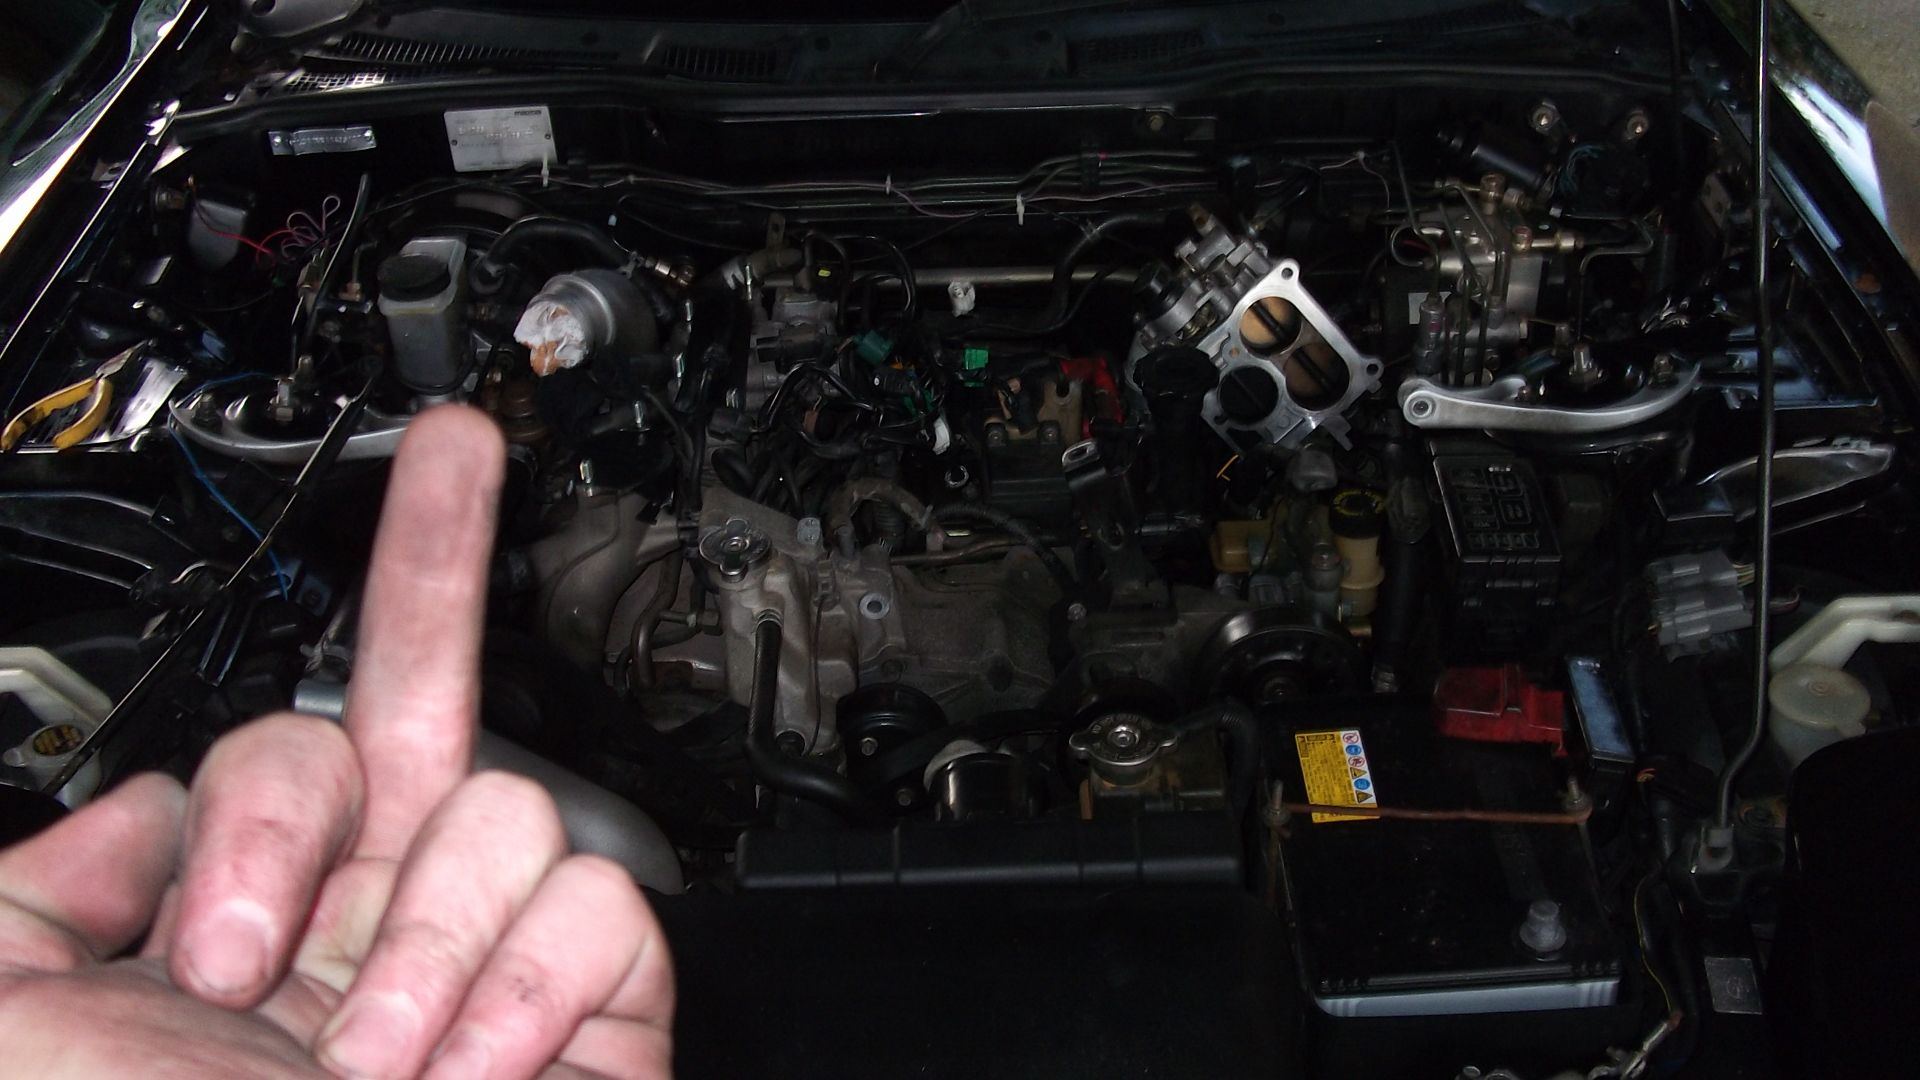
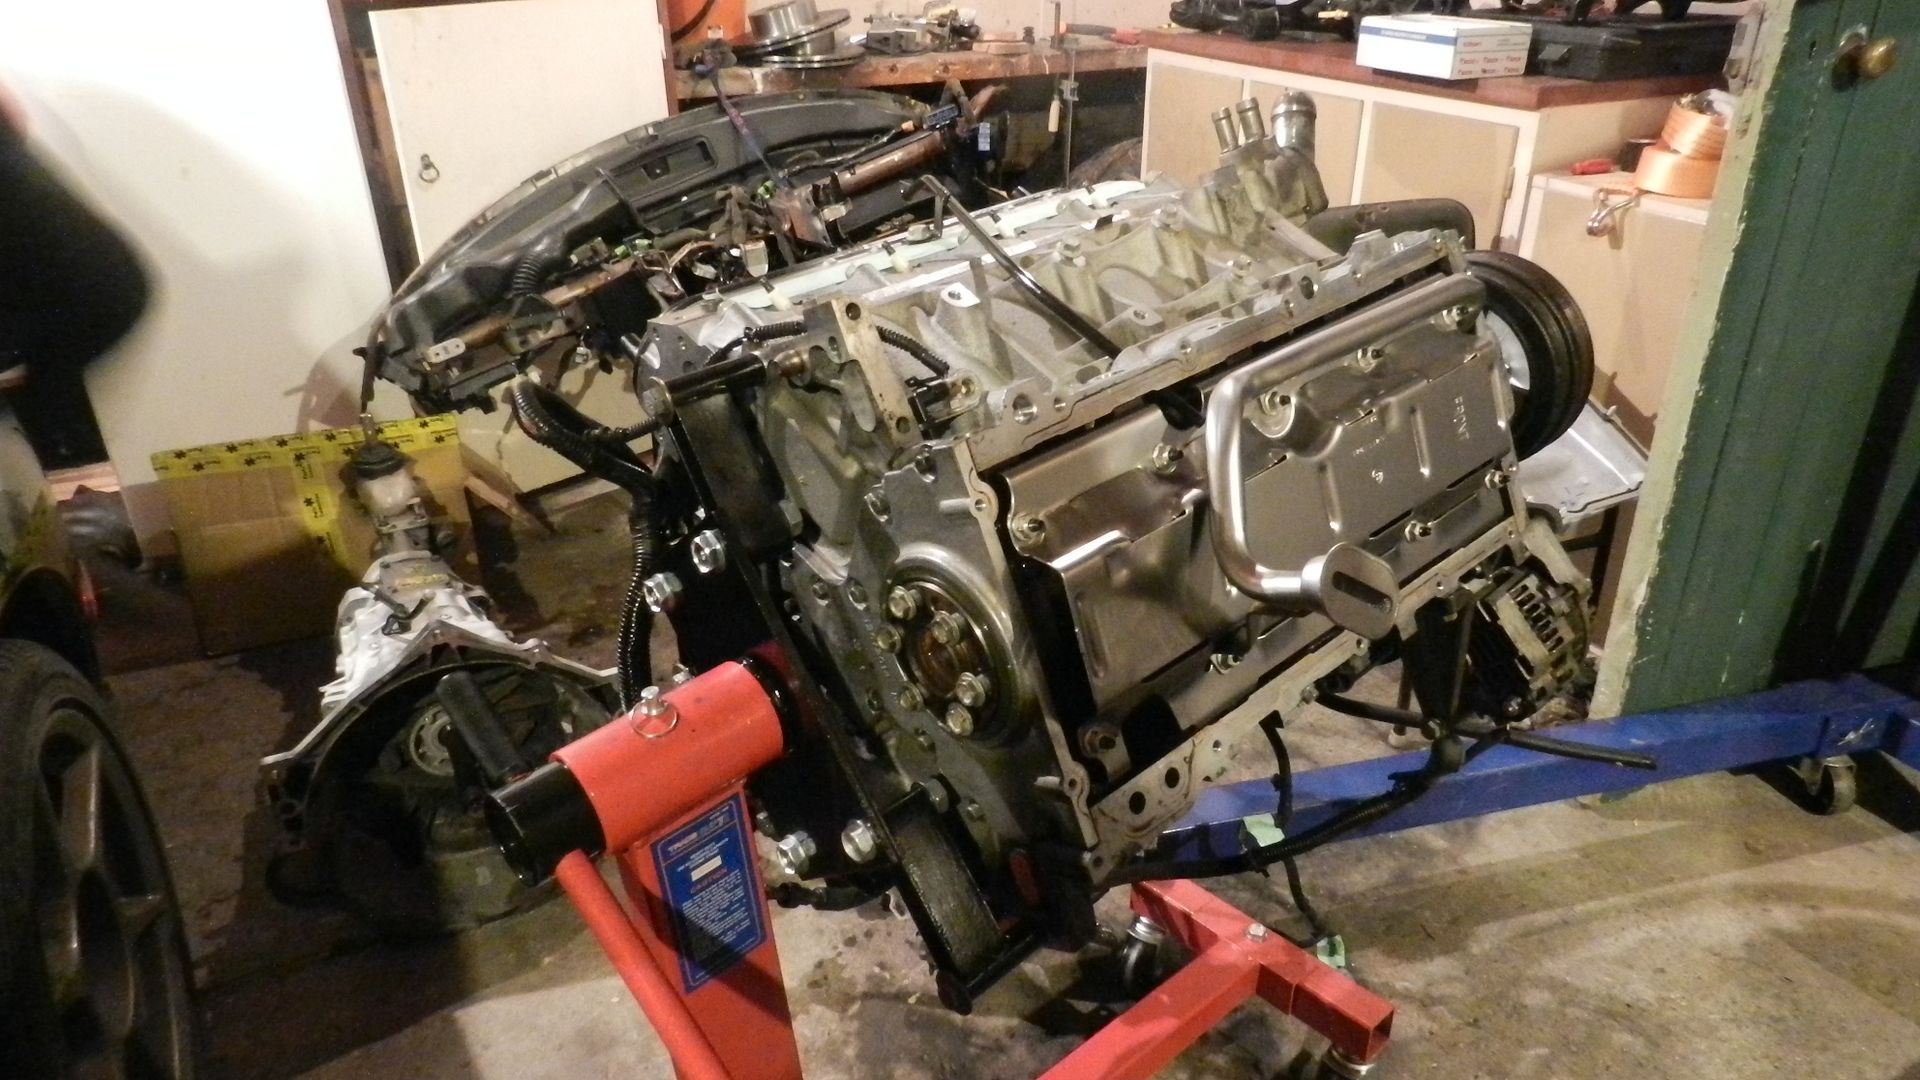
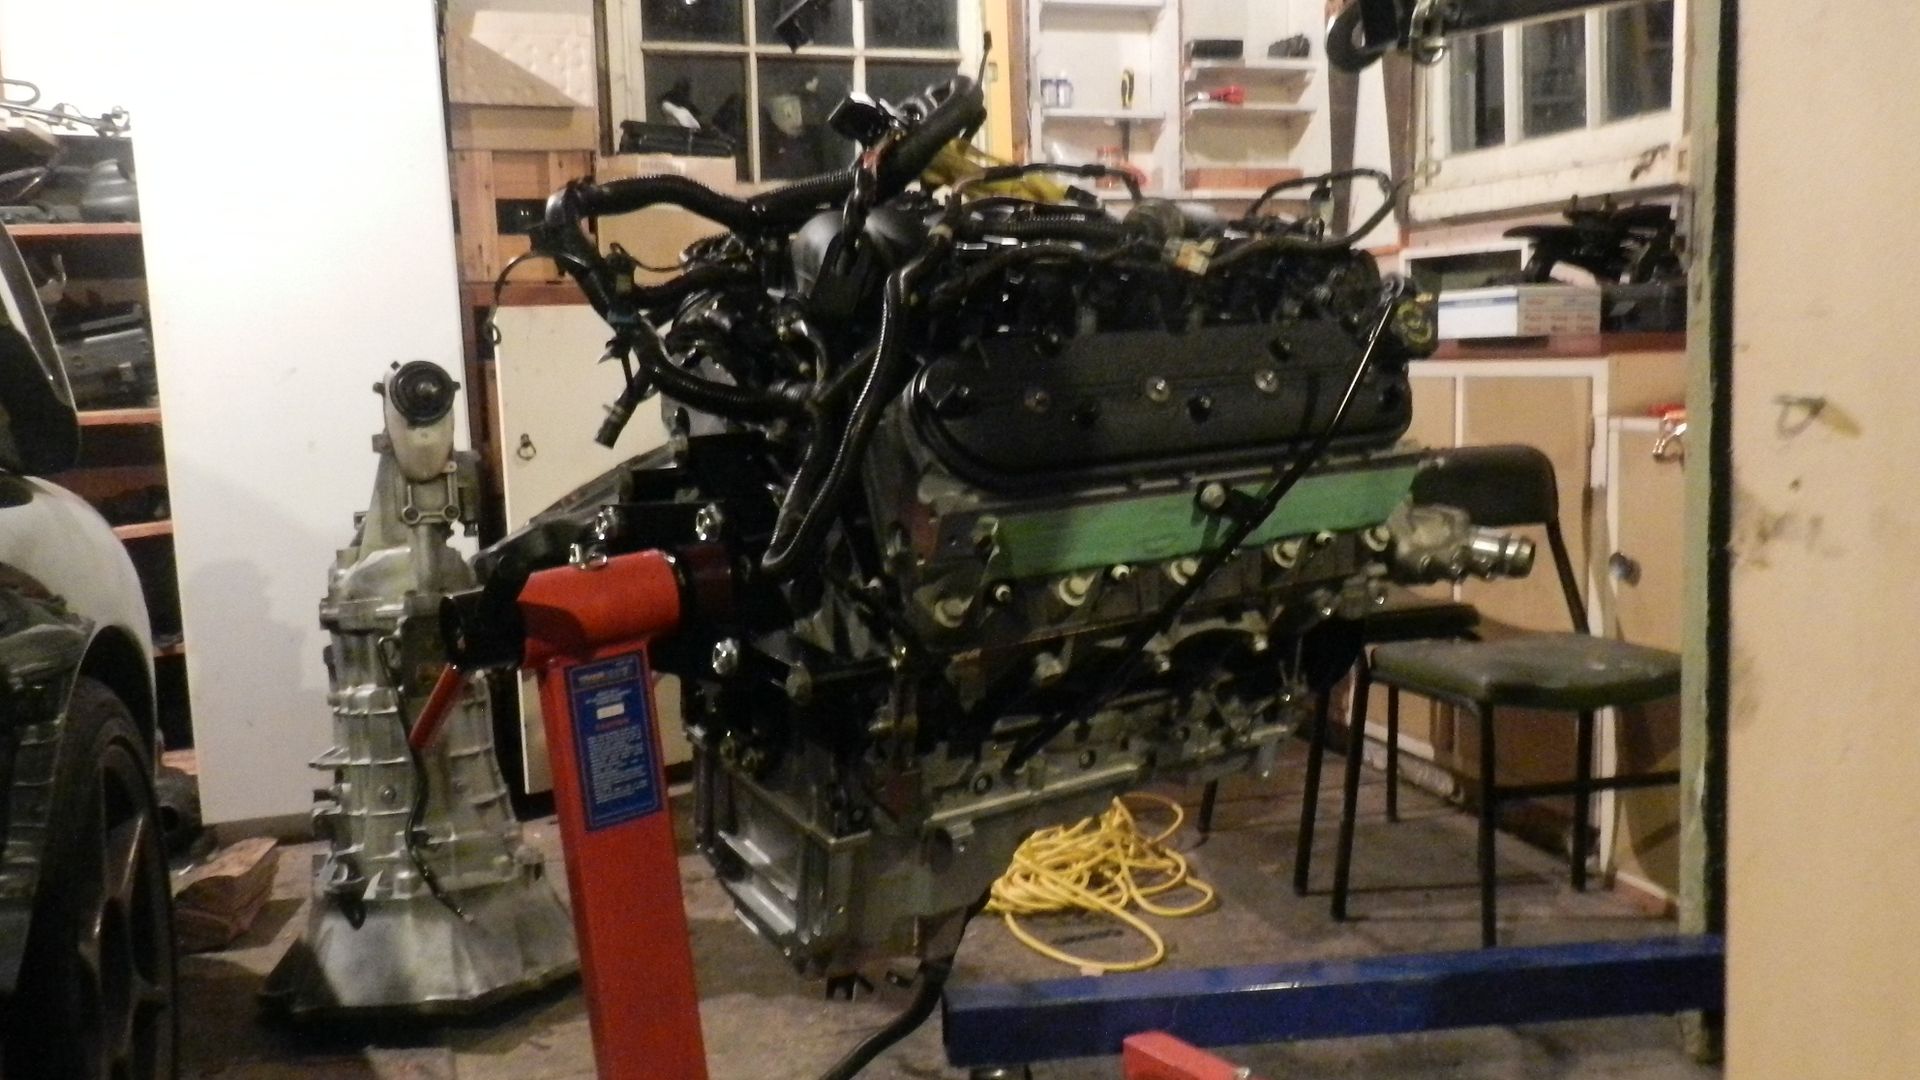
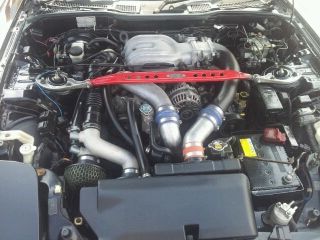
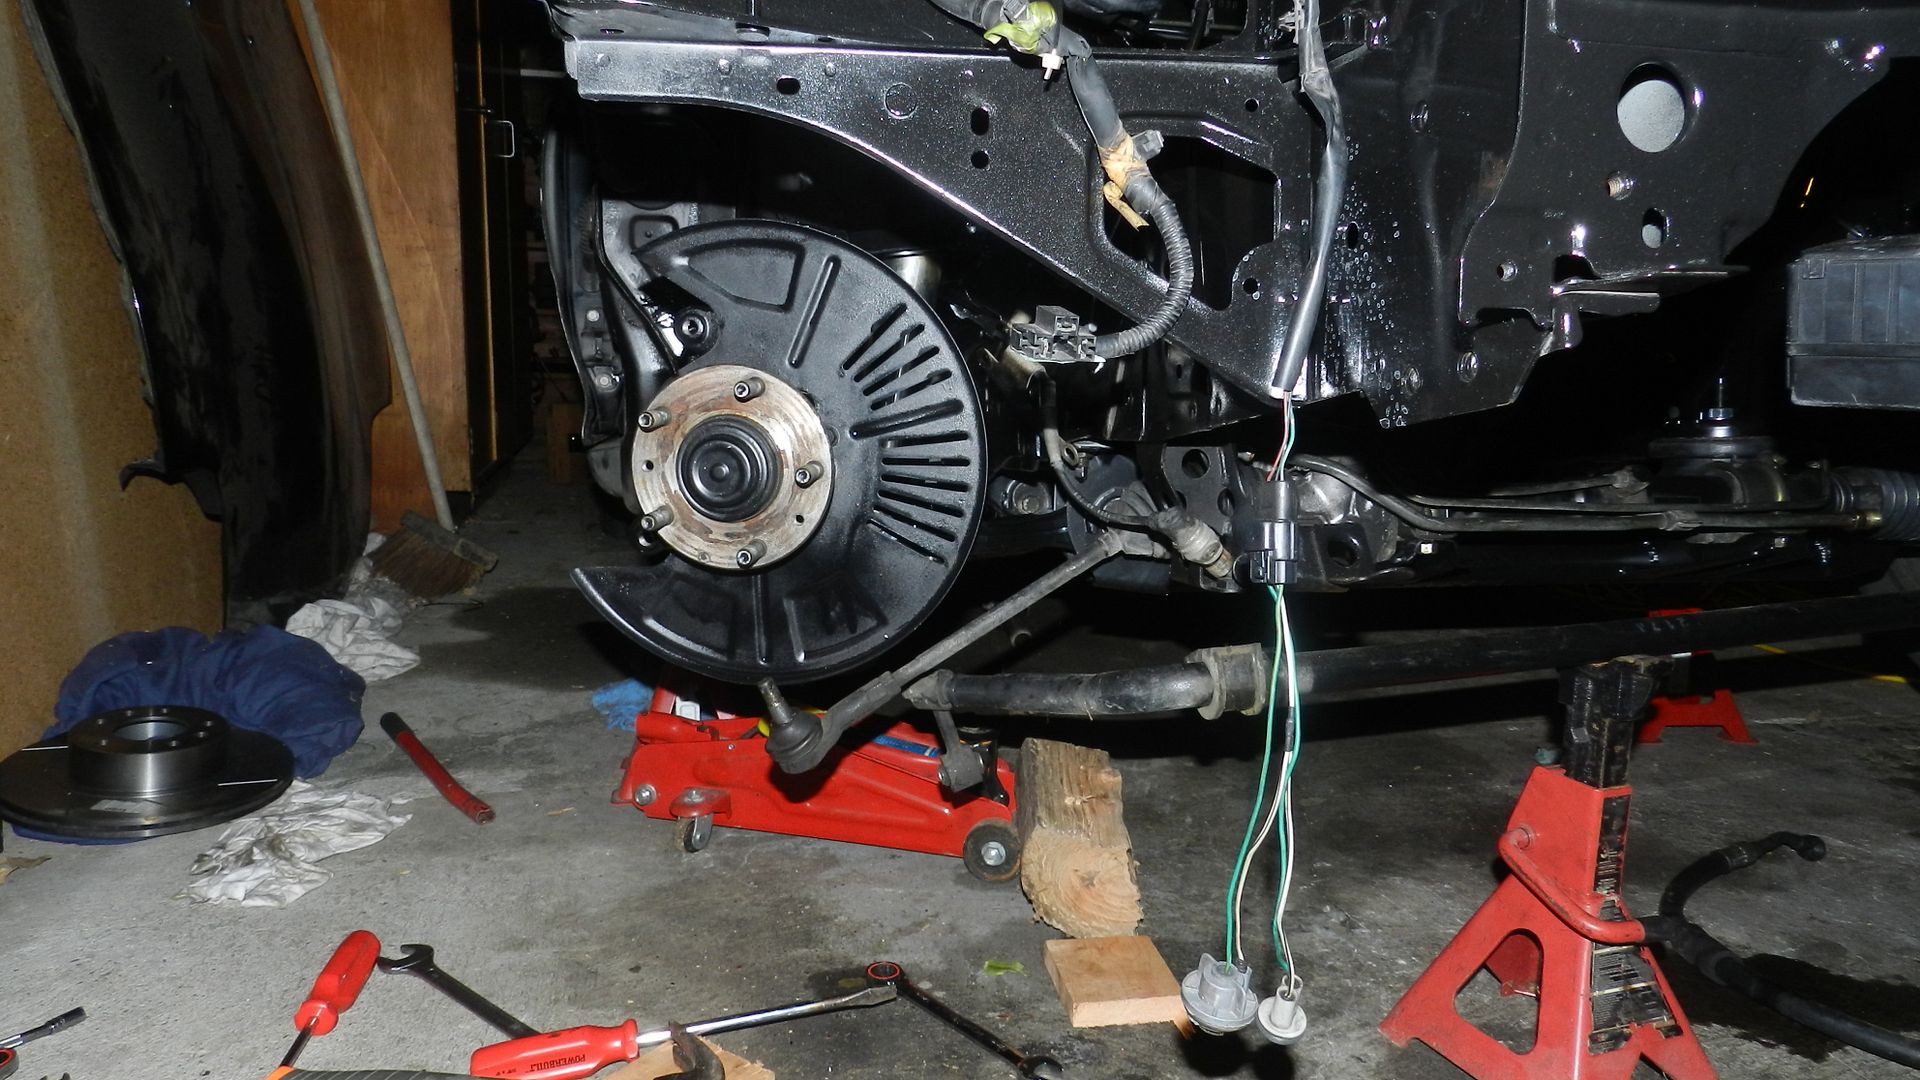
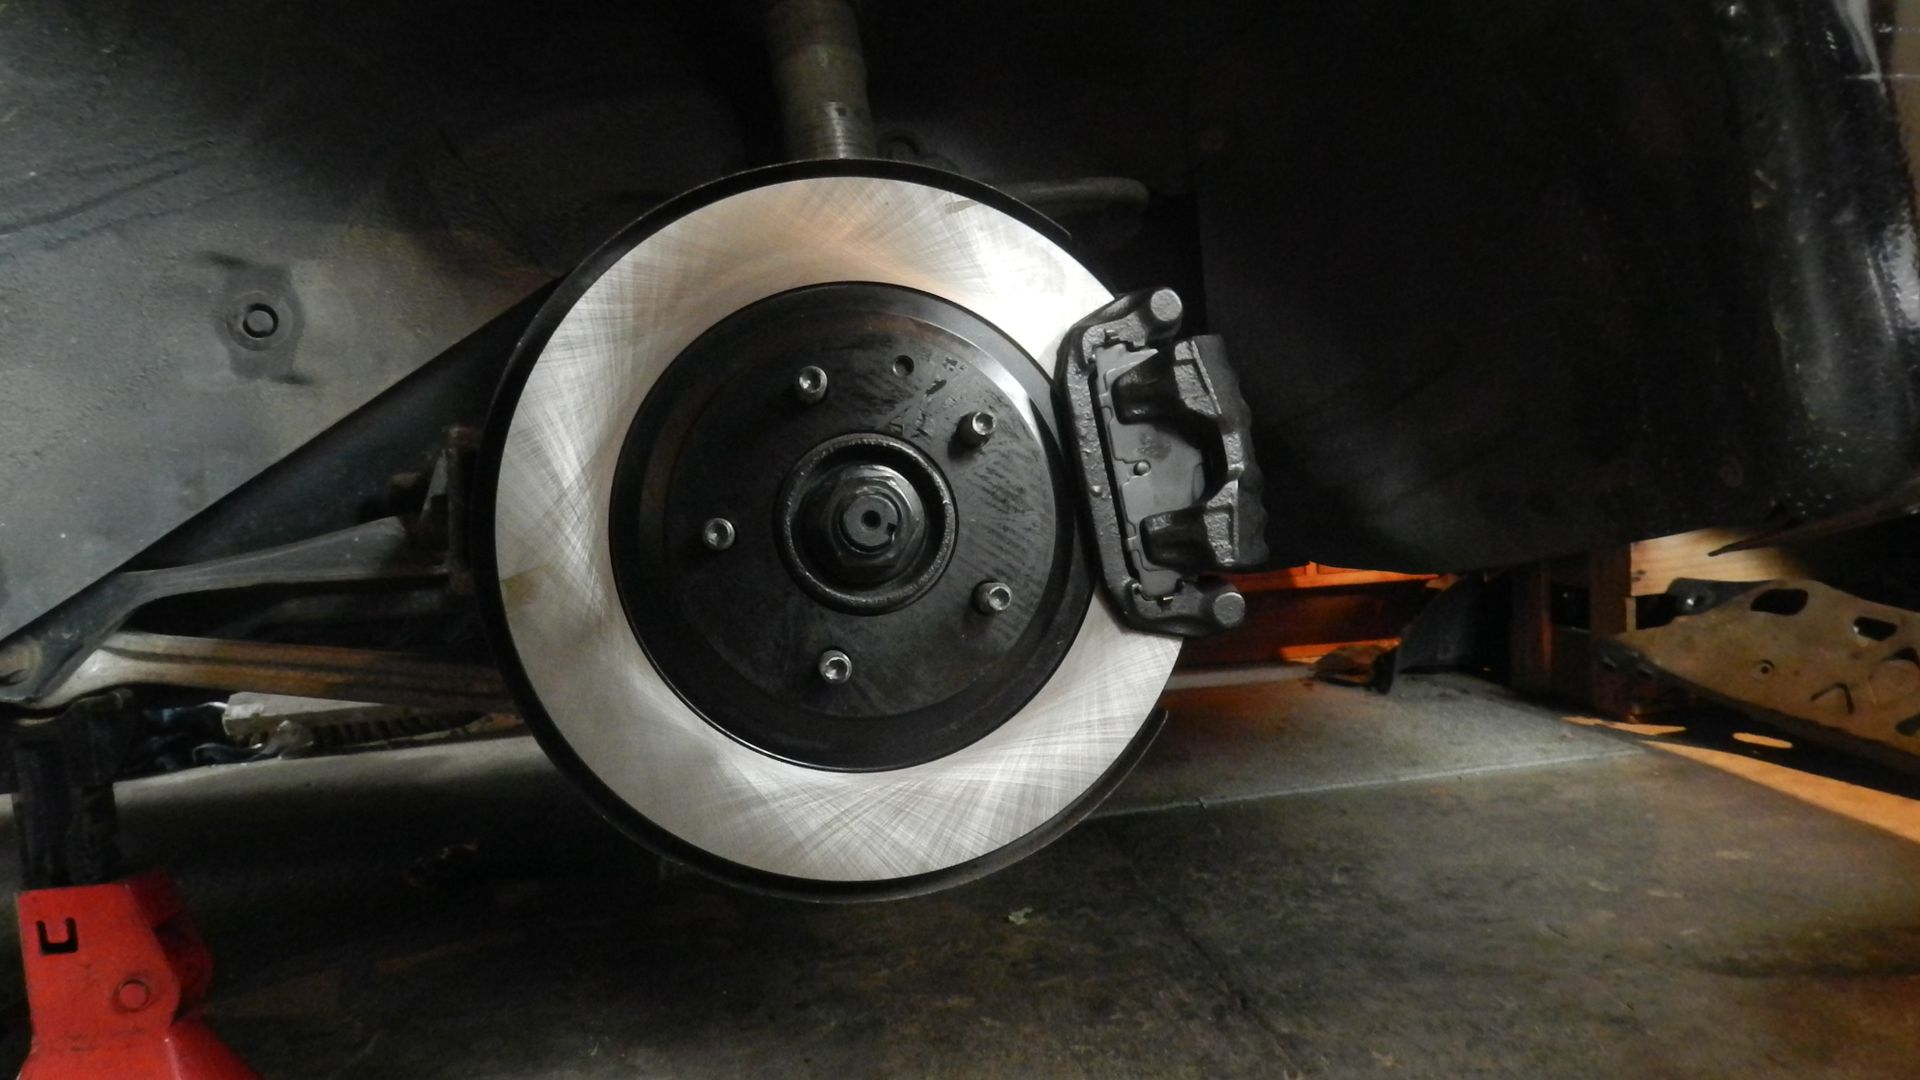
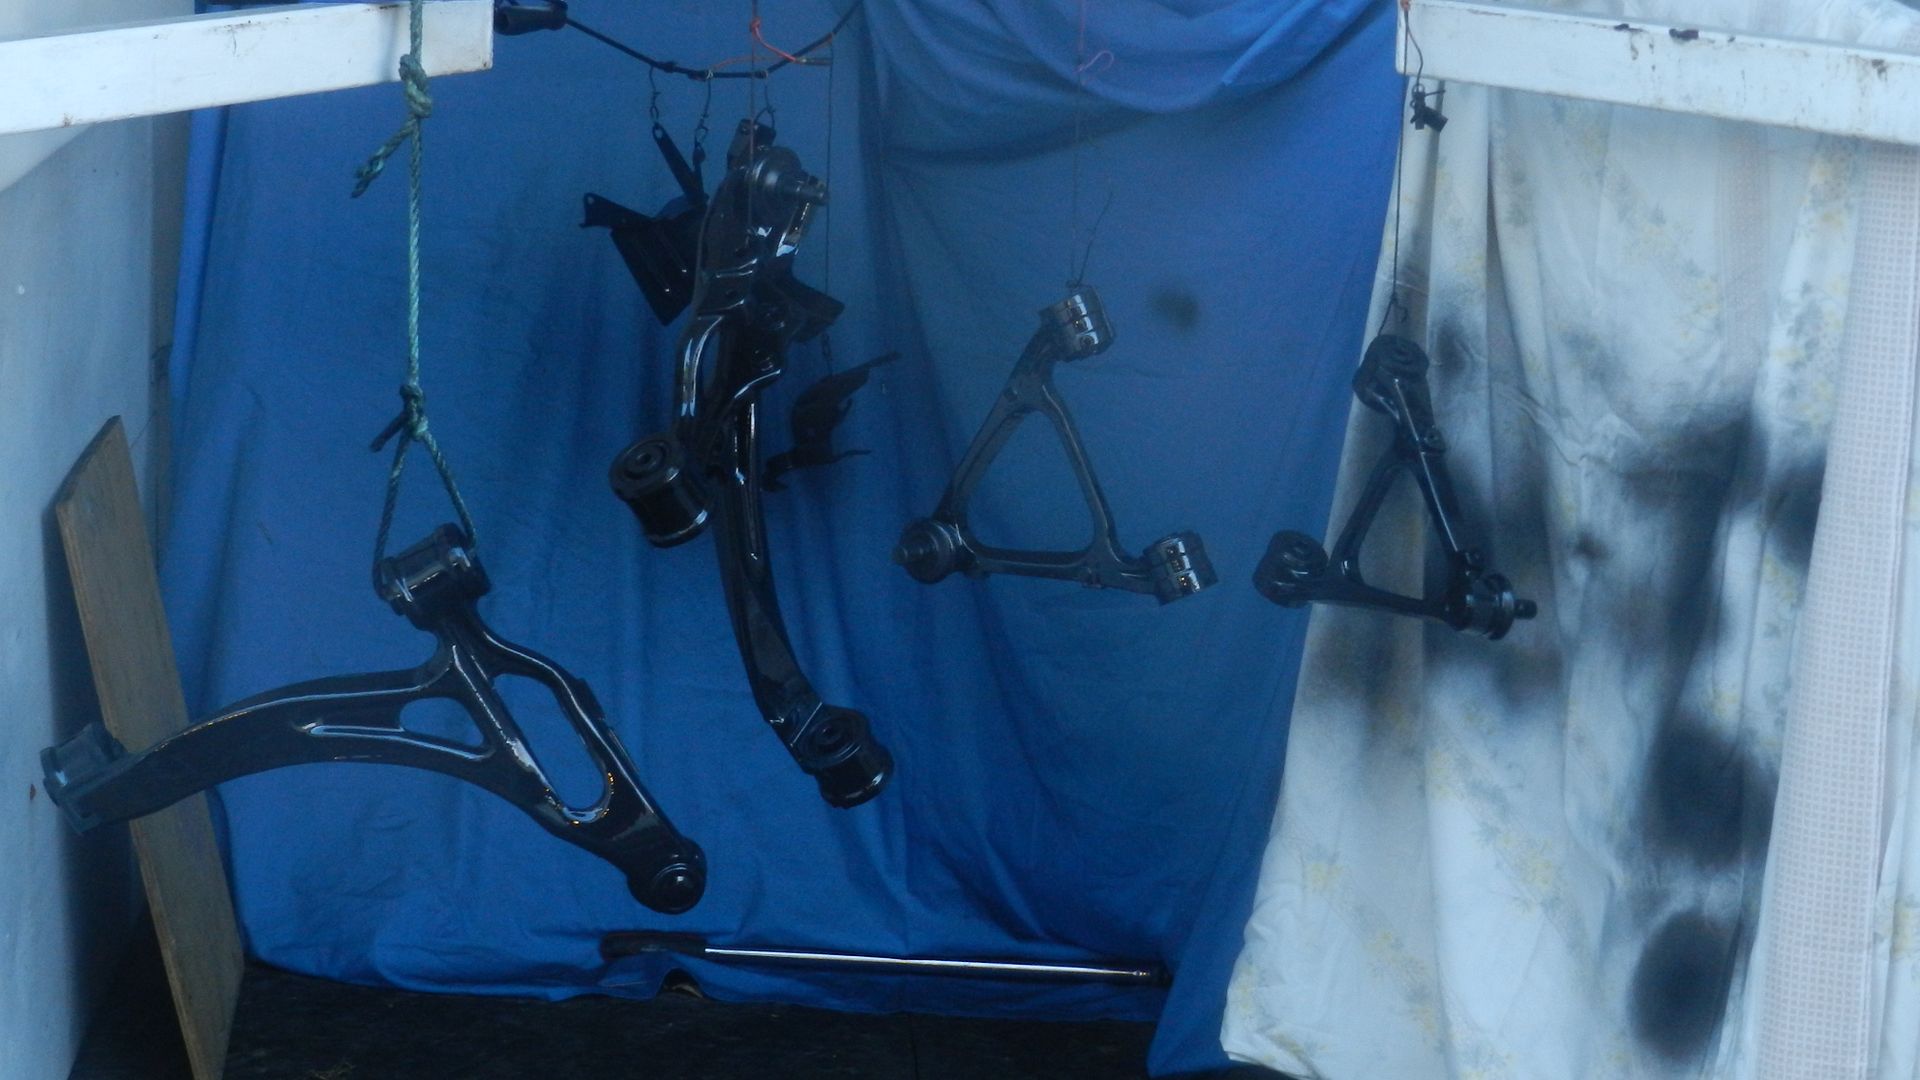
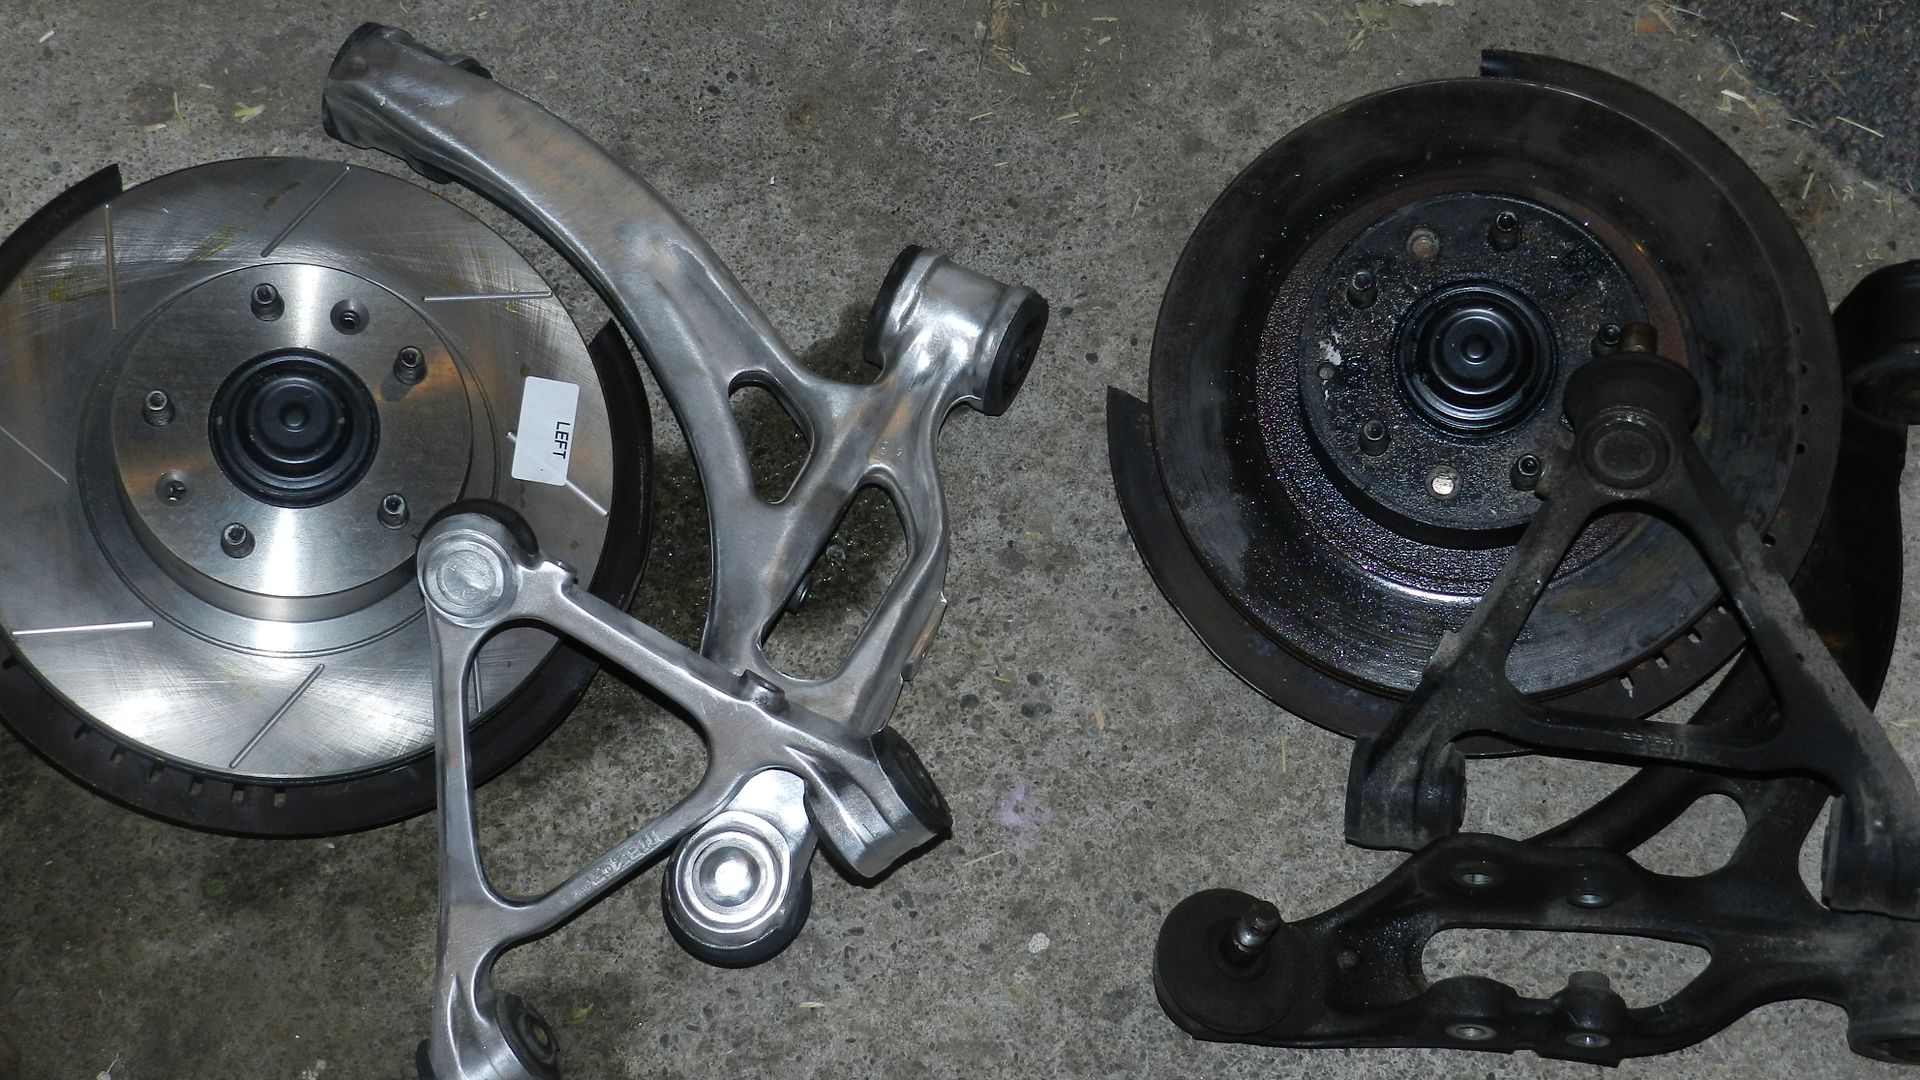
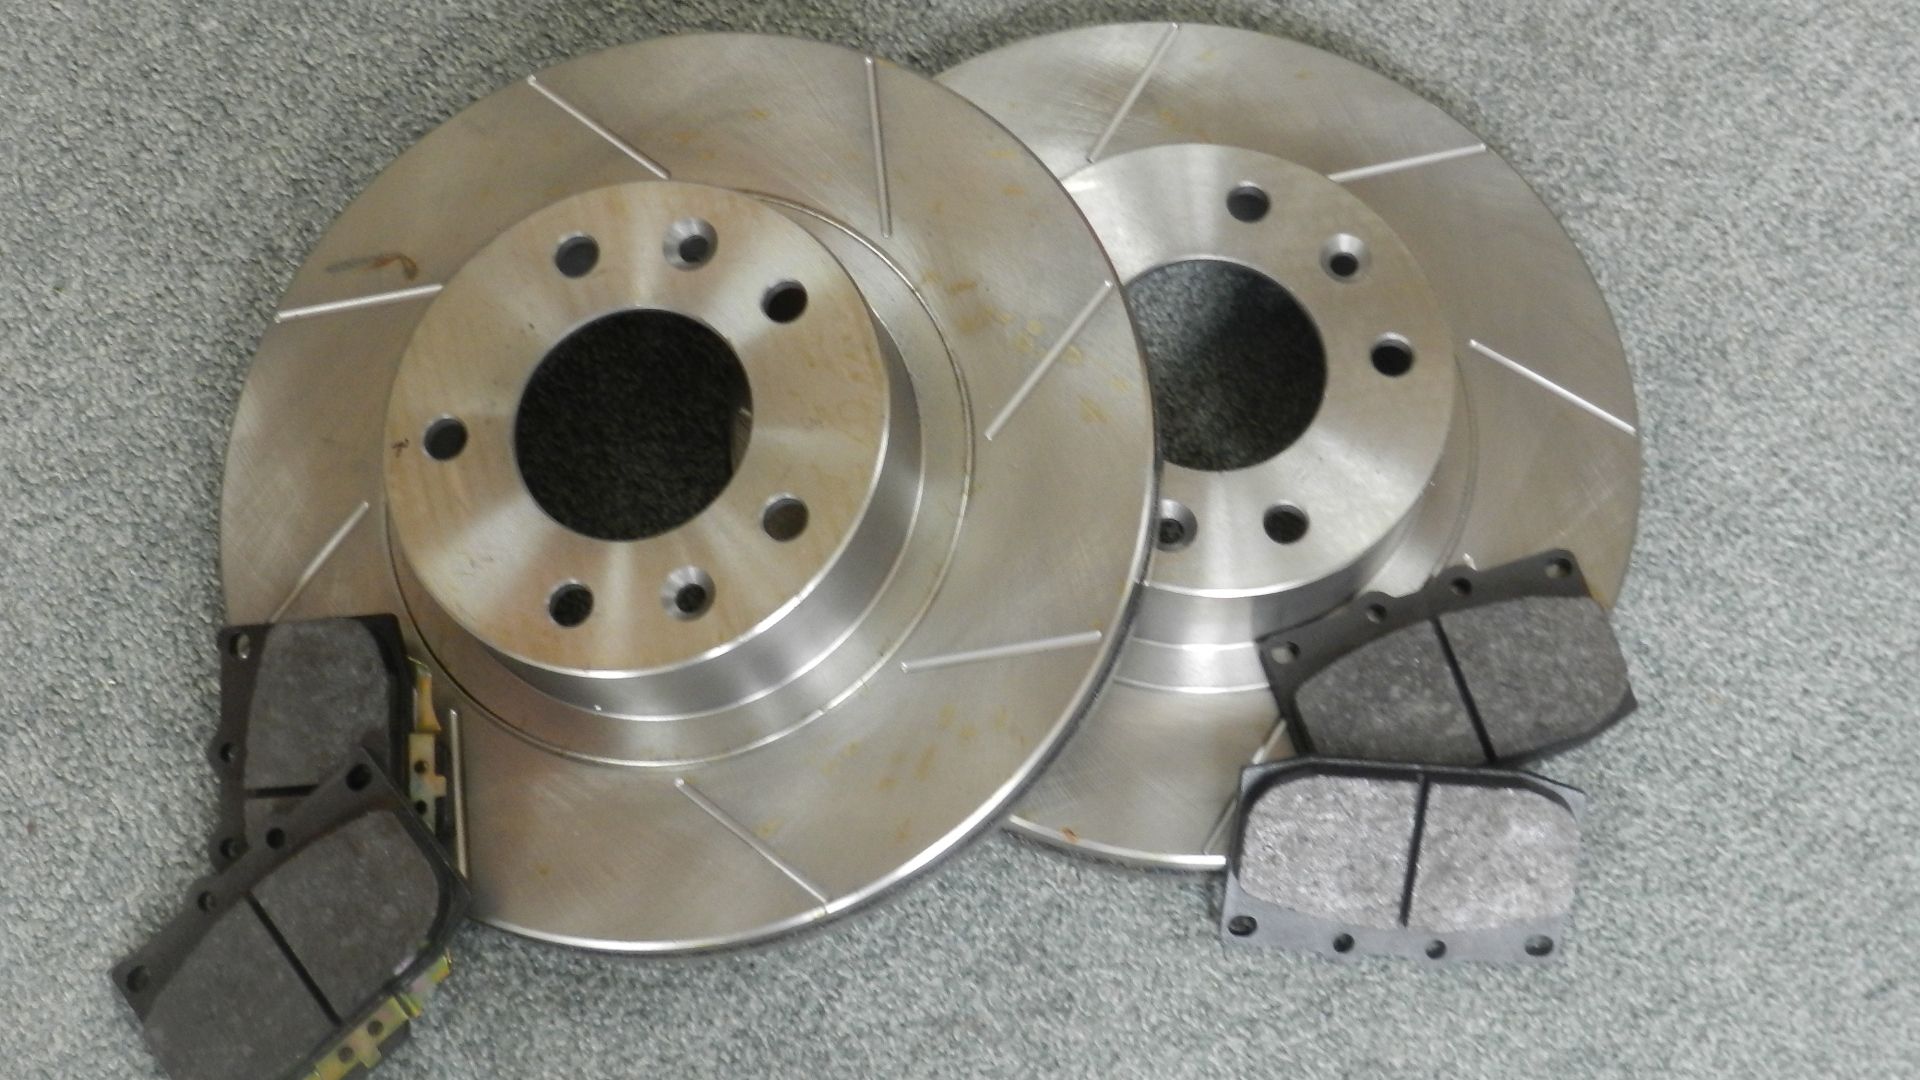
In waiting for cash flow, a few free and easy jobs were done in order to tidy things up.  The engine bay was painted and suspension arms cleaned up.  New brake rotors and pads were brought for the front and rear.


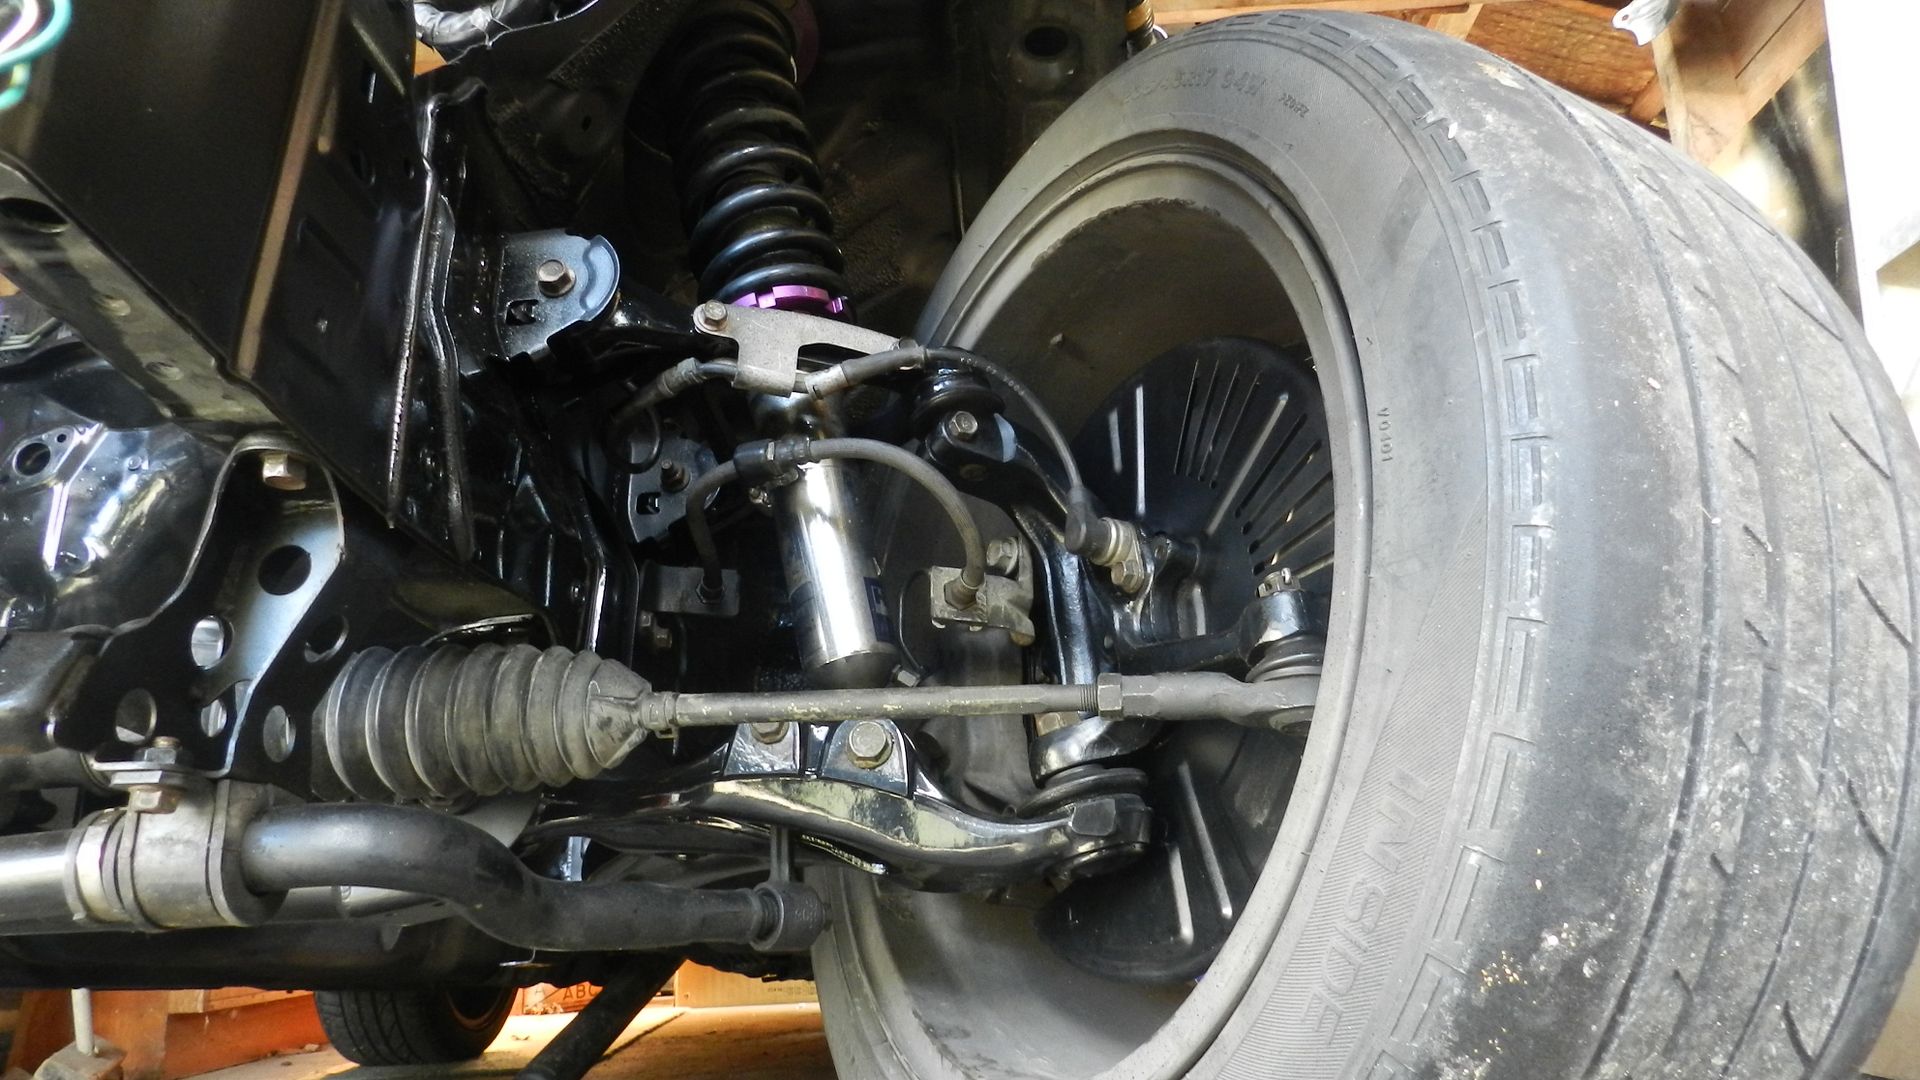
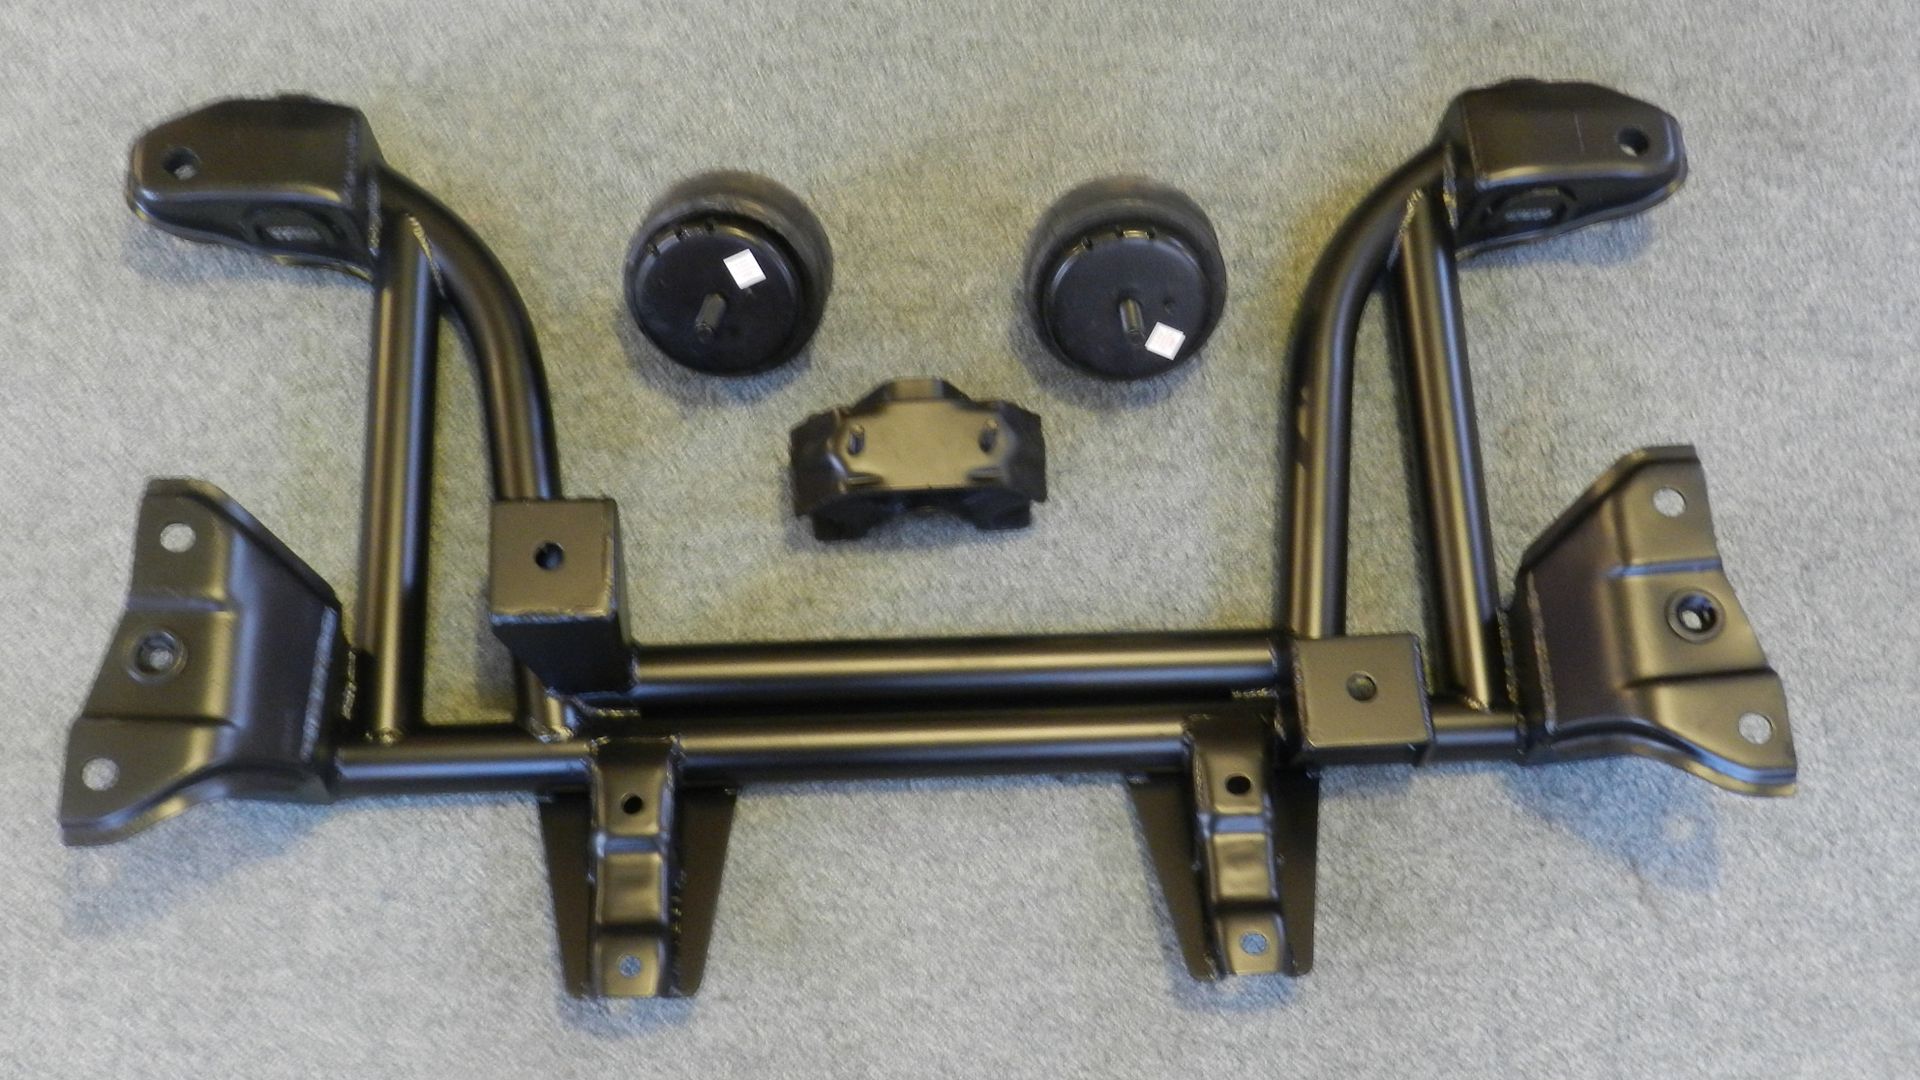
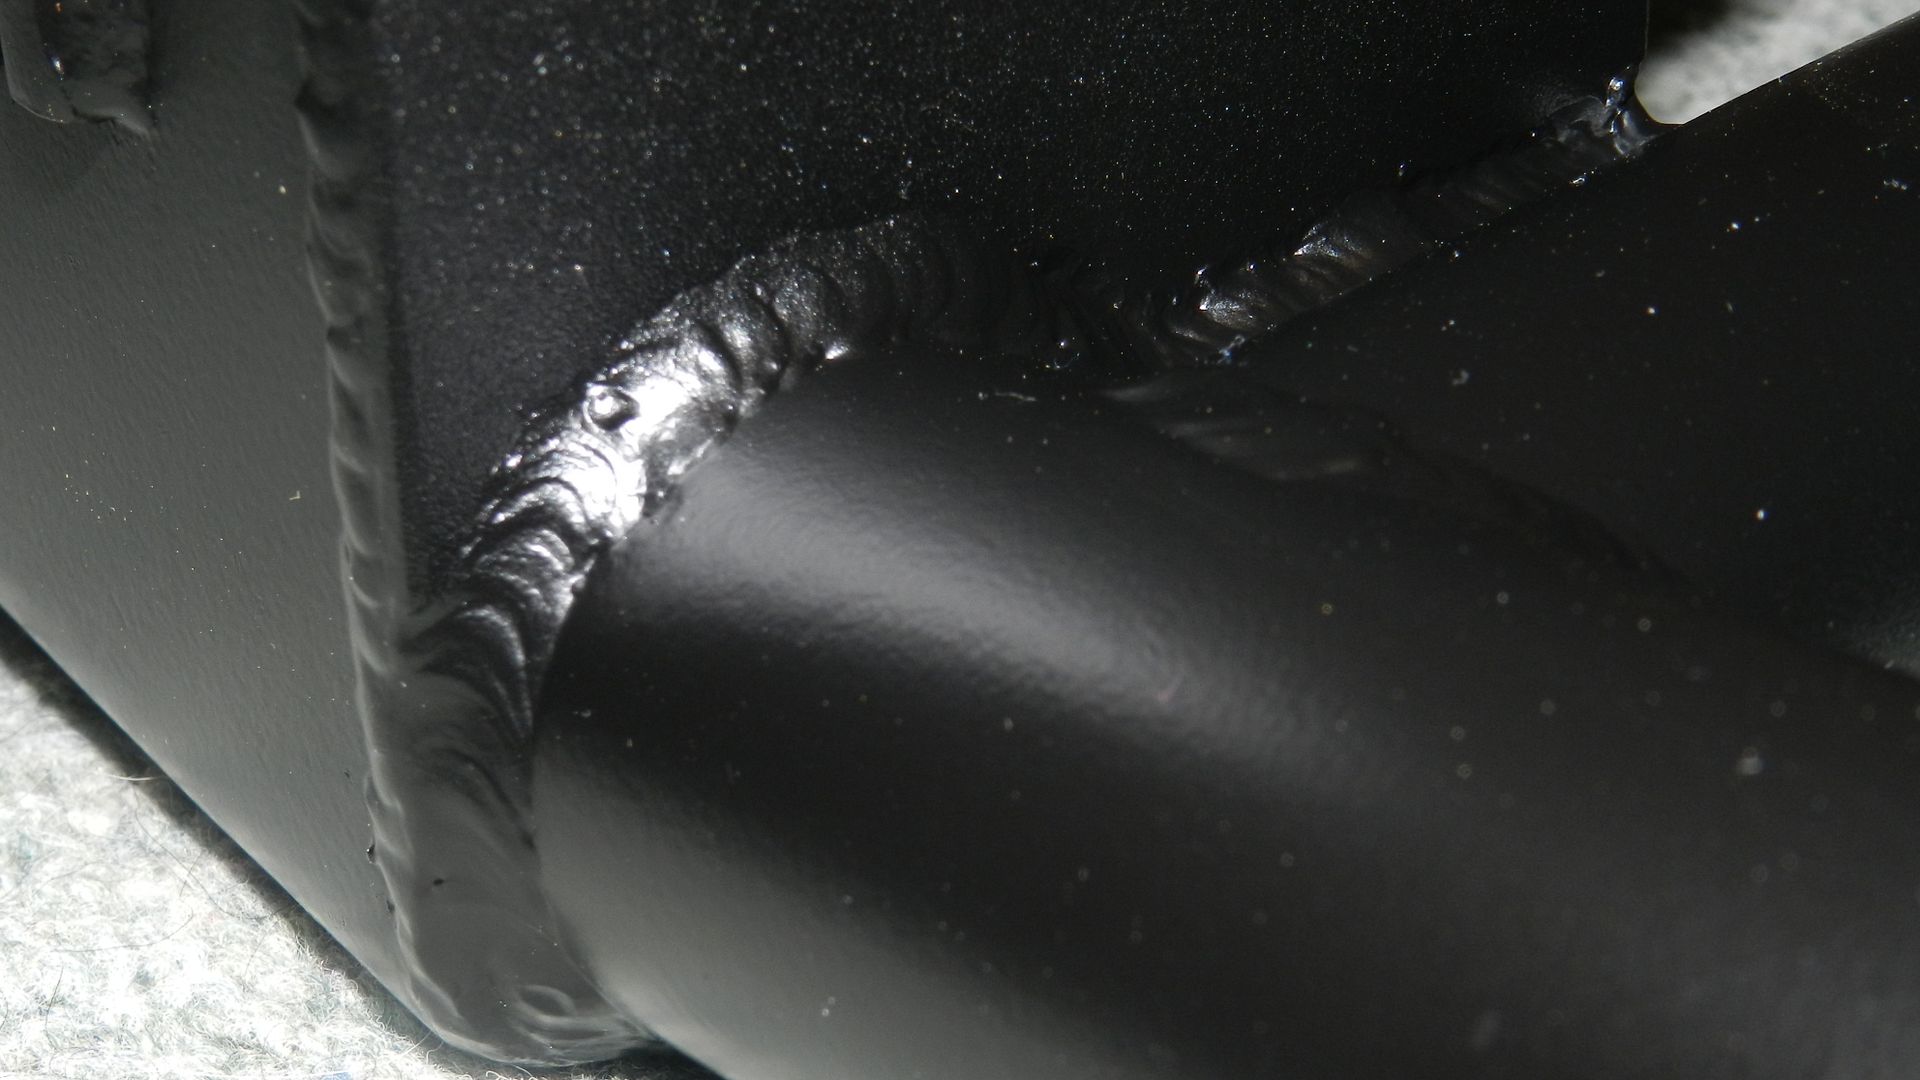
A local man had already converted an FD for drifting and had made a jig for the subframe.  An exchange of cash and the factory subframe resulted in an easy bolt in solution that utilised factory mounts.  One difference to Samberg is that this frame uses the front mounting points on the engine in order to avoid the steering rod.  A fabricated engine mount is then needed for the drivers side.


« Last Edit: November 04, 2015, 03:09:58 PM by Hades »

Offline bikedad

Re: HADES KIWI FD RHD
« Reply #1 on: November 03, 2015, 09:14:53 PM »
Nice!
Welcome to funland.  :D

Keep on updating.
Don Teifke  :drive:
[smg id=8489]
"Life is tough.,, Life is even tougher if you're stupid."
-----John Wayne-----

Offline wickedrx7

Re: HADES KIWI FD RHD
« Reply #2 on: November 03, 2015, 11:26:01 PM »
Nice looking car! Like the subframe too.

1993 Touring, 2012 L99, T-56, Ronnin 8.8, Ohlins, Speedhut, Samberg and lots of custom parts
Build Thread - http://www.norotors.com/index.php?topic=19354.0
Pictures - www.flikr.com/wickedrx7

Offline Hades

Re: HADES KIWI FD RHD
« Reply #3 on: November 04, 2015, 02:32:04 AM »
Few more pictures.  Motor is in and mounted.


Currently contemplating how to mount and support the diff.  I will most likely replicate Samberg's to some degree, but would also like to come forward to support rotational movement as I won't provide a pivot point like Justin.

Gear box mount is being bent up as I type this and the clutch is in the planning stage.  Will most likely use a reverse swing setup.  Might be a little more work, but less stuffing about in the long run.

A few more pics:


Offline FC3S Murray

Re: Hades's JDM FD LS1
« Reply #4 on: November 05, 2015, 10:04:20 PM »
Uggg....just reading about your rotary crapping on the track brought back shitty memories of always trying to get that rotary powerplant reliable. I went all out and finally threw in the towel with my middle finger up too. I am so happy with my LS swap, been 4 years and trouble free. Plus I beat the crap out of it every time I drive it....it loves it :)


13 years of abuse and still running STRONG!

SRM Performance Tuning LLC
https://www.instagram.com/fc3s_murray/?hl=en

Offline Hades

Re: Hades's JDM FD LS1
« Reply #5 on: December 21, 2015, 04:25:44 PM »
The heater and blower unit has had a clean up and gone back in. All of the interior dash wiring is done and just the relays, fuses and ECU to mount. With the battery mounted and connected, I should have spark and starter. Fuel lines to be made up yet. I will use a footplate to cover these up.


The T56 wiring has been tidied up and O2 sensors taped up out of the way for now.


Starting to look like it's coming together.  :drive:  So close, yet so much more to do.

 :cheers:

Offline Tictakman

Re: Hades's JDM FD LS1
« Reply #6 on: December 21, 2015, 07:11:29 PM »
How hard was the dash to pull out?  I need to do that in a few weeks..looks like its about 10 bolts and just a lot of panels to take off first.

Offline Hades

Re: Hades's JDM FD LS1
« Reply #7 on: December 22, 2015, 12:58:14 AM »
Yep.  Exactly that.  Bolts are pretty obvious.  A-pillars, trans-tunnel and one in the top center of the dash under a plastic cover.  A buddy to help makes a big difference.

Offline Hades

Re: Hades's JDM FD LS1
« Reply #8 on: December 30, 2015, 05:21:46 PM »
After finishing up the wiring inside the car, I hooked up the battery to check everything over.  I am yet to wire up the new TNS relay so dash lights etc will have to wait, but it was a good chance to see what I could power up off the key.


Here is a video of the engine turning over on the key.  I need to make my modifications to the MAP sensor position and the brake booster barb before I can put that back on.

Offline Hades

Re: Hades's JDM FD LS1
« Reply #9 on: January 03, 2016, 01:18:18 AM »
Another rainy day tucked away in the shed with the radio for company. It was a good day to complete a few little things that had been put to one side.


A bracket was made to mount the horn and TNS relay. These were then wired up and placed into position. With this done, I was able to remove the relay box that sat front a center. I also used the old fan relay covers to keep them clean and dry.  I cut down and trimmed up the fan relay holder to do this.


From there I made up the -6AN hoses for the fuel lines to the pressure regulator. I am still using the factory line to the bay for the send and return. With only enough hose for into the reg and onto to rails, I used a pushlock fitting and some garden hose for the return- just for testing purposes. After turning the key, the fuel pump primed the lines and I could check for leaks and preliminarily set the pressure. It was also reassuring to find that the fuel pump wiring was correct and the pump getting a full 12.6 volts with the key on. It was also a good method to remove the old fuel from the tank, probably to use in the mower.  The 2/0 gauge cable is the battery positive and the smaller red cable is a temporary engine/chassis ground.


Next was the foot rest that I wanted to house the PCM/ECU. With a 5ft partner, taking up a little foot room was not going to be an issue. In saying that, it is still comfortable for me to sit in there as well. Taking some inspiration from the Poms and Morgan, the prototype was made a cardboard and then of wood or a more accurate example. Unlike Morgan, this will be eventually made of 3mm aluminum. The stays were made of the stainless fittings that originally went around the rotary engine mounts. Waste not, want not. Sitting behind the PCM is also the fuses and relays for running the fuel pump, starter, ignition, etc.


After spying the heat shields on the wall, they were installed too. They didn't take much to get up beside the bigger gearbox. It was interesting to see that the lugs and plugs I thought would get caught on the shield were catered for without modification.


Another rainy day and another few ticks on the 'To Do' list.

Offline Hades

Re: Hades's JDM FD LS1
« Reply #10 on: January 16, 2016, 11:15:21 PM »
Back from 10 days at the lake and the courier was kept very busy. Coming home was like Xmas all over with parcels turning up while I was away.


It doesn't sound too exciting, but a frost/freeze plug was the answer to my brake booster vacuum hose. Unless I made slight and delicate adjustment of the firewall with a hammer, there was no way the factory fitting was going to work.


I used a brass air hose fitting of the 3/8 ore AN-6 barb variety and used a nut on the back, along with plastic washers and some RTV. Holden didn't change the fitting, just rerouted the hose in order to make this work in the RHD cars.
As the original fitting also used to house the MAP sensor, a hole was drilled in the rear of the intake and the sensor fitted there. If need be, a clip of some sort can hold it, but without boost (yet) it should be fine.


My new gear stick arrived from WS6project.com. It is a simple stick for a Camaro, but will work well here. At $25 it was a bargain and finding an original shifter has proven difficult. It will need to be cut down which is no biggie as I intend on re-threading it anyways to fit the knob that the car came with.


All of the dash interior has been semi-installed to check the function of everything and it all looks positive. The water temp and oil pressure will be the ones to watch once the engine can be turned over and the radiator is installed. The wiring for these sensors is already done however. The Dakota SGI-5 also turned up to convert the speedo signal so the factory RX7 gauge understands its lingo. The cooling fins were also taken off the PCM cover to try and free up some room to slide it into the factory position, but no luck- hence why it now resides in the foot rest.


Work starts in two weeks and I would love the hear the best running without the manifolds before I go back. Just a bit a sealant, cleaning and a new fuel line away.