Read in one sitting, disappointed in myself for not knowing it existed sooner.
So much respect.
Thank ya brother

Here's the latest with the car. More interior panels.... haha. It seems like such small steps, but these things take time to get back together in perfect shape. I found some time to wrap up my HVAC panel this morning. I just recently came back from the Dominican Republic and everyone I traveled with got sick with various local illnesses. My mother and daughter are the last recipients and I stayed home with my daughter who's fighting a 102 degree fever this morning. However, she was asleep a lot so I filled my time with this.
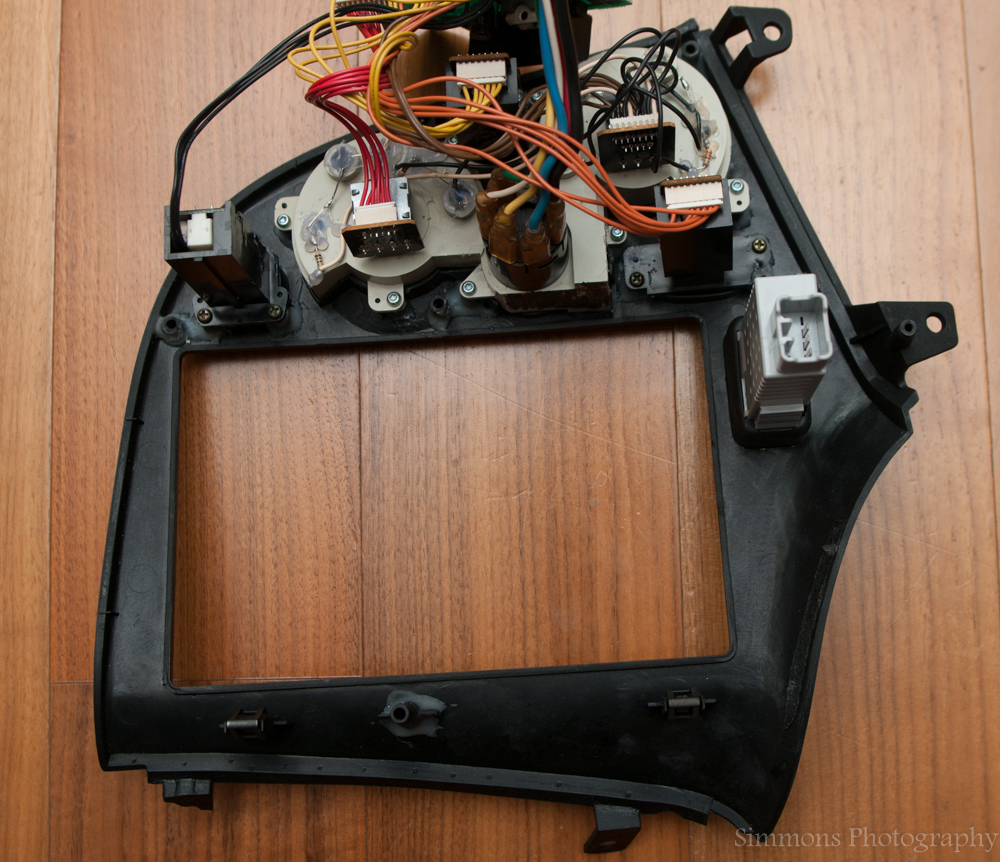
I picked up a very good condition HVAC panel from Fritz over at the club a while back. Lucked out too because his panel was already stripped and only had one broken tab.
This piece of work starts with these:
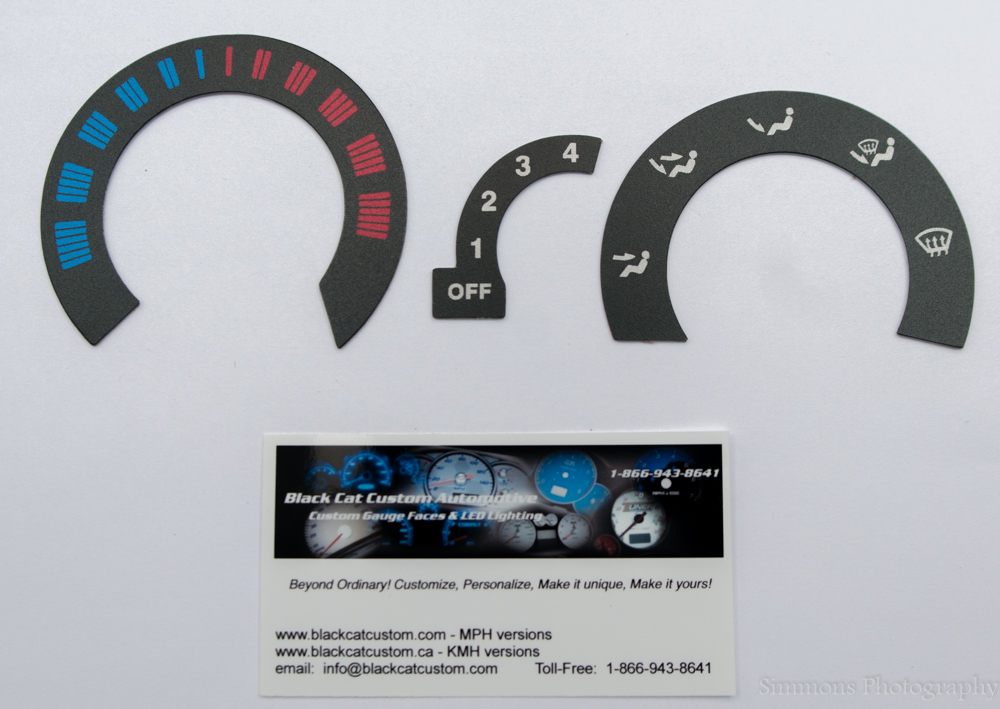
The are HVAC dial indicator replacements by Black Cat Customs and can be purchased off their website. It's something I don't think a lot of people know about because when I found it I couldn't even find one picture of it installed. The reason for installing them is because 22 years has done a number on my dial indicators and taking my HVAC panel apart finished the job as the whole indicator de-laminated in the process. So yeah, if you're taking apart your HVAC panel be ridiculously careful with the OEM indicators, and if you break them, there are options for getting them back in order.
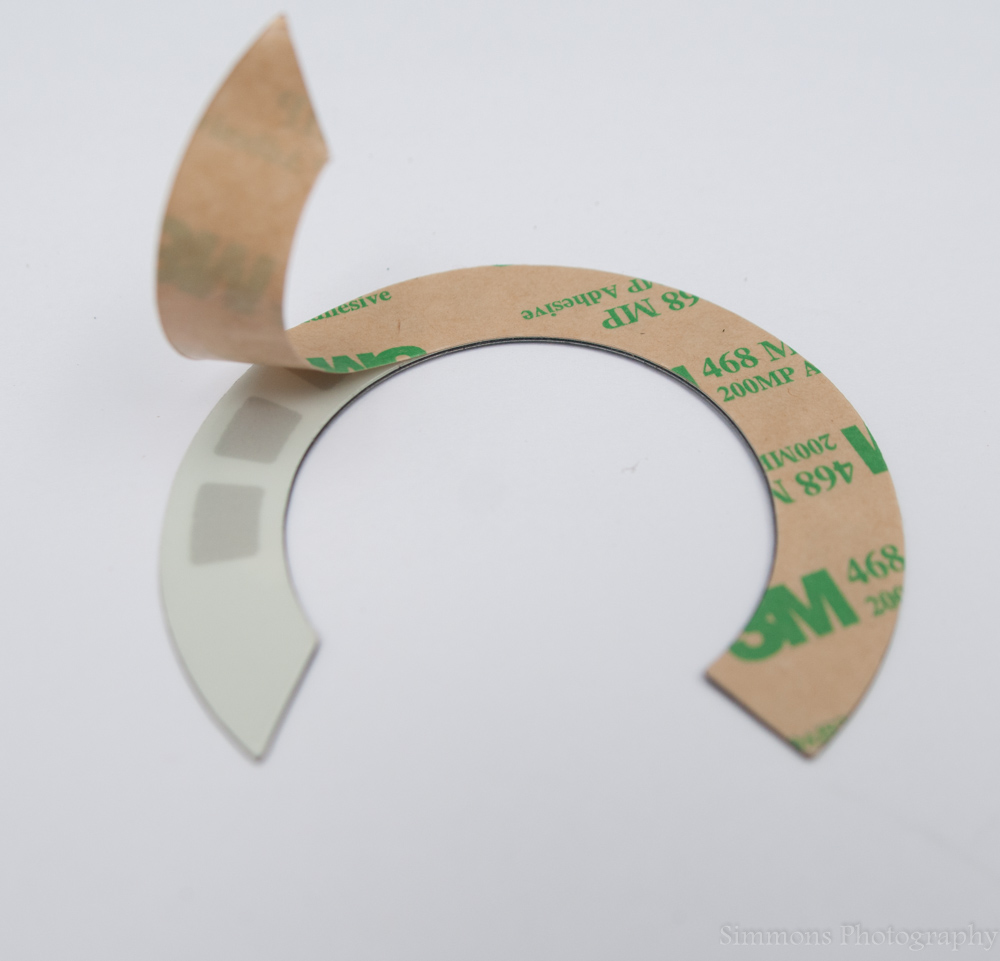
The dial indicators are very very nice and have adhesive backsides that you carefully stick onto the acrylic stock gauge supports. Here you can see the replacement dials and how they are designed to let the backlighting pass through:
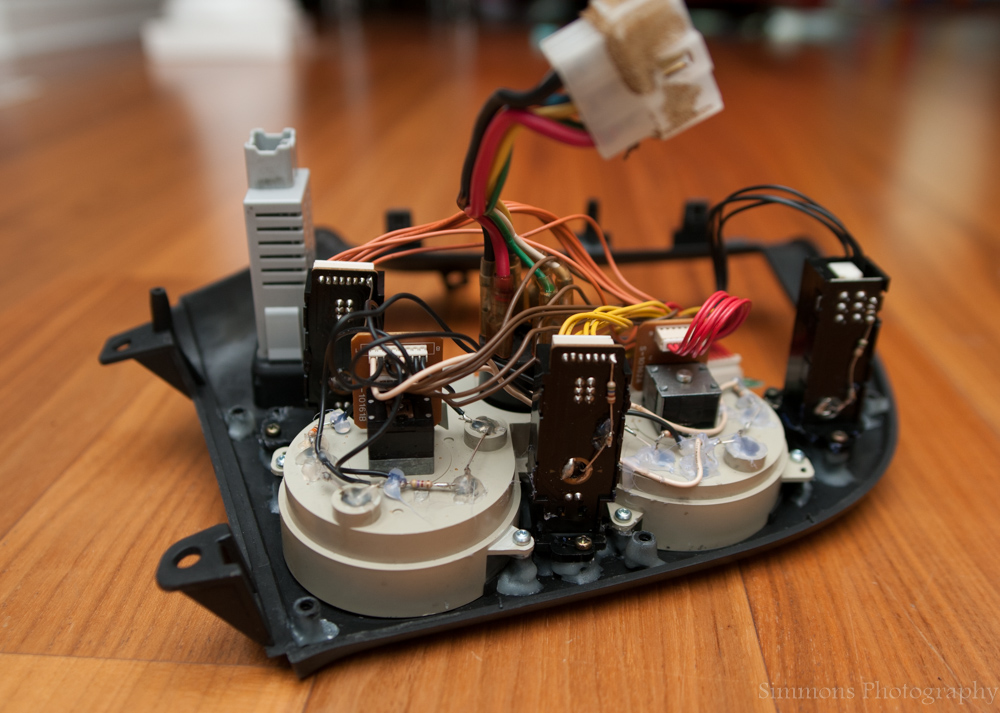
Here are the acrylic gauge supports cleaned up and ready to have the new dials installed:
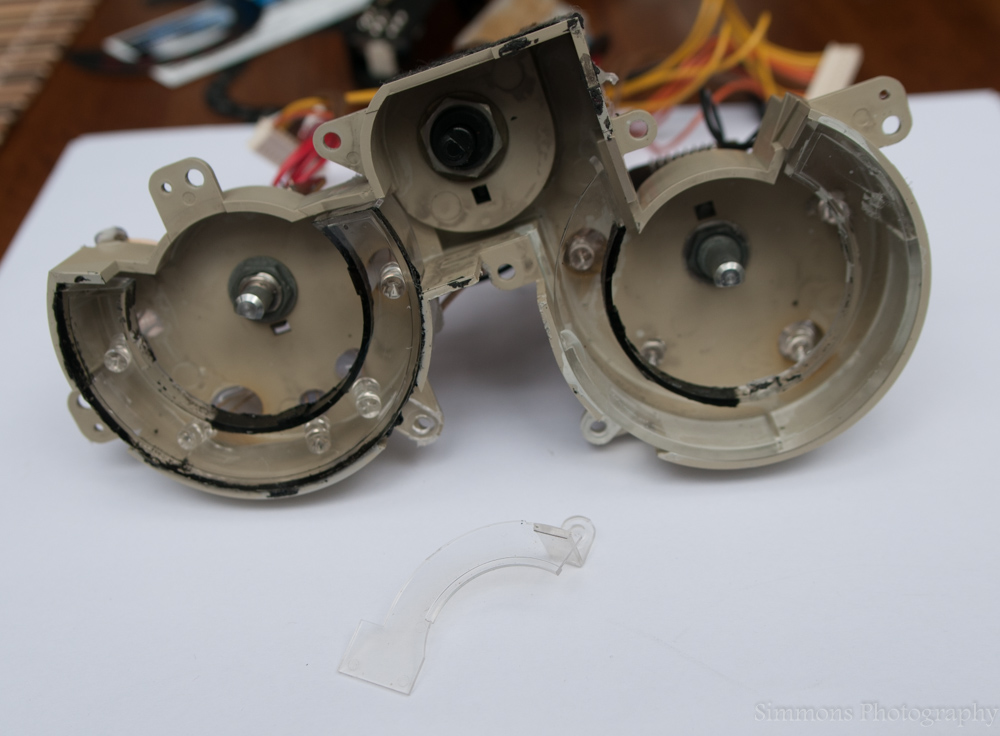
Here is the fan level indicator being installed as well as a peek at the second trick in my assembly:
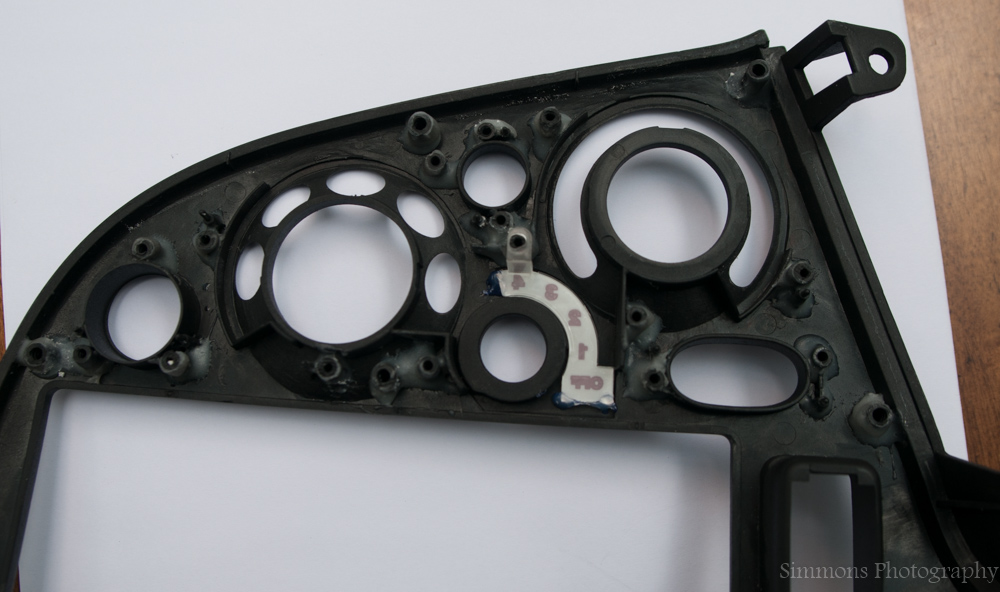
The trick was lifted from this thread:
http://www.rx7club.com/3rd-generation-specific-1993-2002-16/eureka-fix-plastic-parts-kinda-long-w-pics-828143/It uses a product called plasti-aid which I was doubtful of at first but changed my mind.
I've tried everything to come up with solutions for fixing the FD's terrible plastics. Glues, epoxies, fiberglass, plastic welding (good but limited to certain situations), etc etc. All of it except for plastic welding is limited by one big thing. It's adhesion with the panel's ABS plastic. This stuff's liquid base is a STRONG solvent that melts ABS. That's really how it works. You mix in the second part and apply it to the panel and it melts into the panel so that it forms a very good bond. Very happy with it so far. The only downside is that it's messy and it sets up quick so you can be dealing with something runny and it will be the consistency of an elmers glue stick 30 seconds later. The nice thing is that adding more solvent takes it back to liquid form; so you'll constantly be mixing and adding while working with it.
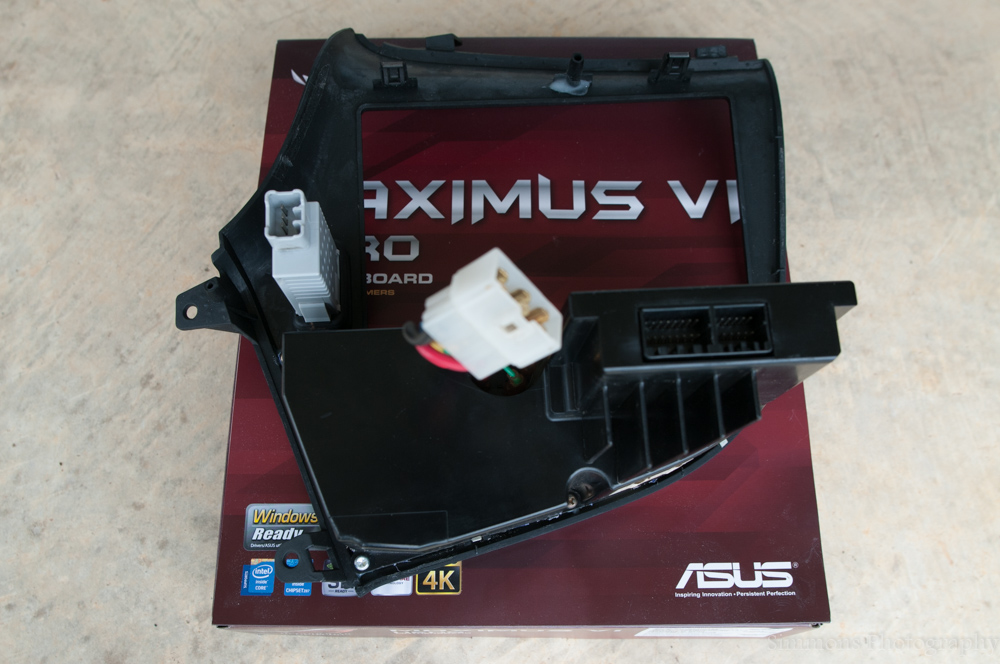
Anyway, like the picture above shows, I'm reinforcing all the plastic standoffs on my interior panels because as anyone who's ever handled FD plastic's knows they're the first things to break / split.
Going together. Ahhhh 100% screw engagement feels soo sturdy

Another shot:
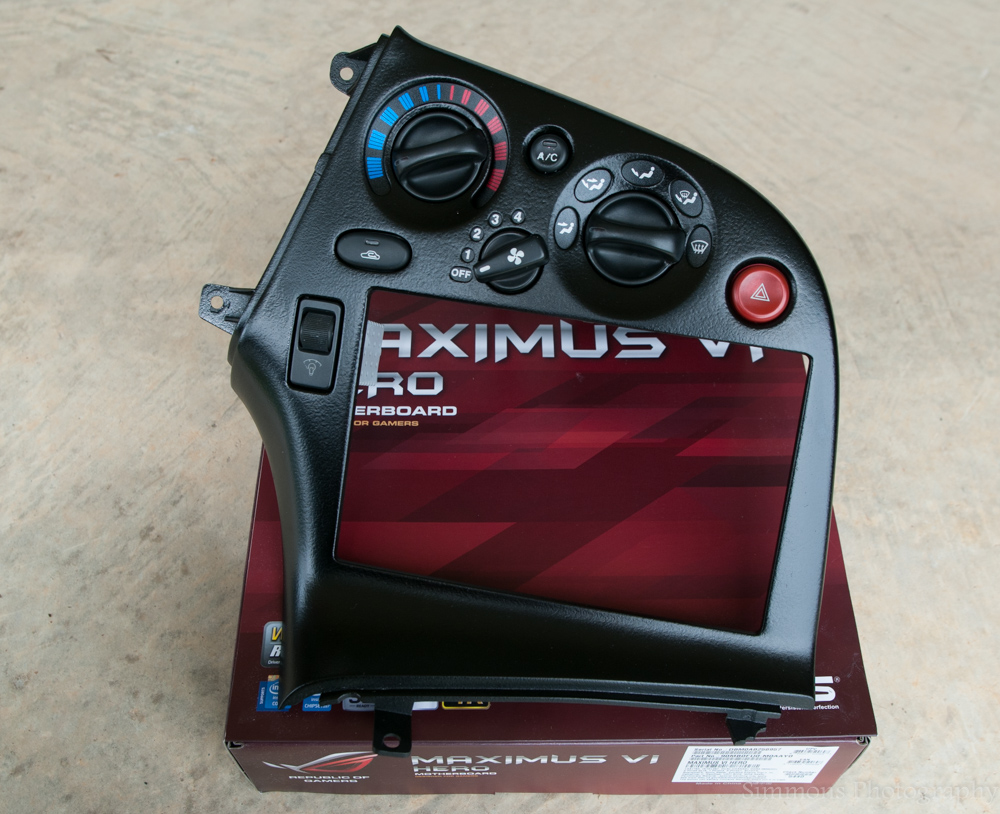
Get ready for the money shot
Bam

Lane
