So I bought a car as some of you may know. It already has a running LS3 with T56. TII 3.90 Diff among other things.
It arrived needing some attention and a transformation from a street car to a car that can safely go on a road course.
I also have plans to make the car a bit more refined and freshen it up from some years of neglect. Everyone here has been helpful/friendly and I have decided to document my projects here in this thread.
The first order of business was to replace a lower control arm. At first I thought the diff mount was busted as the whole car would shift upon on/off throttle and braking.
After getting under the car and manhandling everything I found the problem. The snap ring had come out of the groove and the control arm had a lot of slop in it.
Instead of reposting all that. Here is the thread I posted about it.
Here
http://www.norotors.com/index.php?topic=16726.0Also I added the Rotary Extreme hood dampers. These are really nice and is a necessity as I had no hood prop.
I also have a thread for that here.
http://www.norotors.com/index.php?topic=16888.0As soon as I bought the car I ordered a roll bar from the race shop and another set of Work Meister S1R 2 piece wheels. These I ordered in 18x10 +50 on all four corners for the track.
I should have those in a couple weeks. It takes 90 days and you need to pay 100% up front on the wheels as they are all custom made with whatever offsets you want.
I sent Work the cross section of the Sakebomb AP racing BBK and they said the O Disk would still clear those brakes so I went with that. The O Disk gives a bit more lip then the R disk which have more BBK pad clearance for calipers.
I am going to mount Dunlop ZII 285 30 18 tires on them.
Pics as soon as they get here.
I also bought a pair of Spirit R seats with tilt rails. Should have those in a few weeks as well. Pics will follow.
This brings me to my current project besides tracking down a wiring problem wi my gauge cluster.
I bought Halfspec's custom A/C lines, control module and harness. I have already started the prep for the install which will begin as soon as I finish the prep.
So after reading Lane's prep instructions I thought about just ignoring his advice and taking the easy way out and just hooking it all up and skip the prep. I mean how stank could my evap really be? The car prob spent most its life in a garage.
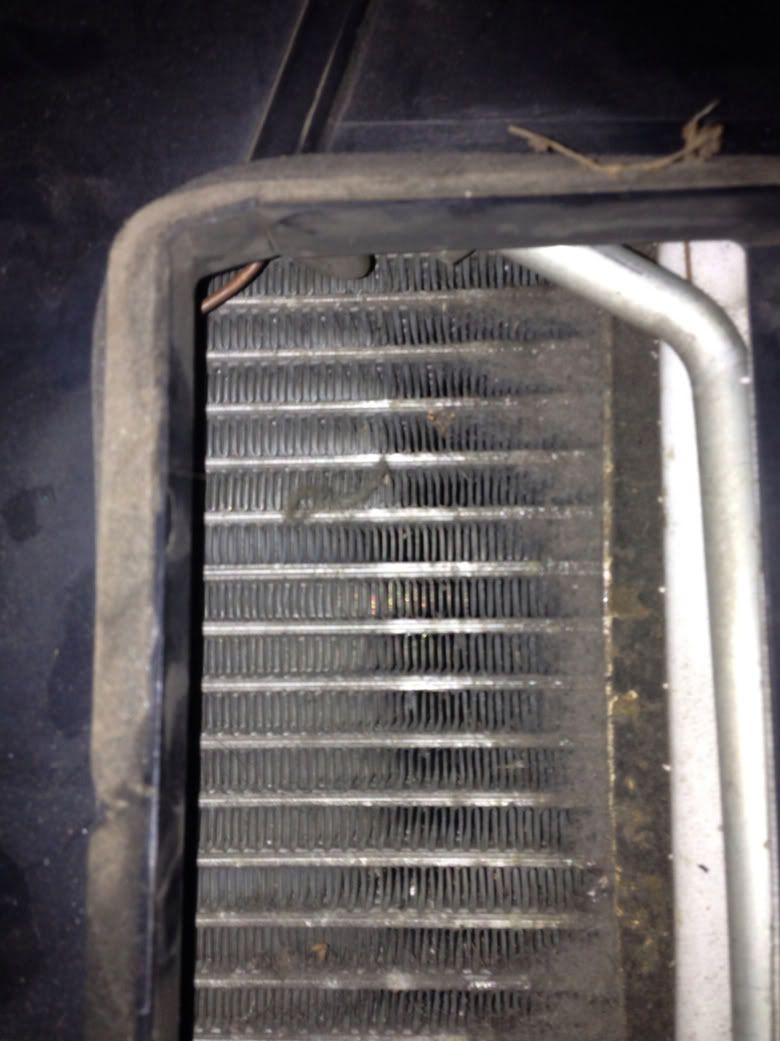
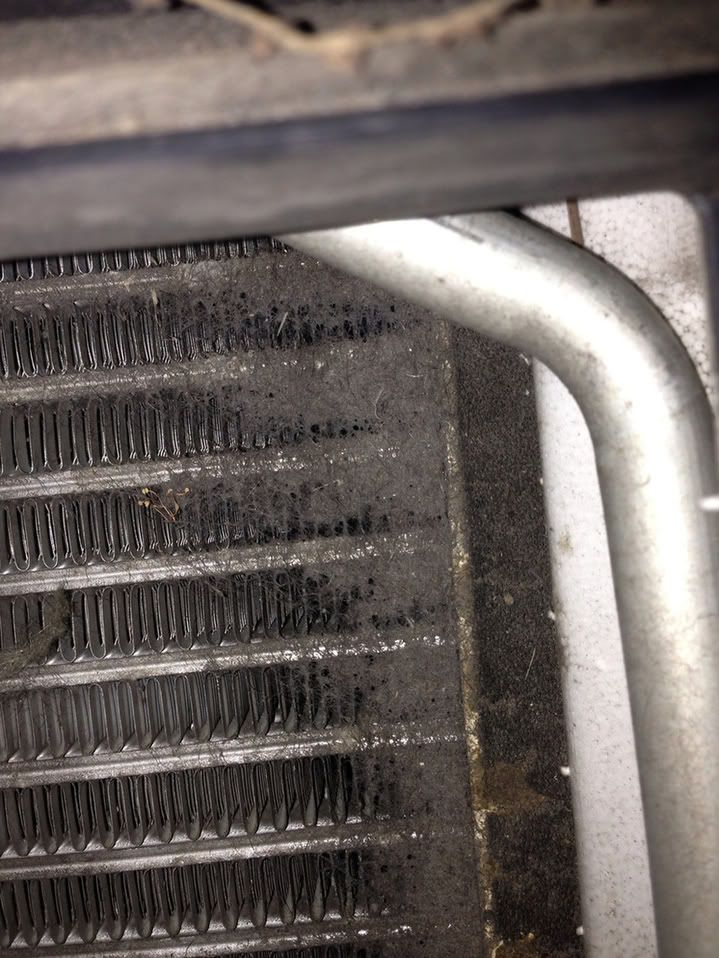
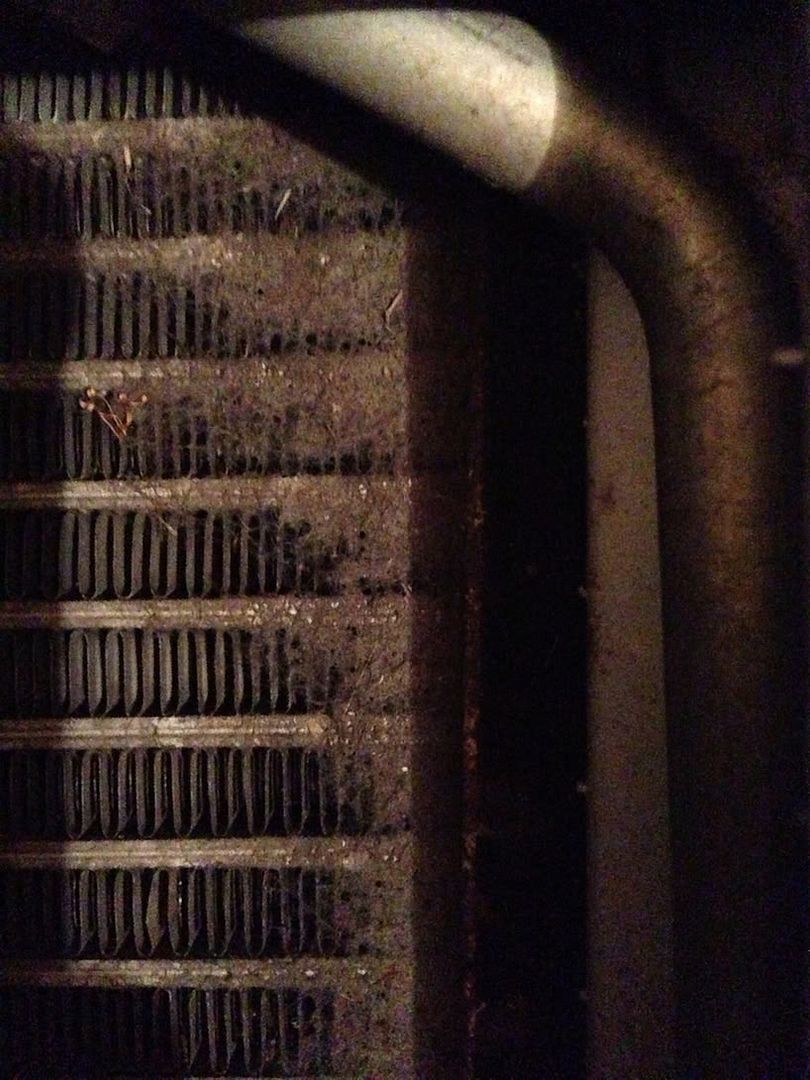
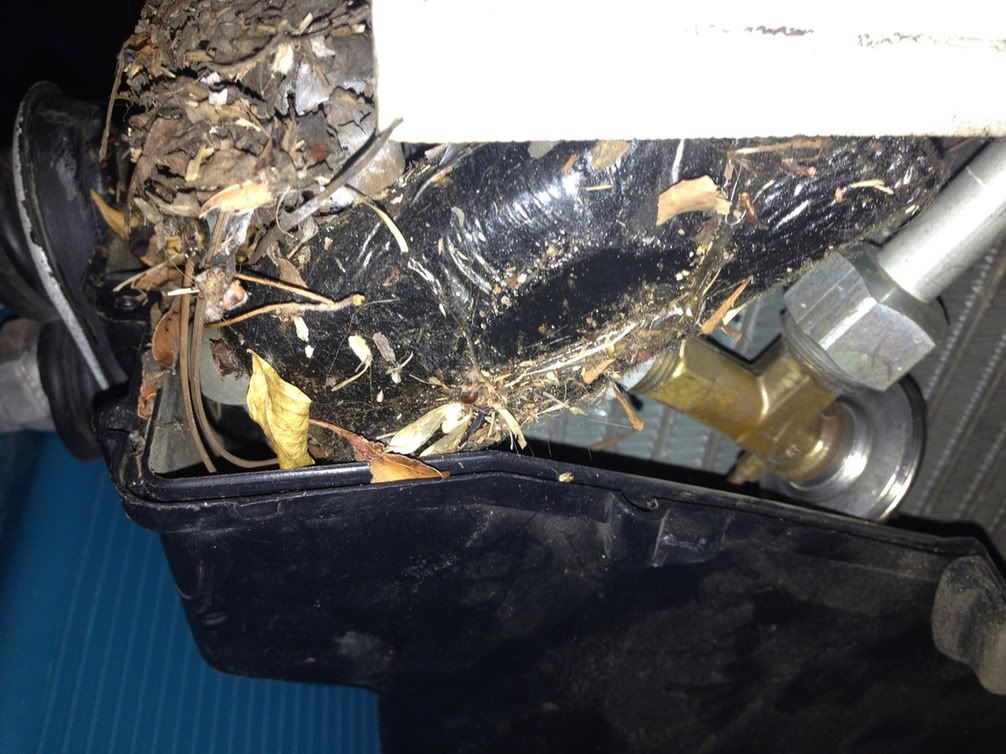
But I have been talking to Lane for several weeks and he really knows his stuff. I decide he isn't adding these prep instructions just for fluff and I pull the passenger air bag and remove my MANA evap from the car.
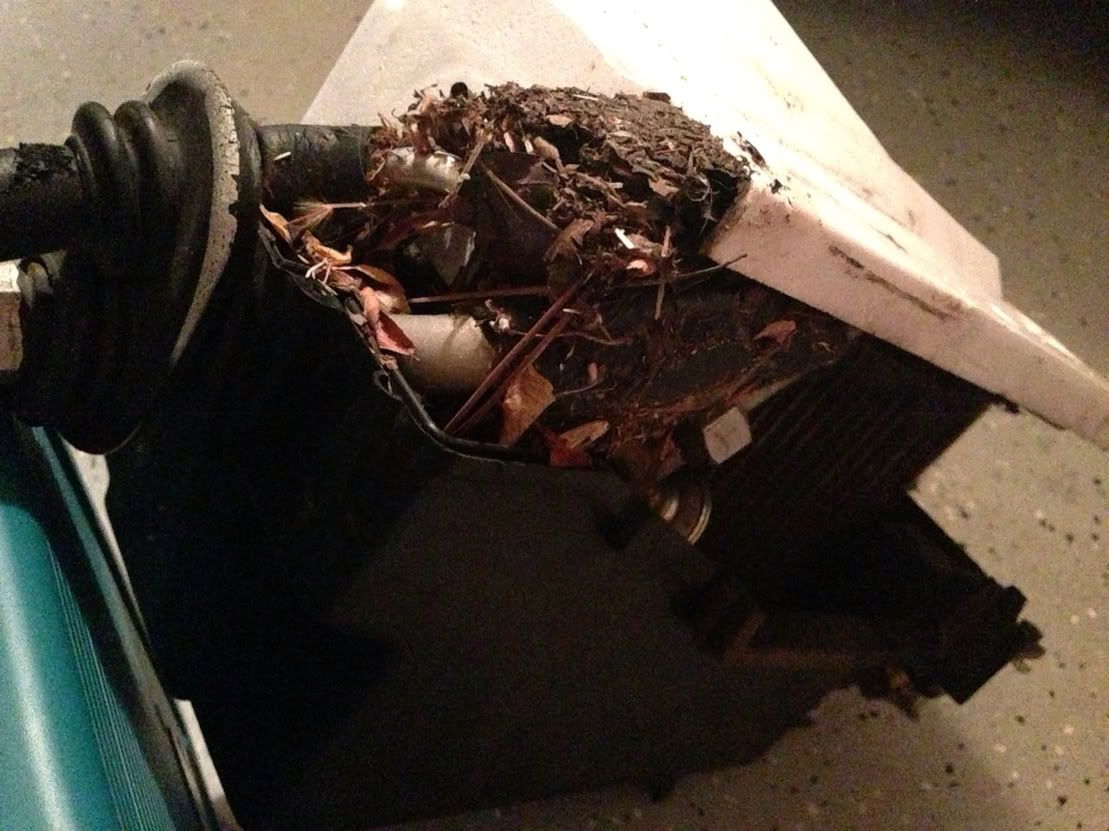
He said there would be some stuff in there that would make my A/C stink like old car or worse if I didn't clean it out first.
Well Lane... You saved me from hating myself every time I turned on the A/C in the future. Have a look at my evap guys.
Now clean
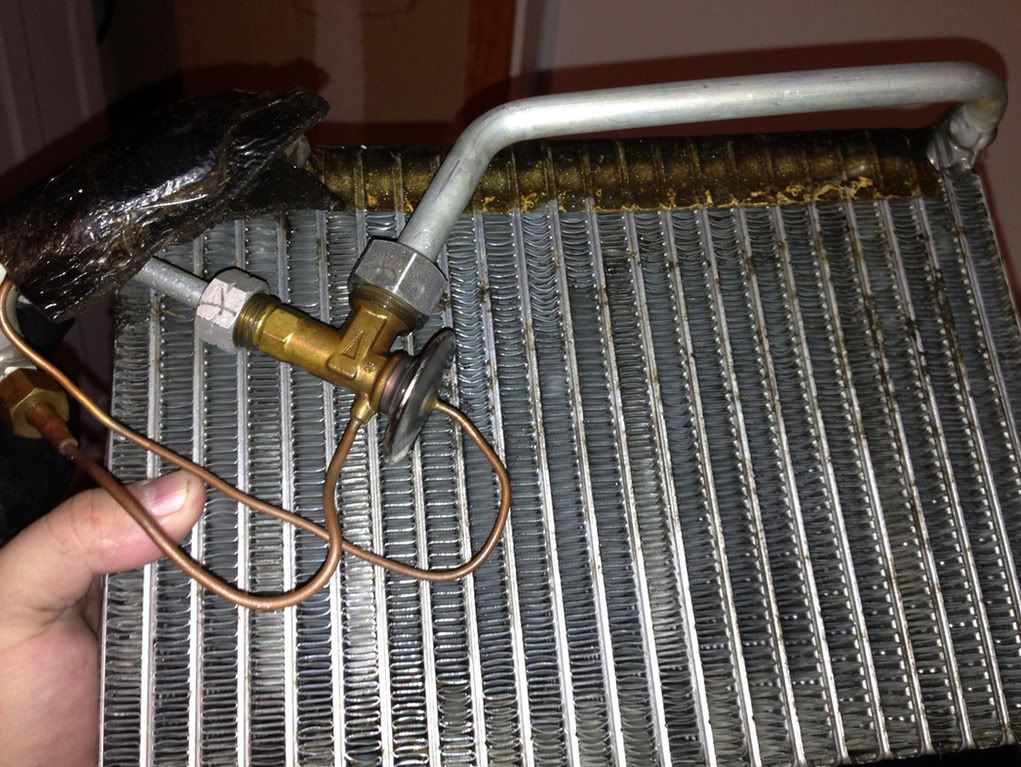

I also disconnected all but one side of the valve and flushed it. Tried to take it off all the way but its frozen on and I started to destroy the evap so I stopped. I need something better to support the pipe before I replace the valve or I may be forced to try and reuse it and see how my luck is.
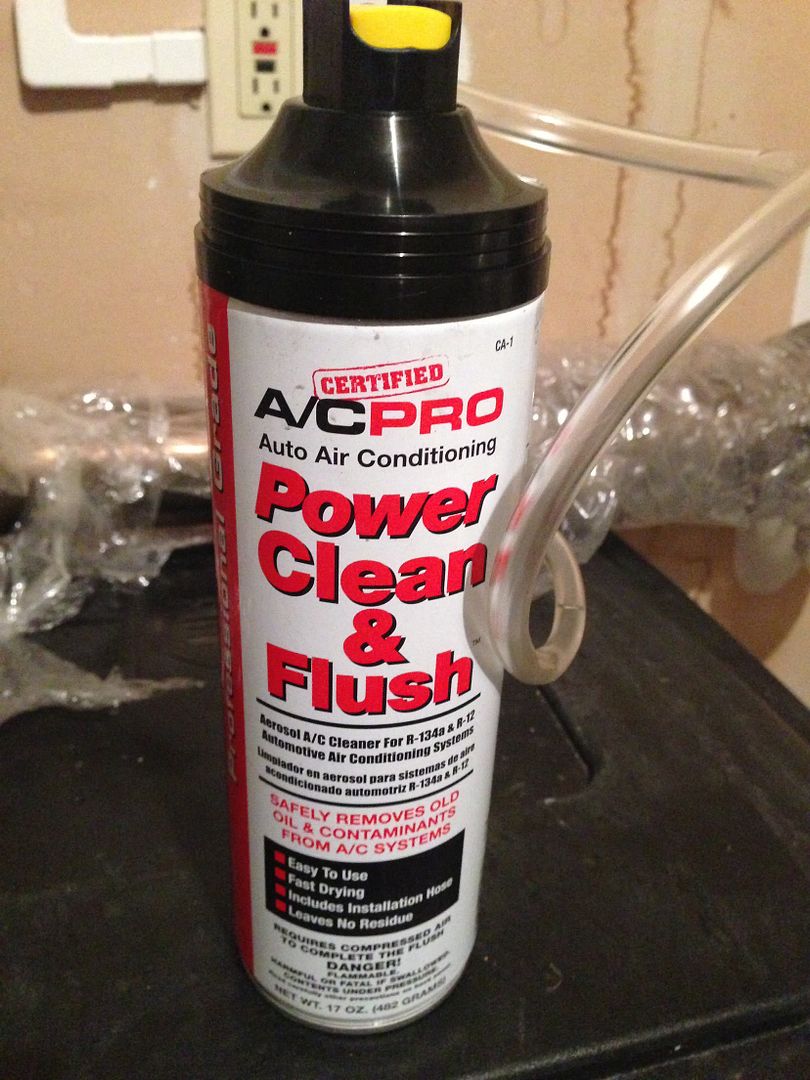
I flushed it with this. Smells like fast orange and is under pressure so it flushes it for you.
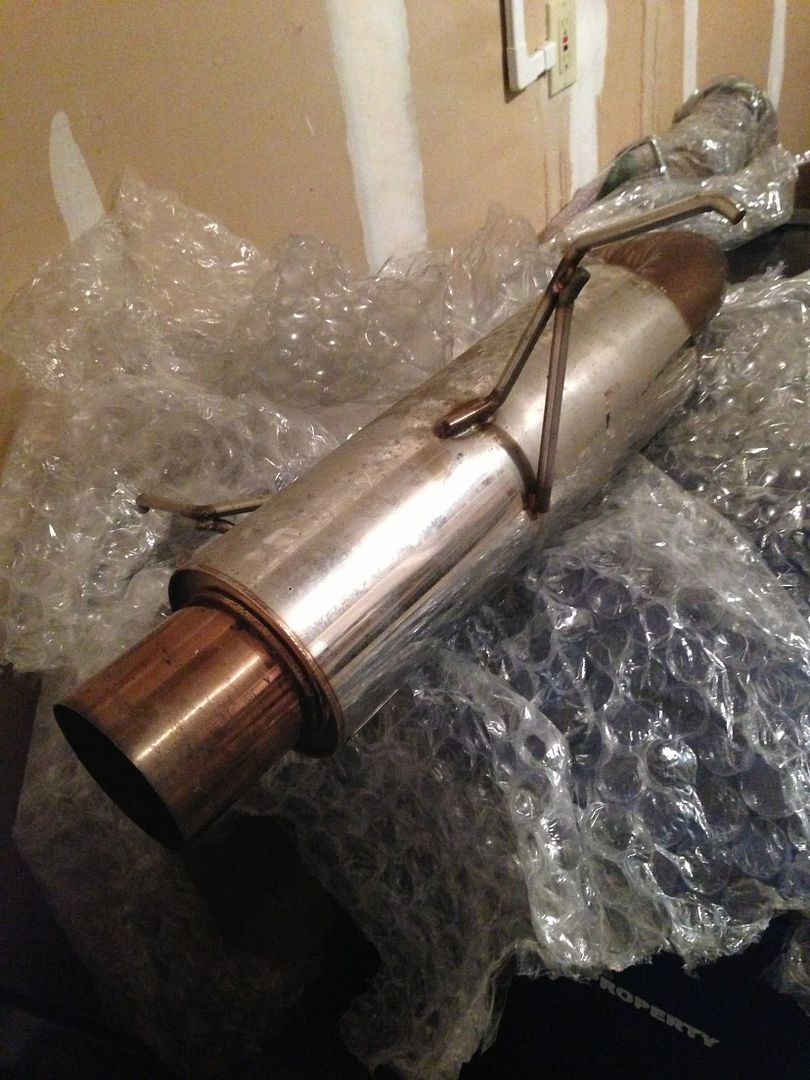
I also purchased a used catback as my exhaust came missing one. It's not pretty right now but I have a can of eagle one never dull polish coming. Well have exhaust done after I get the A/C Finished.
Here is the exhaust as it arrived. It's 3in
This should kick things off for now.. More to come...
